
Scat Pack Mods - Electronics
SRT/Hellcat Paddles
The stock Charger/Challenger paddles are shorter than the ones on the SRT/Hellcat. So, the simple solution is to swap the paddles.

But, you just can't buy the SRT/Hellcat paddles. You have to buy the complete left & right paddle assembly.
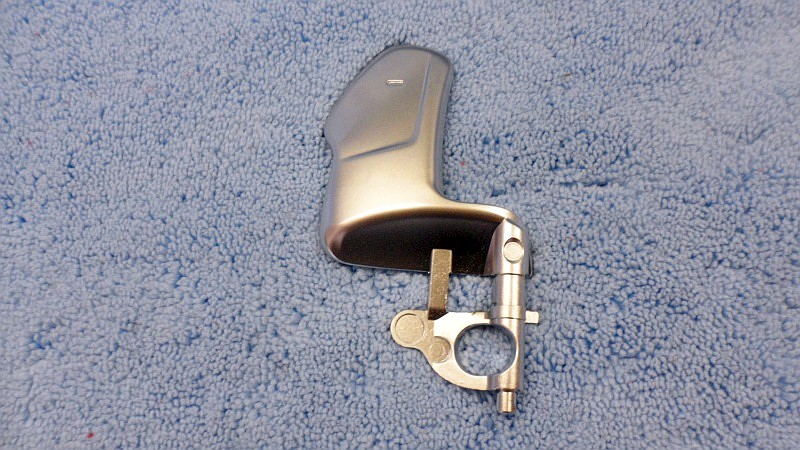
SRT/Hellcat Paddles
Front

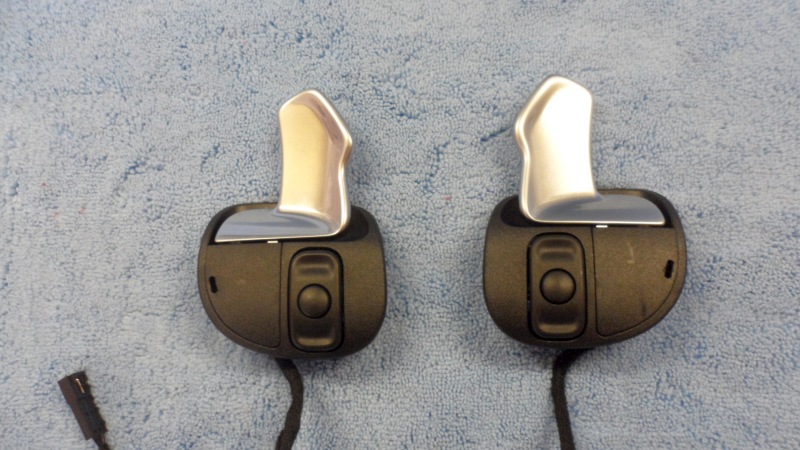
But, you have to remove the paddles from the SRT/Hellcat assemblies & install them on the on the steering wheel after you remove the stock paddles. This process only takes a couple of hours.
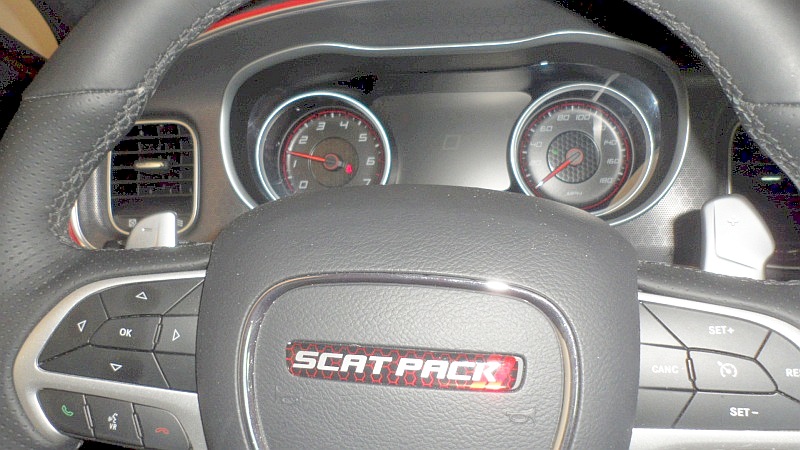
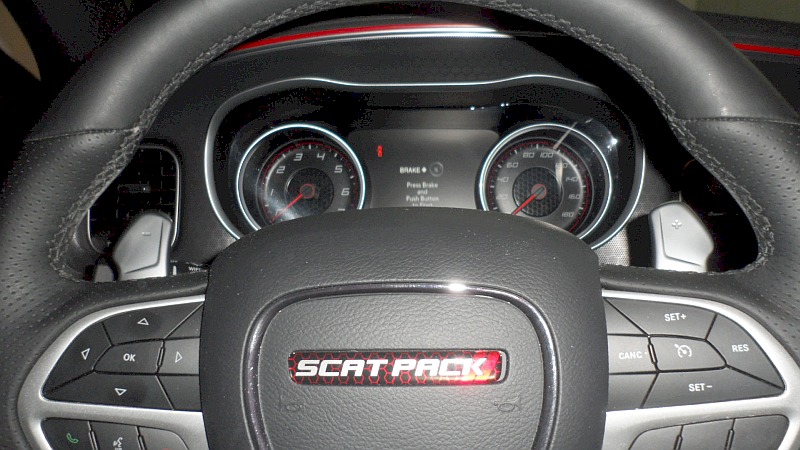
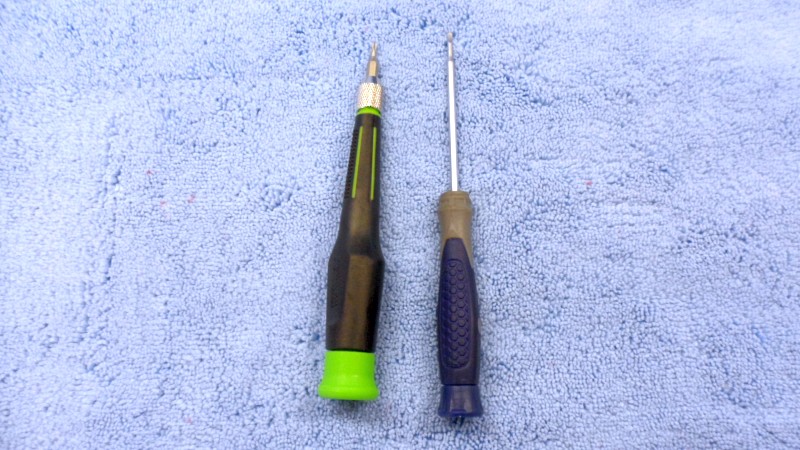
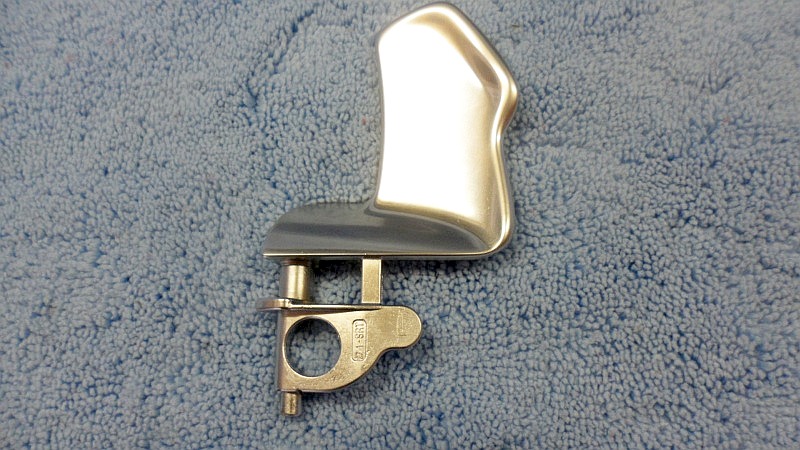
Combination Before/After
Here is a shot of the short stock paddle & the longer SRT/Hellcat paddle.
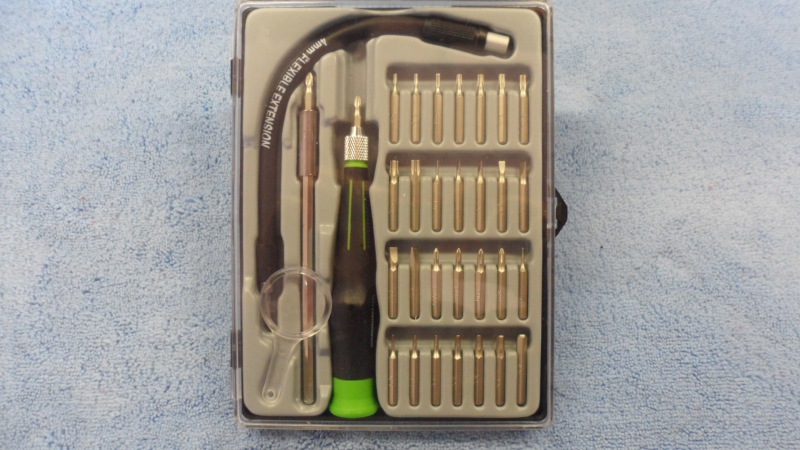
Tools
You only need a T7 Torx bit & maybe a small screwdriver, if don't have any fingernails to remove the
plastic cover on the backside of the paddle assembly to gain access to the 2 screws that hold the paddle in.
I didn't have a T7 bit so I stopped at Harbor Freight & picked up a Mini Bit driver kit. This has all the bits necessary to possibly even take a watch apart. It has a flex extension, a long bit holder and a small magnifying glass.
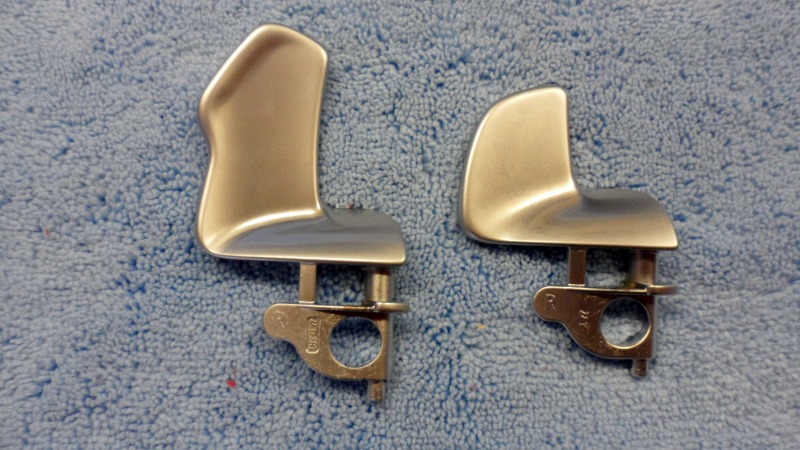
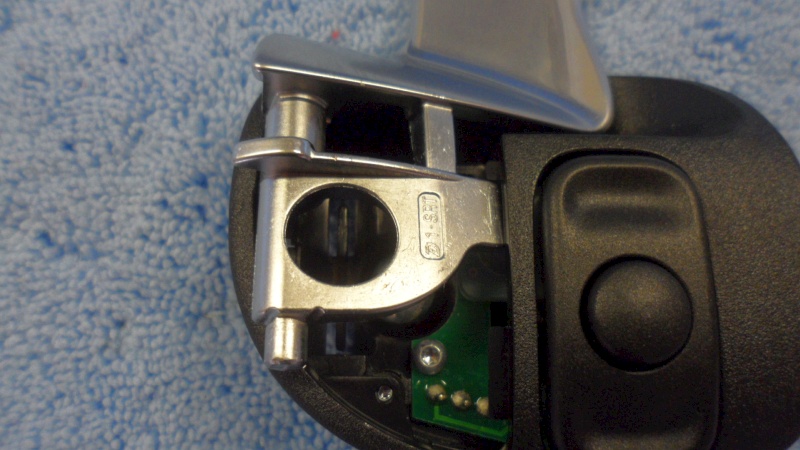
Remove SRT/Hellcat Paddles
First remove the cover on the back.
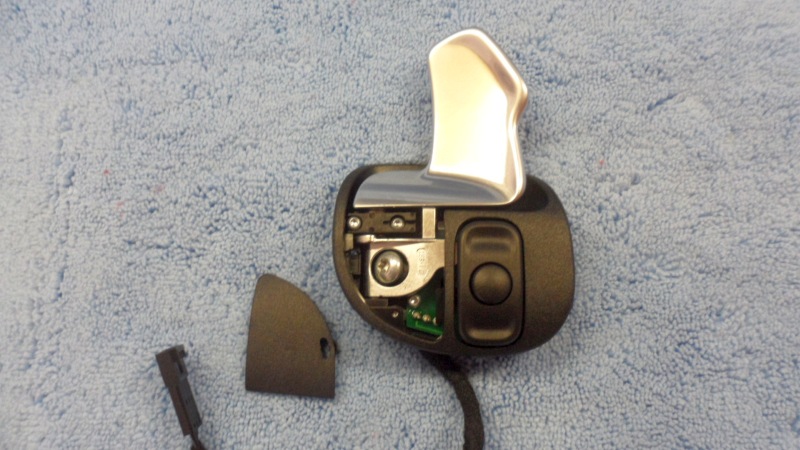
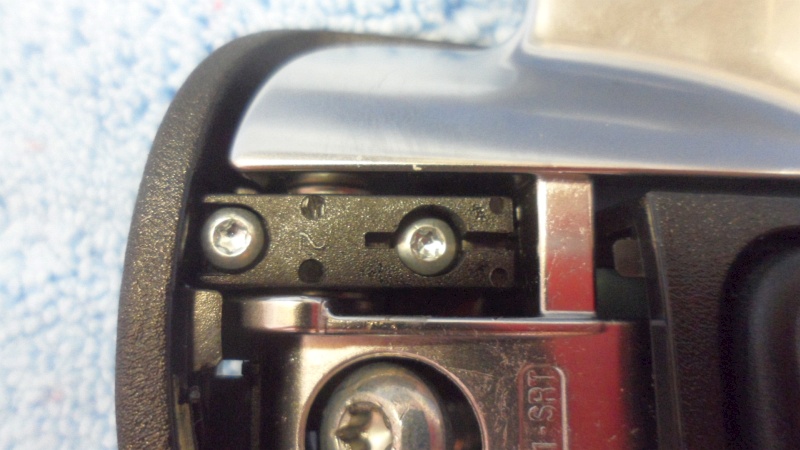
Next, remove the 2 screws & the hold-down bracket.
Next, lift up & pull the paddle back to release it.
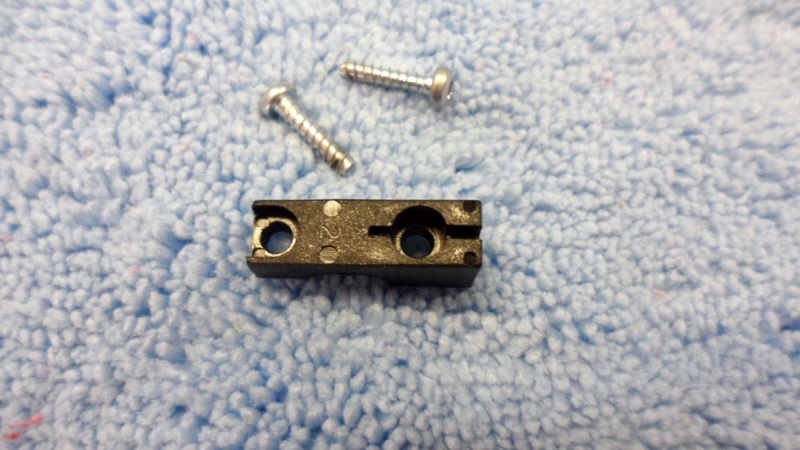
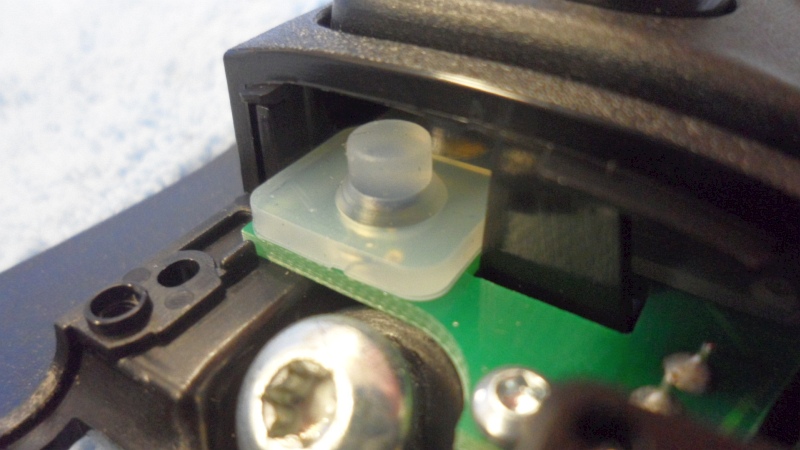
Now you can see the see the paddle shifter button.
Front & Back of the paddle.
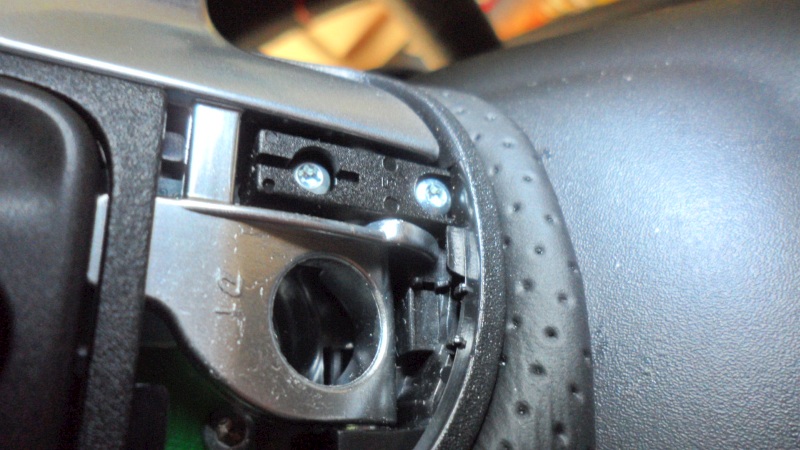
Remove Stock Paddles & Install SRT/Hellcat Paddles
I turned the paddles to the 2 o'clock position to get access to them on the back side of the steering wheel.
This gives enough room to R&R the paddles. Remove the cover, the 2 screws, the hold-down bracket
&. the paddle. Just reverse the process for the installation.
NOTE - The small plastic hold-down bracket will only go in 1 way as has a locating tab.
Also, remember you're putting screws into plastic so are they easily stripped.
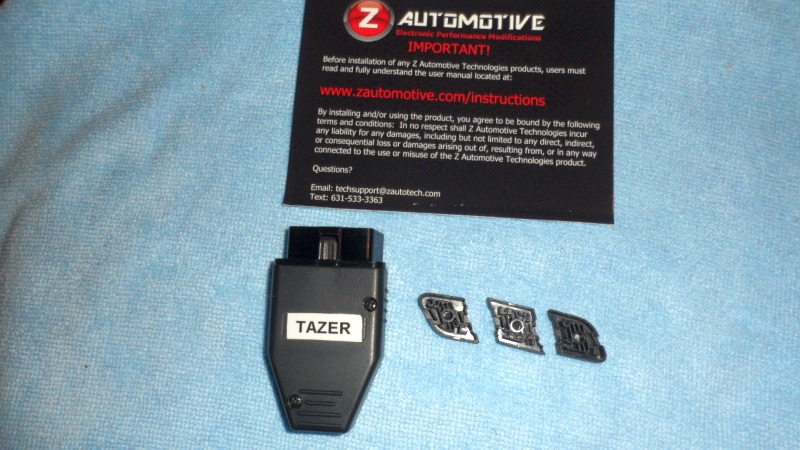
Z Automotive Tazer
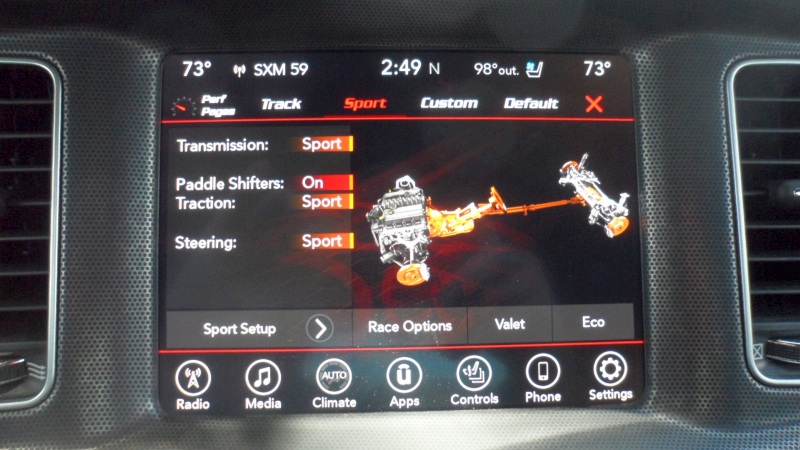
The Tazer can unlock SRT Drive modes including Track, Valet, ECO (2015-18 Scat Pack), enable factory Sport
Mode (5 speed and 8 speed), SRT EVIC Performance pages, and SRT performance pages in the Uconnect radio.
Enable paddle shifters if you add the factory paddle-equipped steering wheel. Enable factory fog lights and backup
camera & grid lines. Disable TPMS. Change DRLs. Enable Shift Light on 2015+ (6.4L). Disable in-motion navigation
lockout. Disable seatbelt reminder chime and more.
Here are just a few:
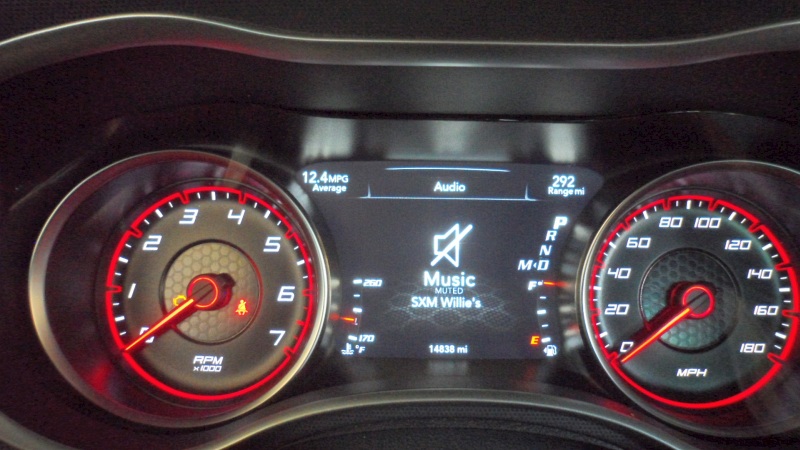
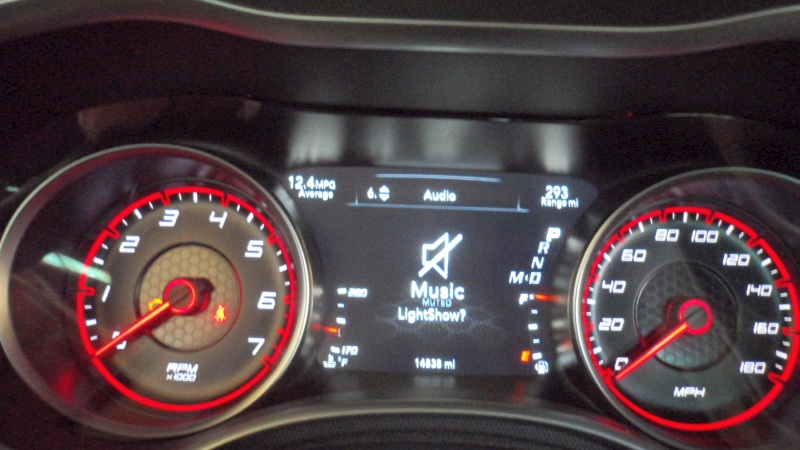
- Light Shows - 6 canned (configurable) & 3 Custom
- Line Lock
- Launch Control
- Kill ESP
- Button Remap
There are two modes of operation, Static & Live. The static mode works without the Tazer installed in the OBD II port & the Live mode requires the Tazer to be installed in the OBD II port. IE - Light Show
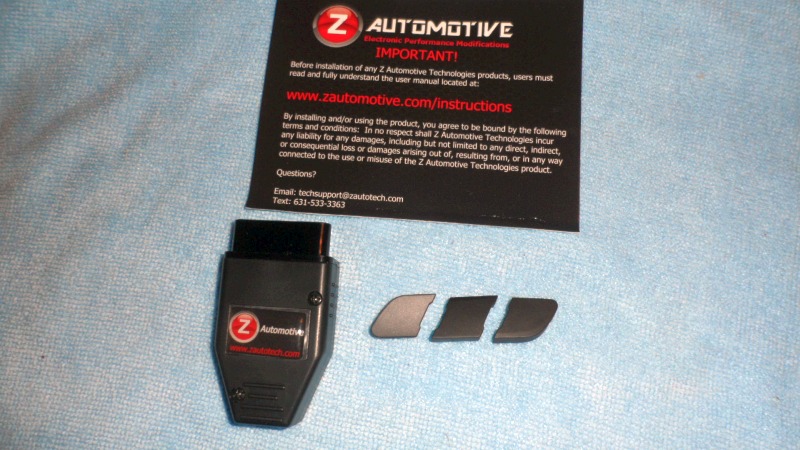
I bought the Tazer & the Aux button covers.
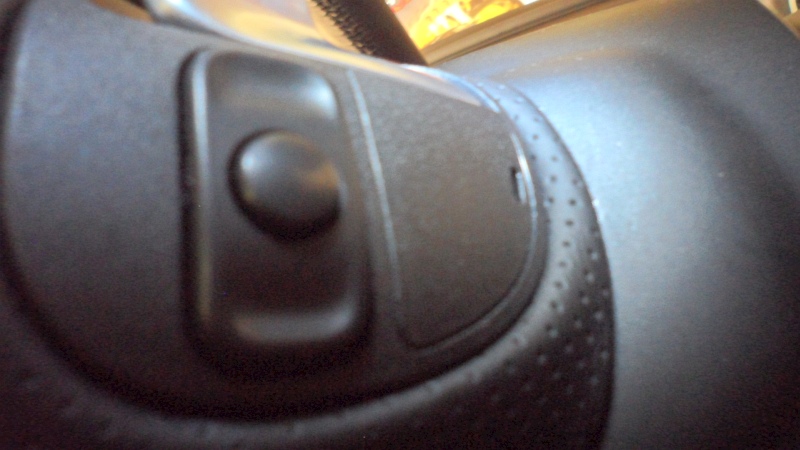
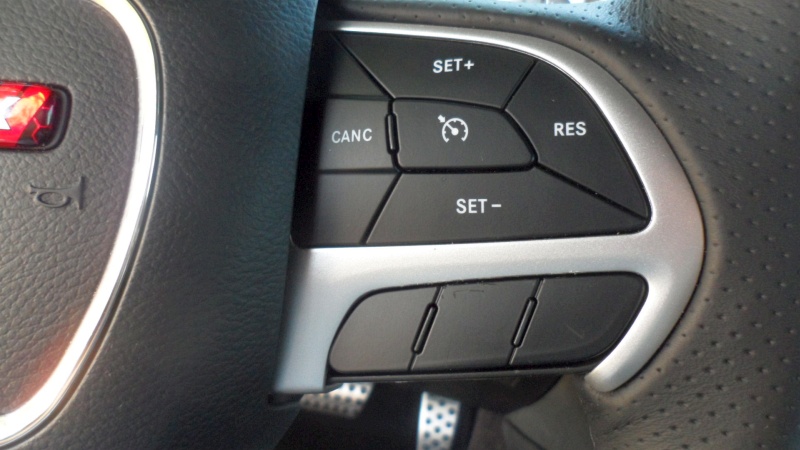
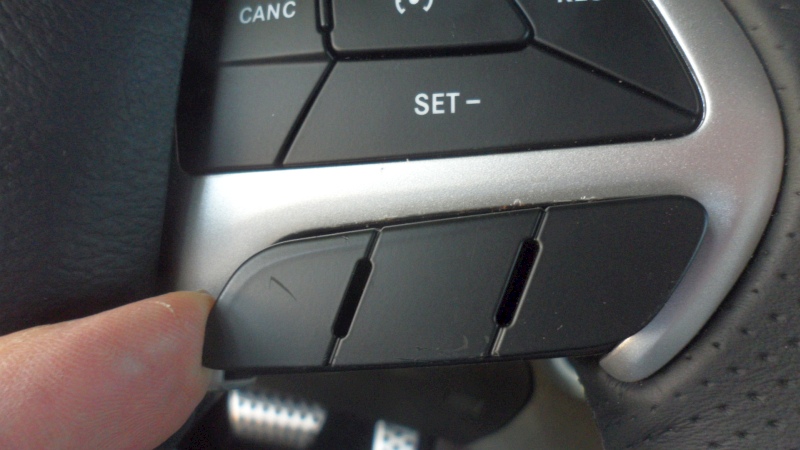
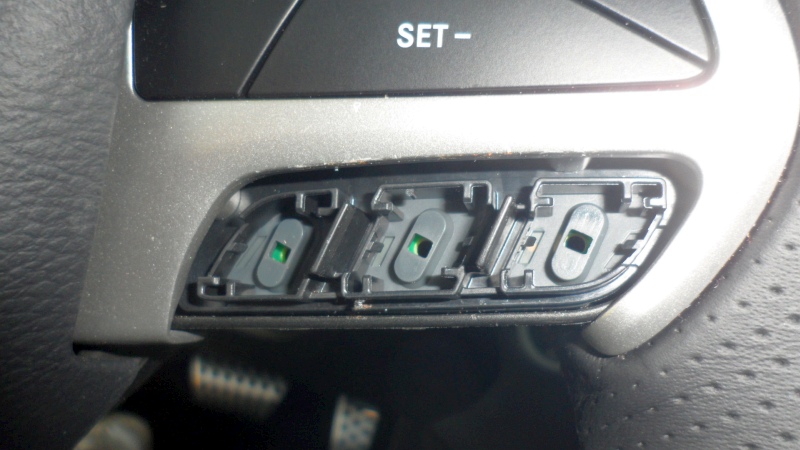
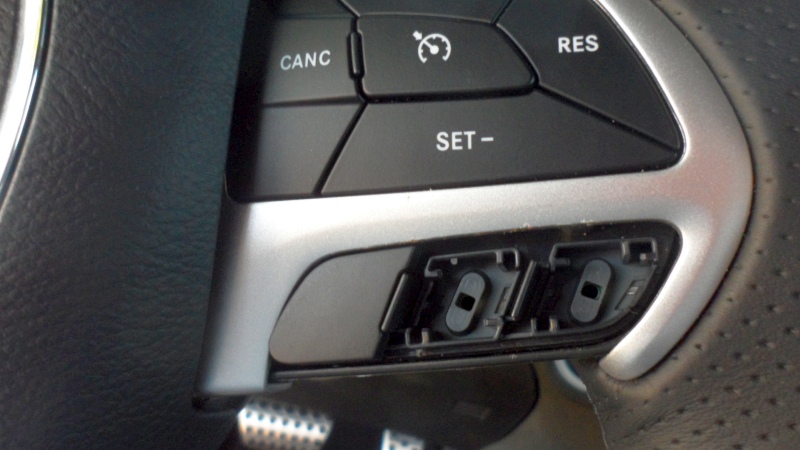
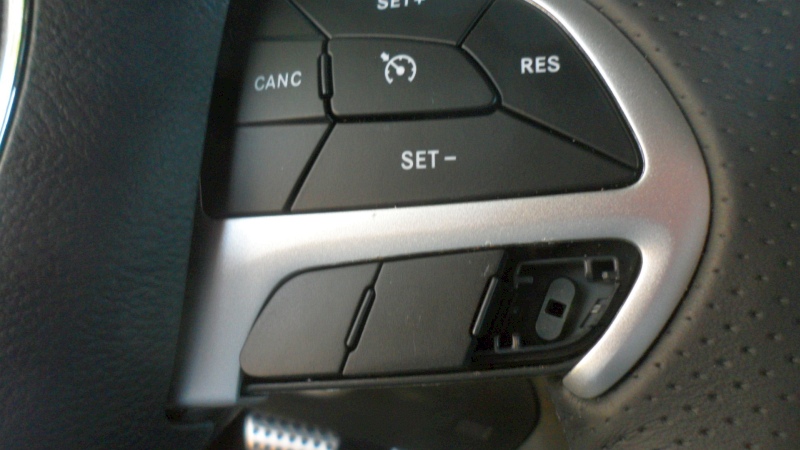
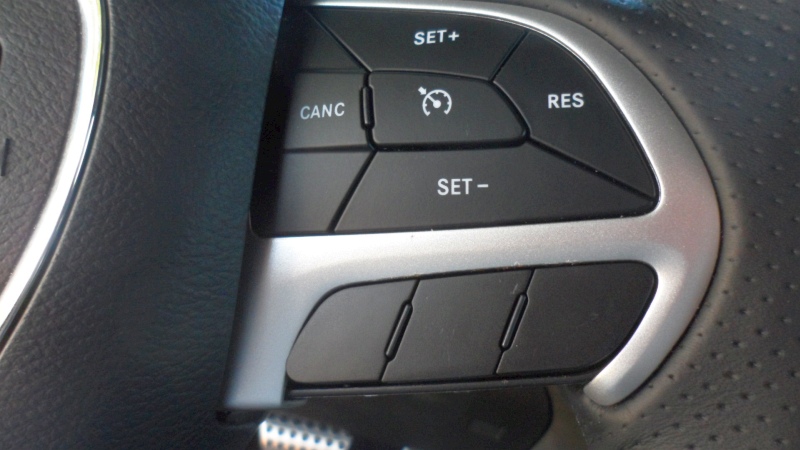
Steering Wheel Buttons
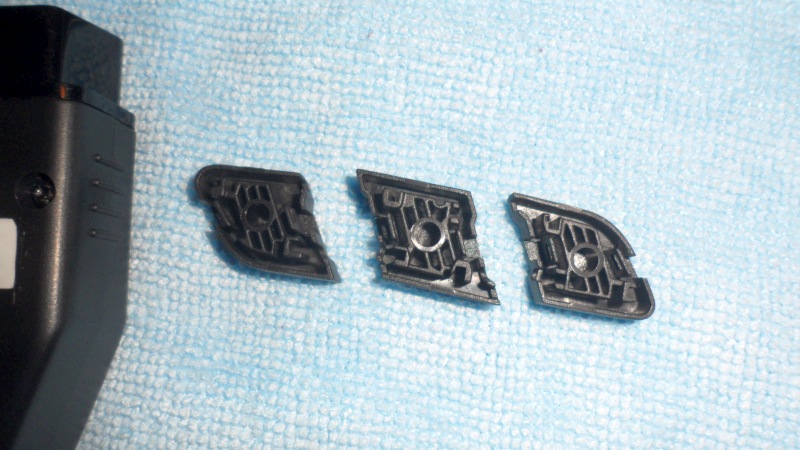
There are 3 AUX buttons that are not functional on the Scat Pack. But, Z Automotive has found a vendor to replace the covered buttons & make them usable via the Tazer remap function. Be aware there are 2 versions of the buttons. You have to remove the cover to ID what version you have before you order from Z Automotive.
Z Automotive Tazer Install
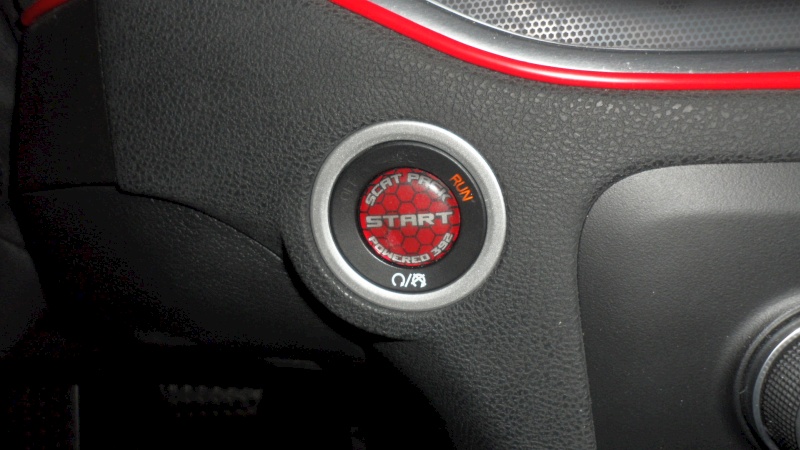
First check the Tazer for the latest software before you install it in the OBD II port. See Tazer Update for more info. Next press the Start Button twice to get into RUN Mode and no start mode.
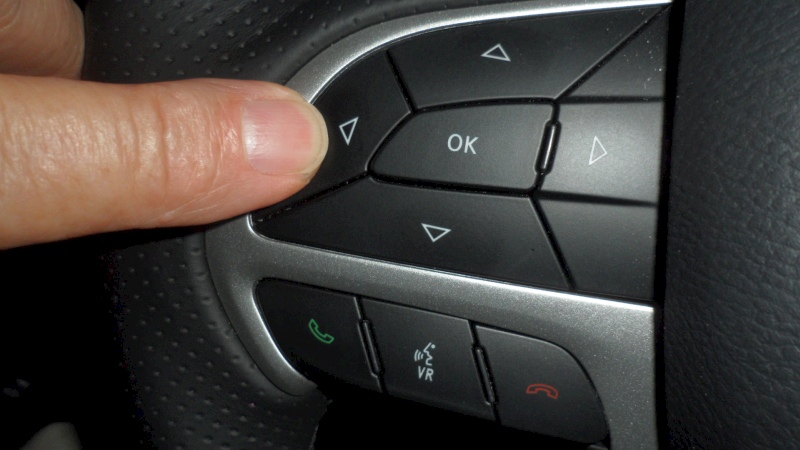

Next, tap the Cancel button until you get to FULL REBOOT & select it with the Cruise button.
Release the the Left Arrow button & follow the instructions on the EVIC. Once the reboot completes, press the Start Button & Exit the car. Once the lights go off you can now re-enter the car & access the Tazer menus to select the options you want, like the SRT pages.
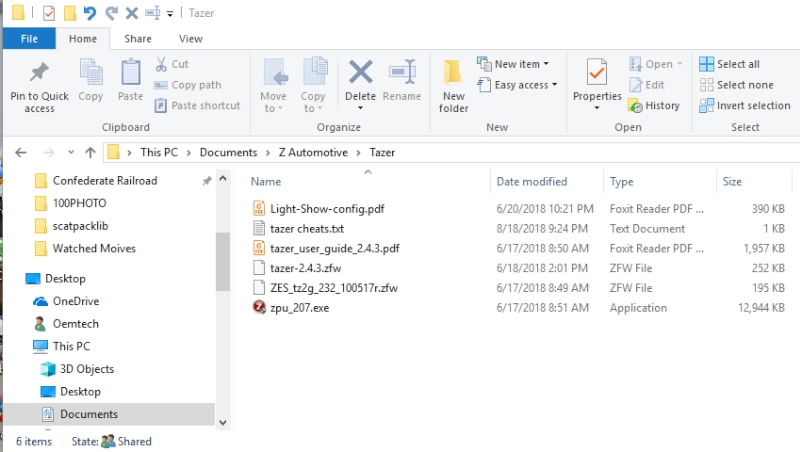
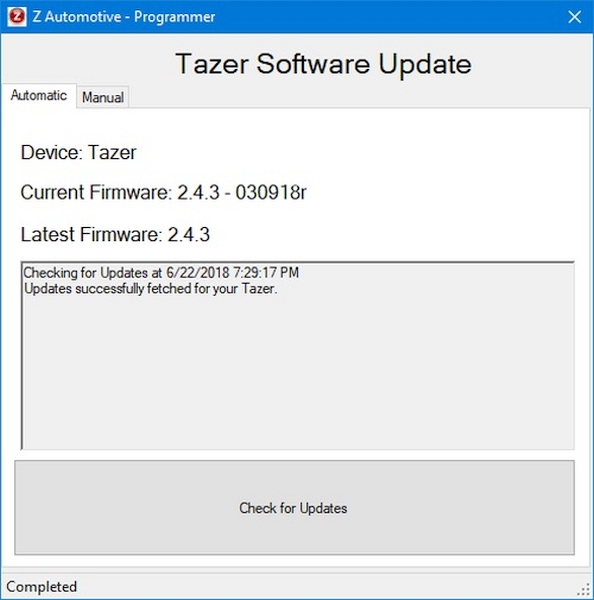
Tazer Update
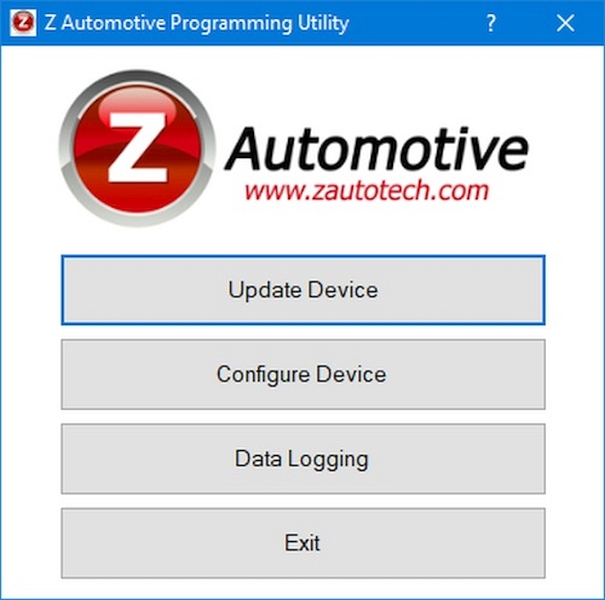
To update the Tazer you need to download & install the Z Automotive Programming Utility (ZPU).
Next you need to connect the Tazer to your PC via the supplied USB cable. Windows may do some setup when you plug it in for the first time. Wait for this to complete before you bring up the Tazer Programming Utility.
Next you need to check the Version of the installed Tazer software by clicking on Update Device.
In my case my Tazer was at the latest level. It should be noted that if your software level is 2.4.1 or older "YOU NEED TO UPDATE TO 2.3.2 AND RETURN VEHICLE TO STOCK BEFORE YOU UPDATE TO 2.4.3". This is a direct quote from Z Automotive.
Should you have to back level the Tazer you will need to do a MANUAL update. Download the 2.3.2 & 2.4.3 update files.
Once you have the files downloaded, click on Update Device, click on Manual, click on Select Firmware, select the 2.3.2 file and click Upgrade.
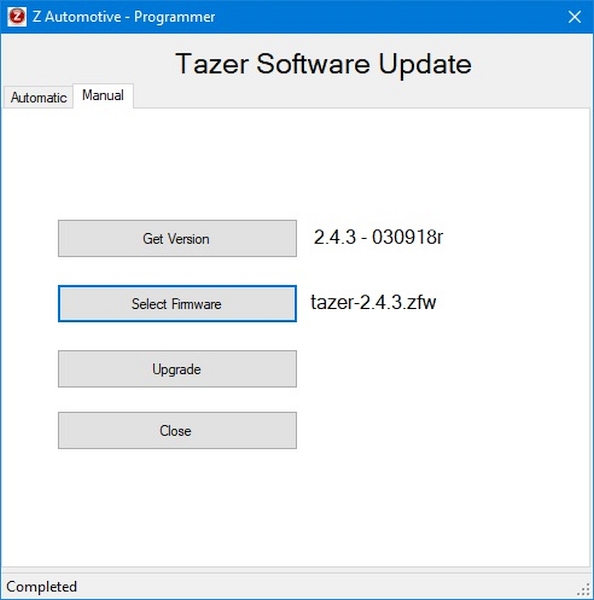
Now repeat the process for the 2.4.3 update.
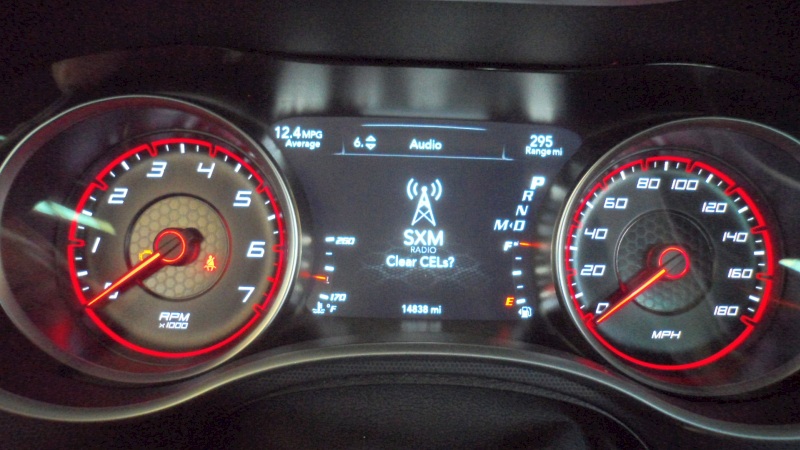
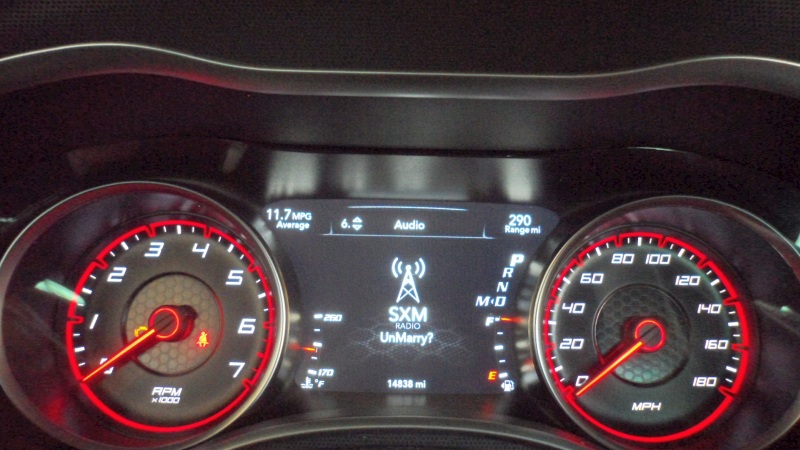
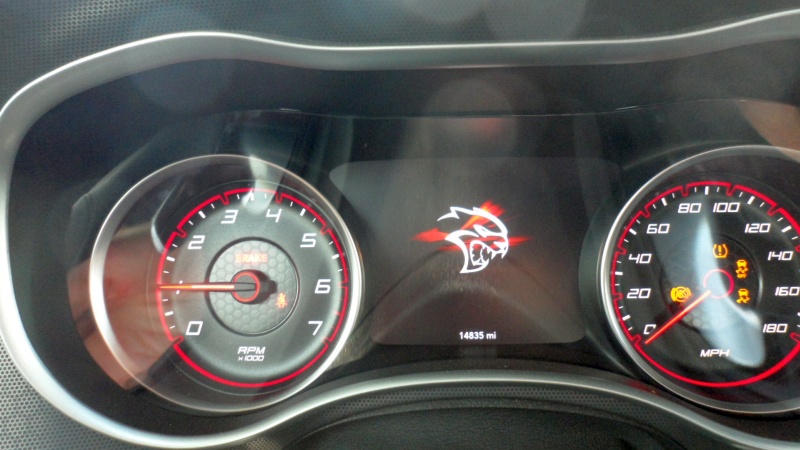
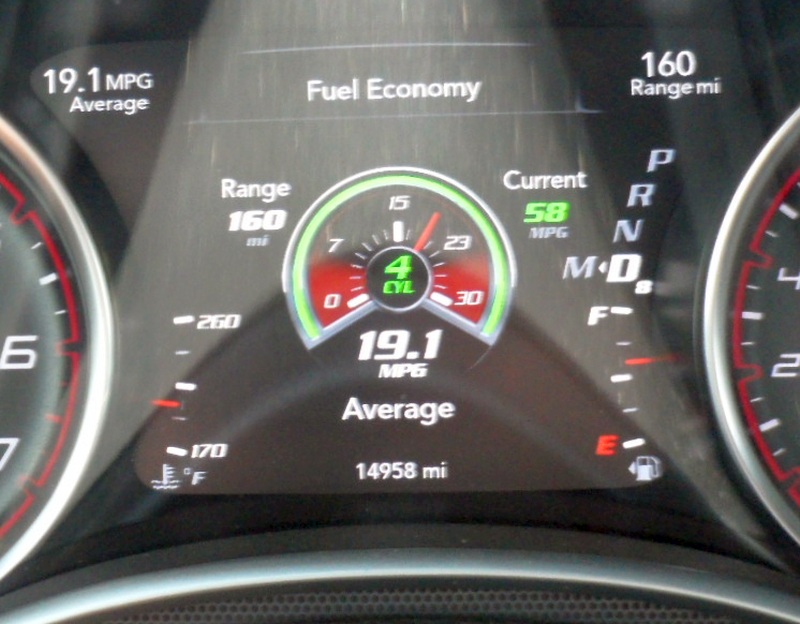
Screen Changes
Once you load the SRT pages a few things change like the EVIC splash screen. You lose the Scat Bee & have a choice of Charger, Shaker, Hellcat or None. I Picked the Hellcat.
The UConnect Start/Exit Screen changes from Scat Pack to SRT.

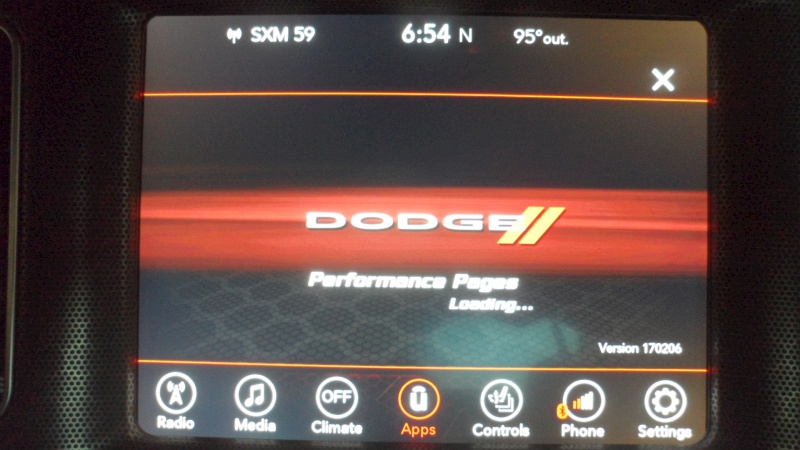
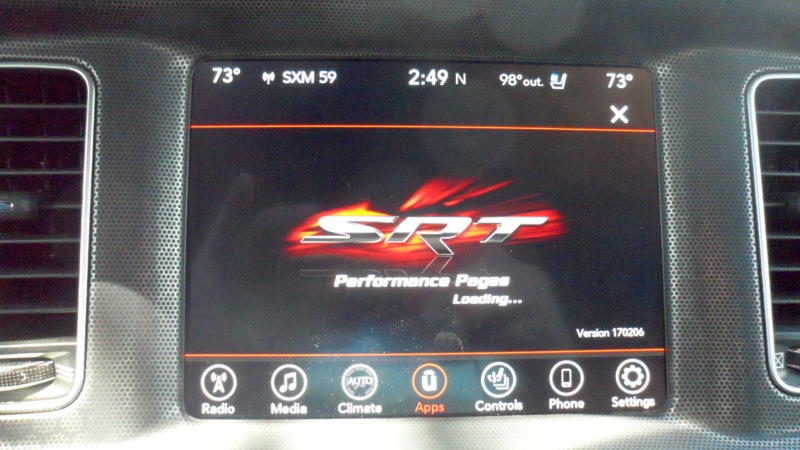
The Performance Pages start up changes.
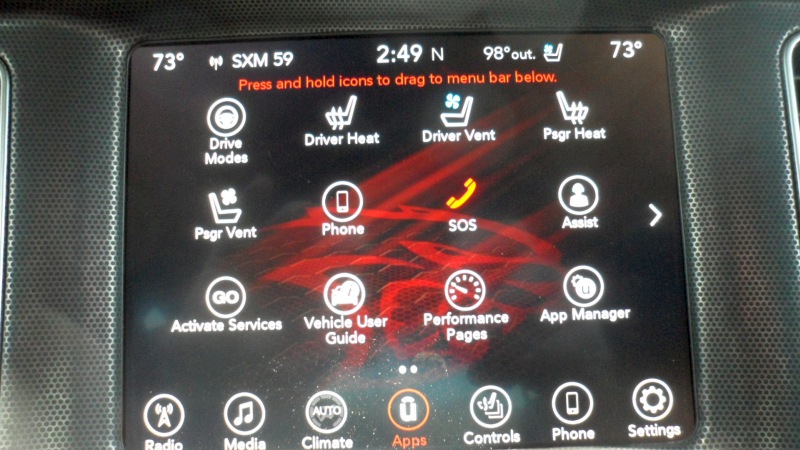
Drive Modes gets added to the APPS screen.
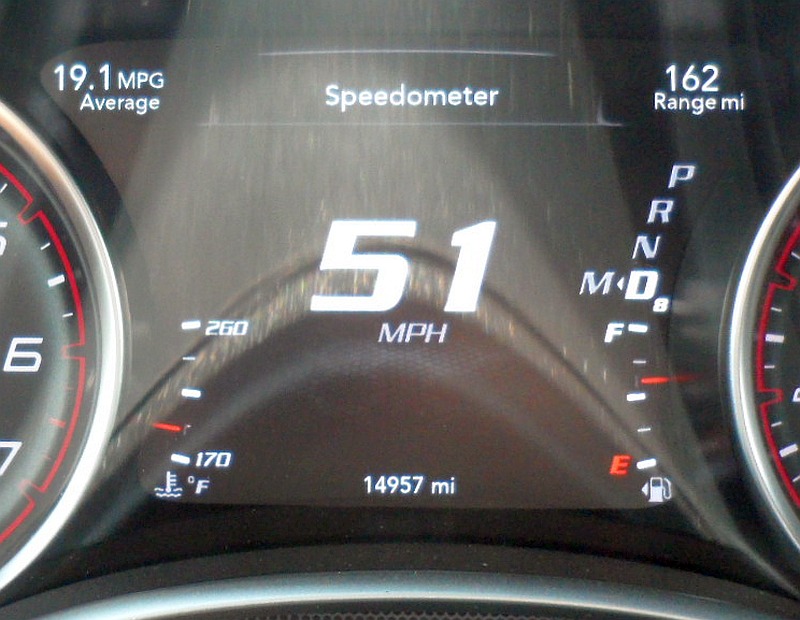
The Speedometer screen font is different
The Fuel Economy screen change is really cool. It show's 4 cyl mode, avg fuel mpg, instant/current mpg & range.
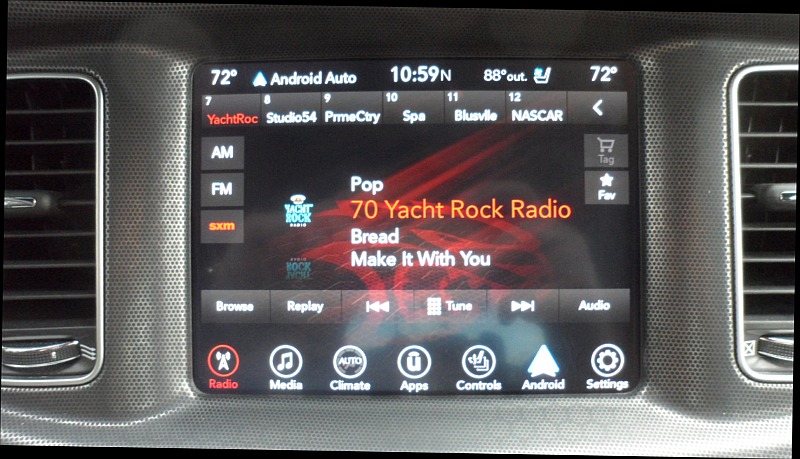
Uconnect - Shortcuts
Here are some Uconnect radio shortcuts. IE - a combination of radio buttons or screen presses.
- The UAQ is window stick code 4, 8.4" Uconnect with Nav/Apple CarPlay/Andriod Audio.
- The UAS is window sticker code 4C, 8.4" Uconnect with Apple CarPlay/Andriod Audio.
NOTE - After any radio changes it is a good idea to EXIT the car ( key off and open the door).
Uconnect - Soft Reset
This option should work on all Uconnect radios.
- Key on, ACC
or - Key on, Run, no start
or - With the engine running
- Press the radio Volume and Tune buttons and hold for a few seconds.
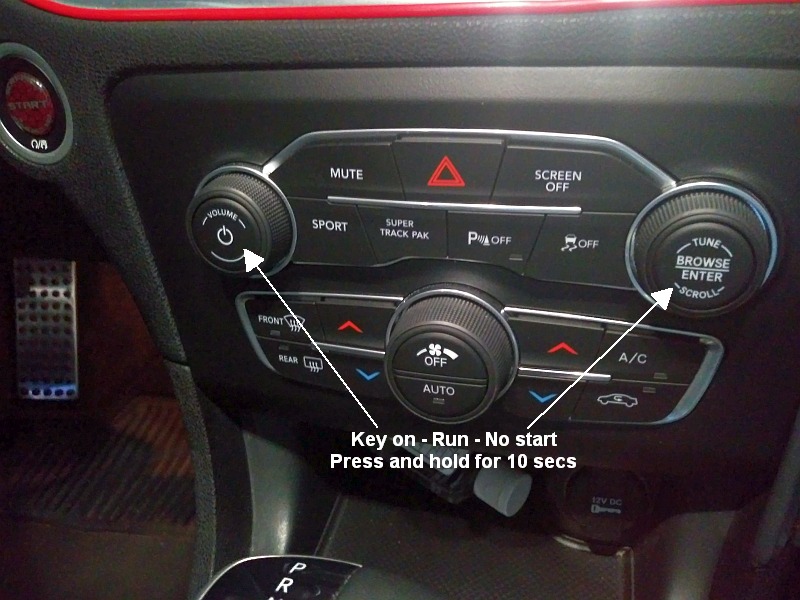
Uconnect - Hard Reset/Master Reset
This option only works on UAQ and UAS Uconnect radios.
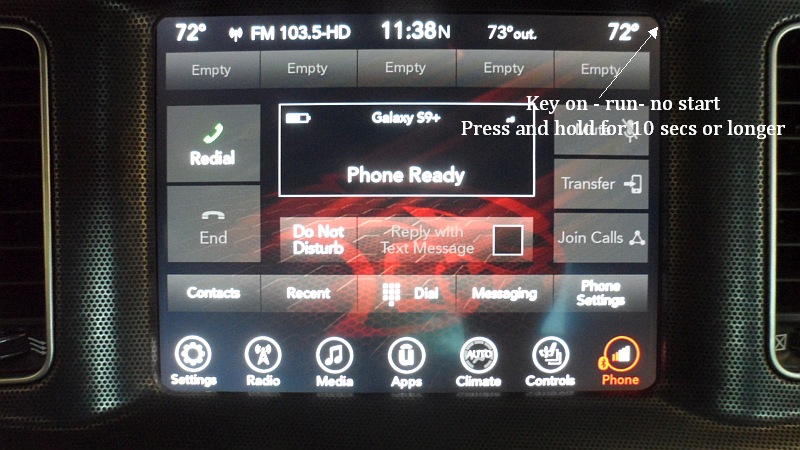
- Key on, Run, no start.
- Click on the Phone icon.
- Hold the top right corner of the screen for about 10 seconds or longer.
- The radio will shut off and restart.
- Key off and Exit the car.
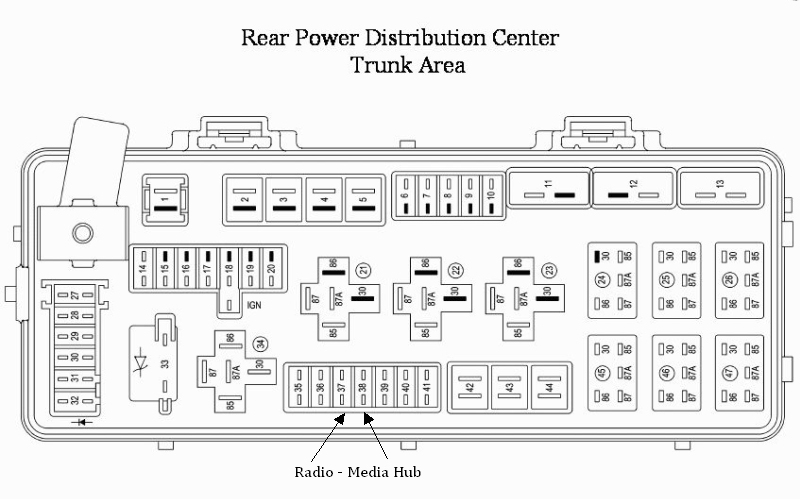
Alternate Hard Reset
If the Uconnect Hard Reset/Master Rest does not work via the screen option you can also do it via the rear fuse panel located in the trunk.
- Pull fuse 37 - Radio
- Pull fuse 38 - Media Hub (USB/Aux Ports)
- Wait 1 minute
- Reinstall the fuses
- Restart the radio
Dont be surprised if you see a Blue Chrysler Logo at startup. This should go away once the radio completes the reboot function.
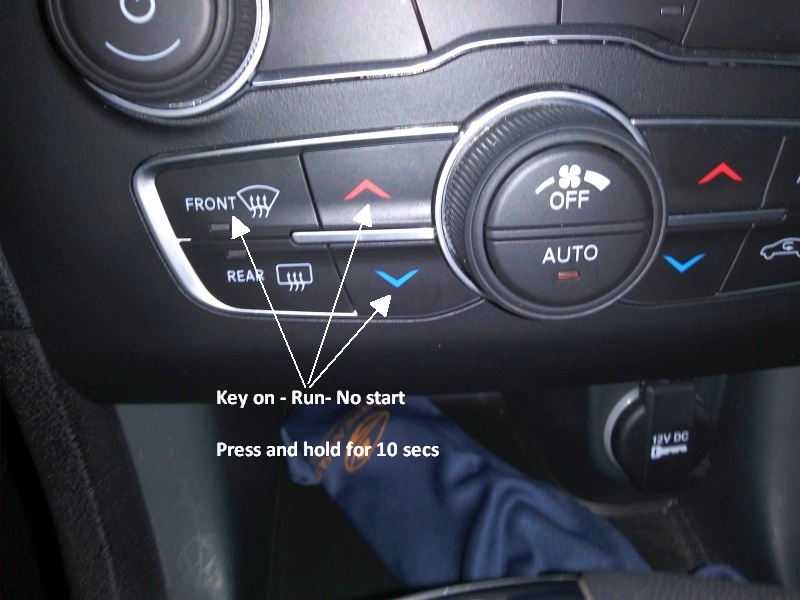
Uconnect - Engineering Options
This option works in 2016 and below. I say that, as it DOES NOT work on my 2017 Scat Pack with a UAS None Nav radio.
- Key on, Run, no start
- Press the driver's side up/down temp controls - it takes about 10 seconds.
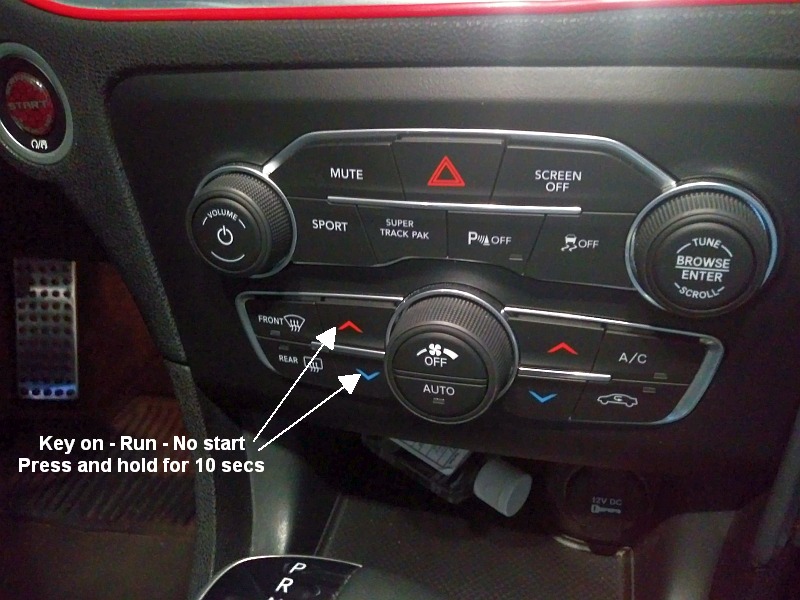
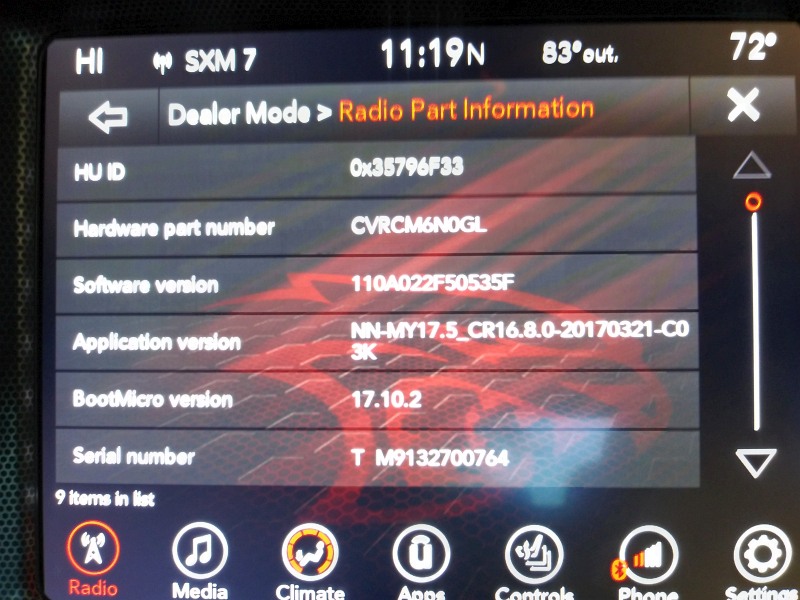
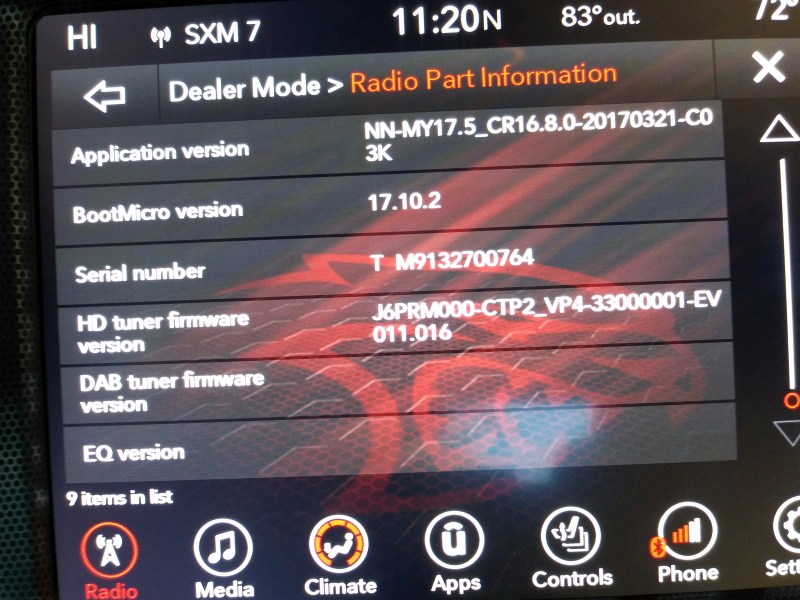
Uconnect - Dealer Options
To get the Uconnect radio info you have to be in dealer mode. Here is how to access dealer mode.
- Key on, Run, no start
- Press the driver's side up/down temp controls & the defrost button - takes about 10 seconds.
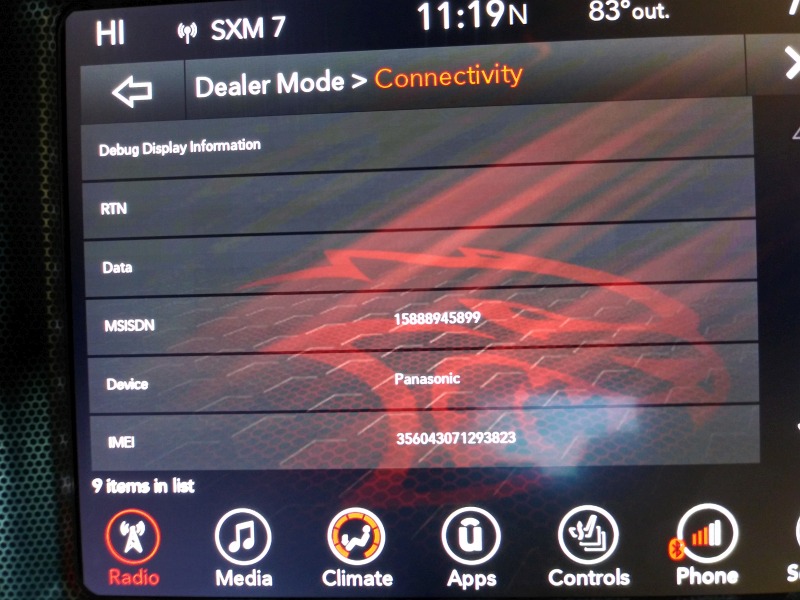
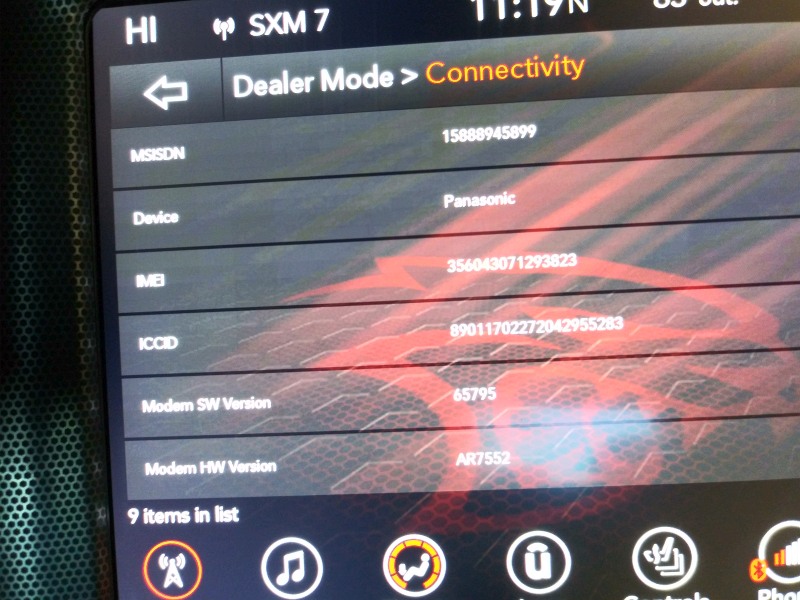
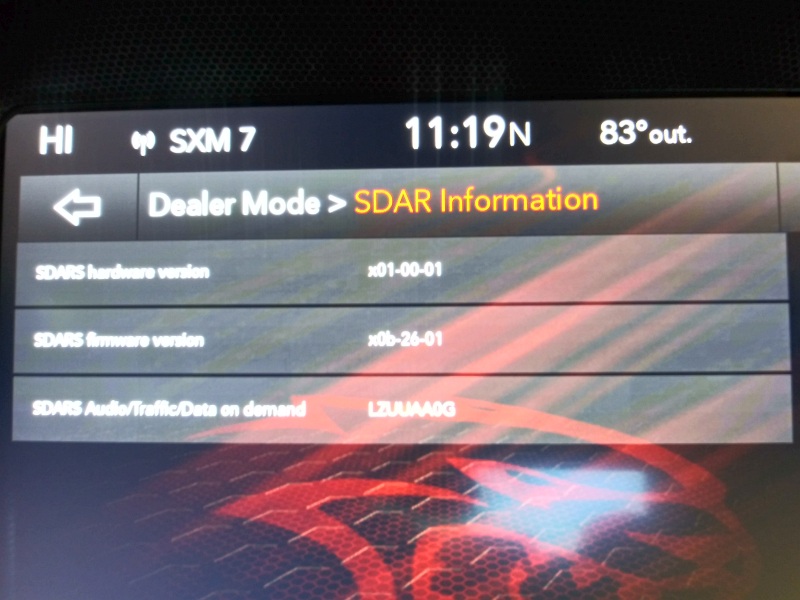
Dealer Option - Screens
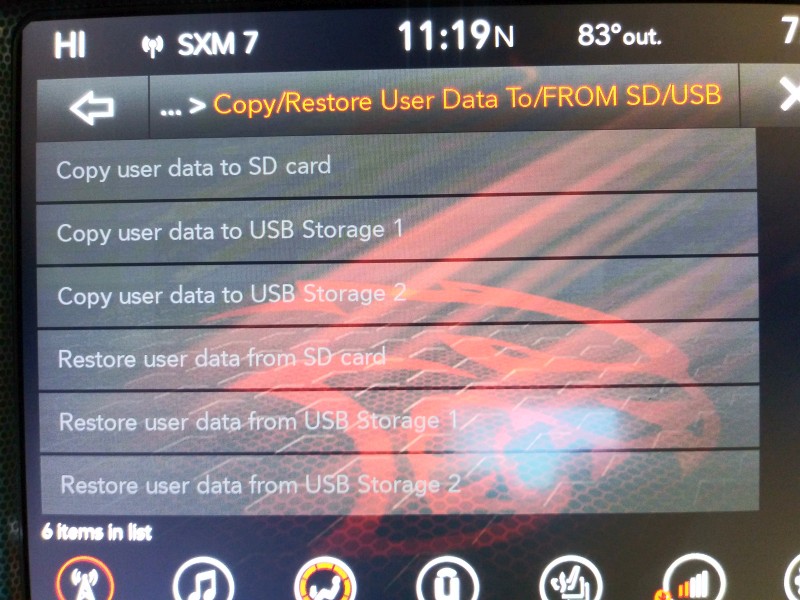
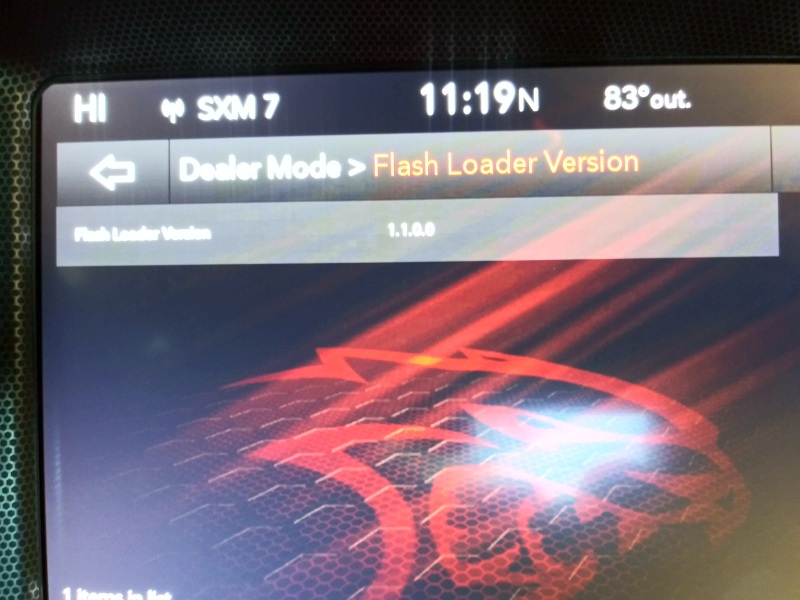
GPS
Car Navigation - Part 1
When I first started driving and planned a Road Trip you sat down with a bunch of gas station road maps,
a note pad and a pencil to plan out your route and make notes on what road to use and where to turn. Of course,
you needed a co-pilot to read off the turns. Today you push a button on a Smart Phone to set your destination
and you are good to go. All the turns are displayed on your audio screen and the turns are given to you in very
nice voice via the audio system. More than likely you will be using the OEM Nav system or Android Auto or
CarPlay.
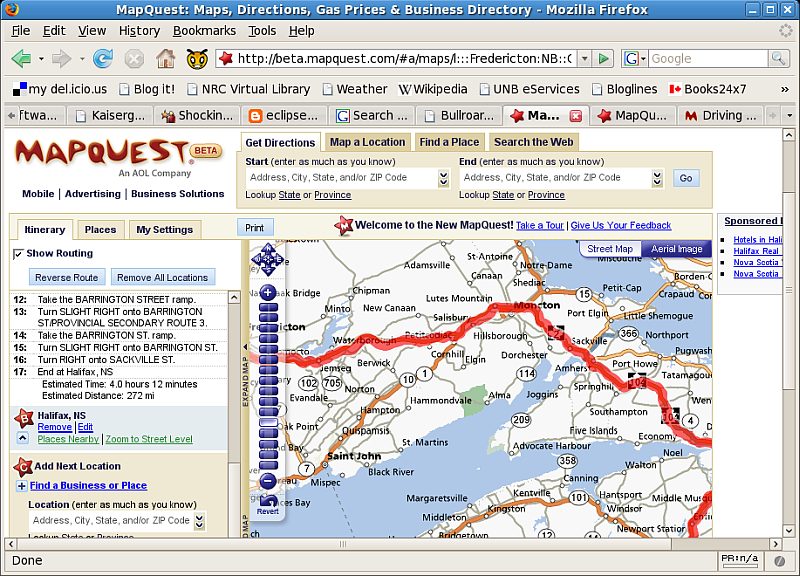
We started with this.

With the advent of the PC we got rid of the notepad and pencil. Programs like MapQuest allow you to key in a start location, and a destination to plan your route and print out the directions.
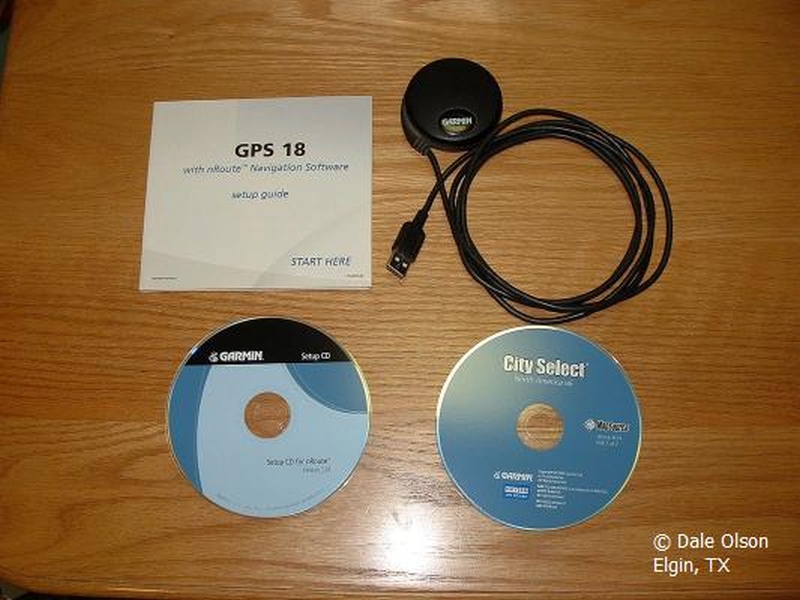
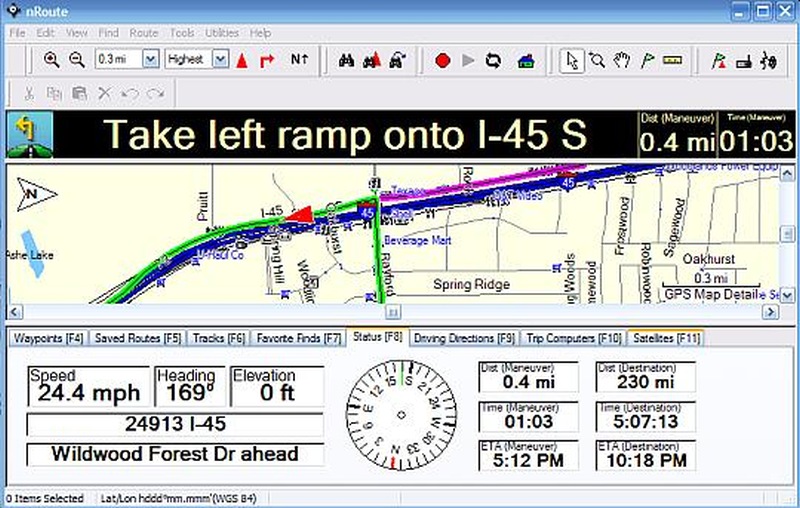
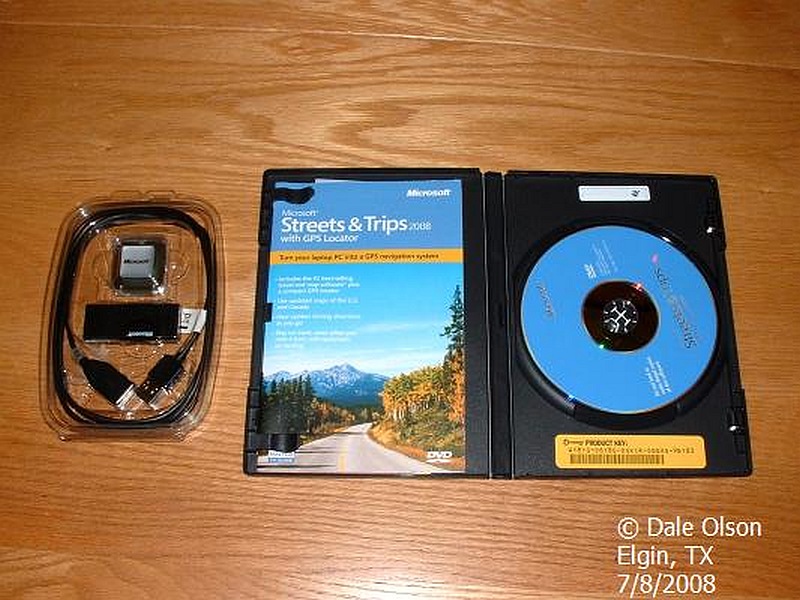
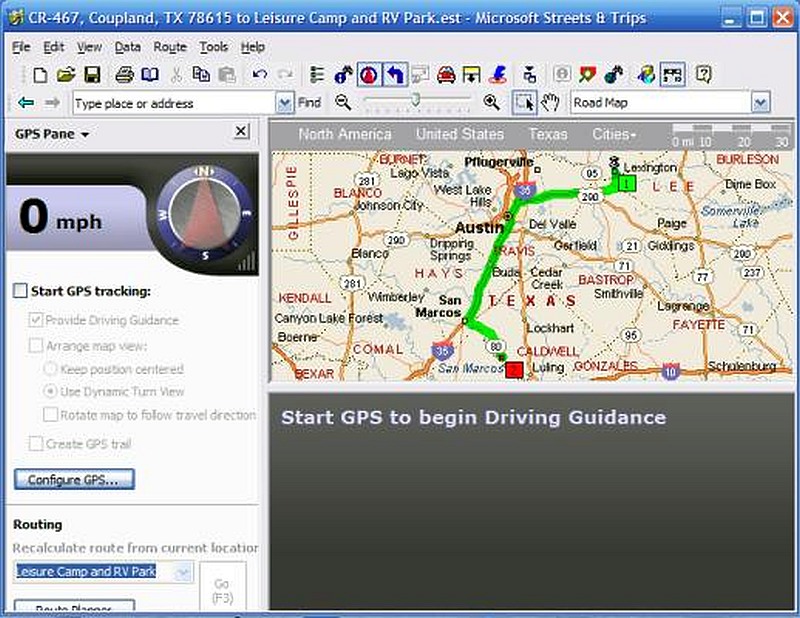
GPS was conceived by the Defense Dept for military use in the 70 s and ultimately released to the public. This opened the door to PC-based programs like Garmin GPS 18, Microsoft Streets & Trips, Co-Pilot and others. You needed a Windows-based PC, a GPS receiver, cables (USB or Serial) and some software.
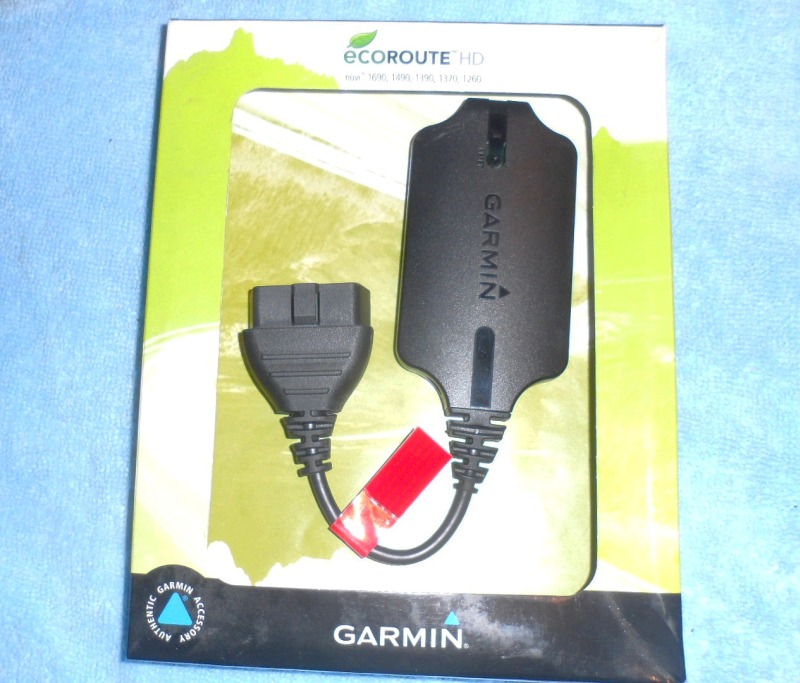
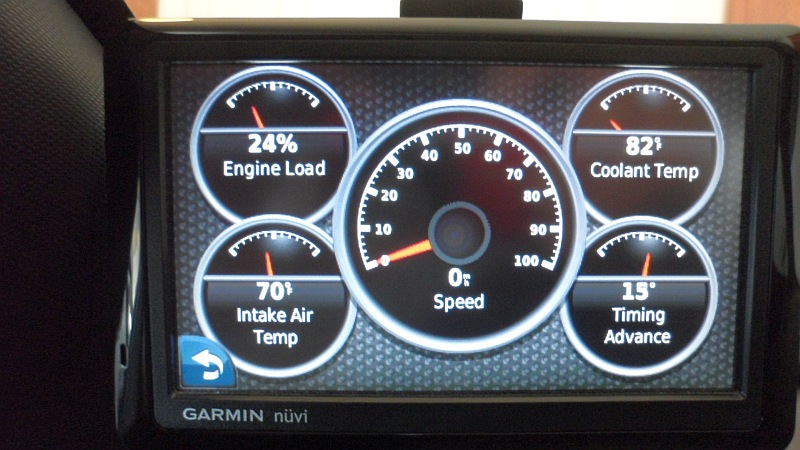
Garmin GPS 18
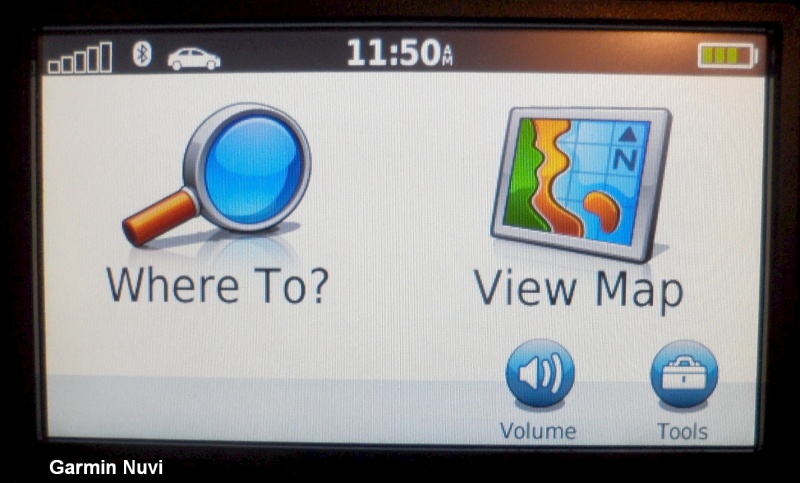
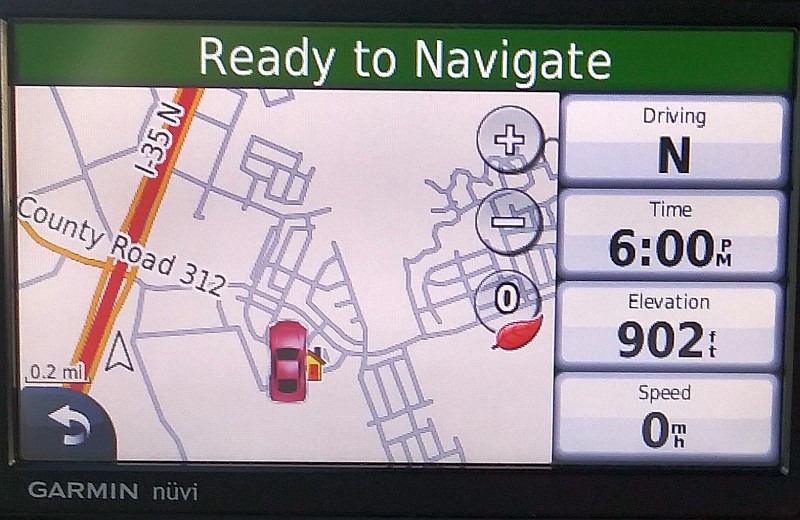
Of course it wasn t long after this that the hand-held GPS receivers started to pop up. The big players were Garmin, TomTom, Magellan, Mio Tech, Lowrance and others. Some had Life Time map updates, Live traffic updates, Bluetooth and music players along with SD card expansion to store maps, and music. Garmin even had a Bluetooth ECO/OBD2 add-on that sold for the sum of $75 in 2011(I still have the receipt. lol).
With the natural progression of technology the next move was to integrate the GPS receivers into the car's audio system. The OEMs charged an arm and leg for this service. This also charged big bucks for map updates that were anywhere from 1 year to 2 years out of date.
FYI - Dodge wanted $600 just to activate Navigation when I bought my 2017 Scat Pack.
My 2008 Corvette has a really cool feature as part of the HUD. It will display your next turn on the HUD with audio.

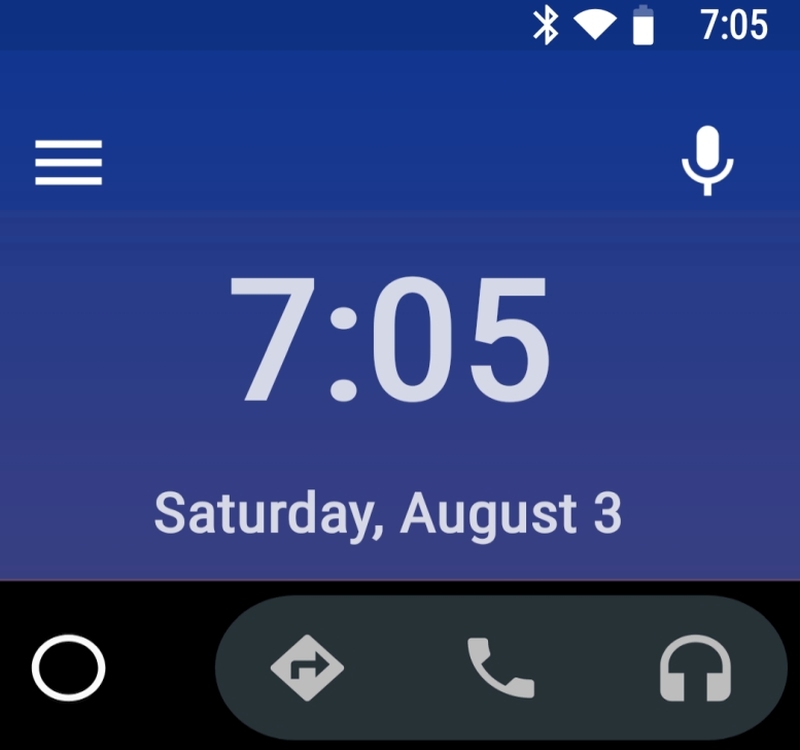
Android Auto - Part 1
Car Navigation - Part 2
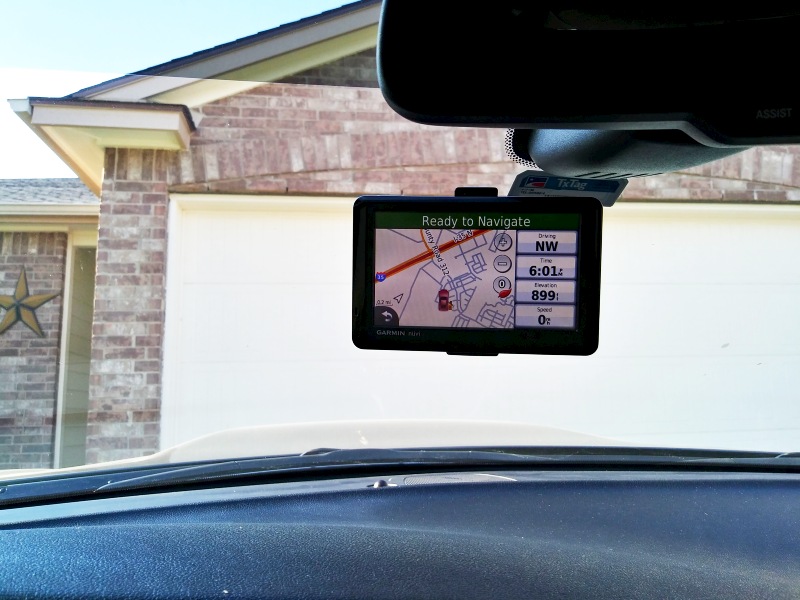
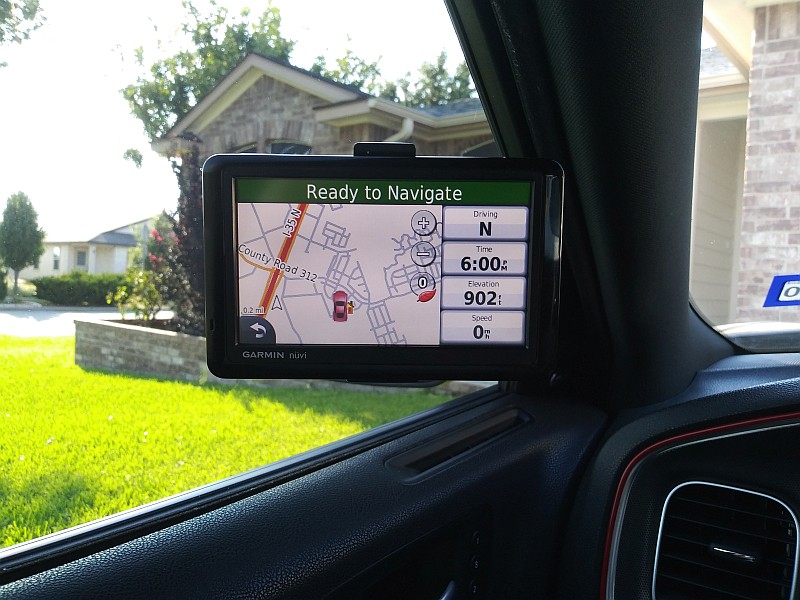
Being that the OEMs want $$$ for onboard navigation I opted out and used a Handheld Garman attached to the
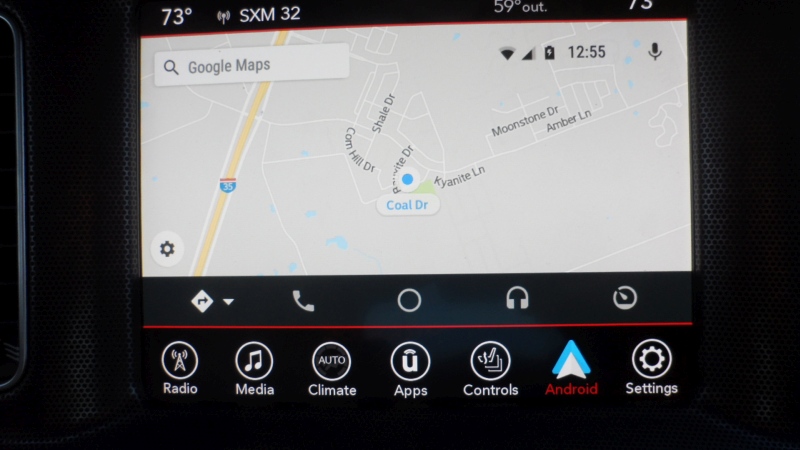
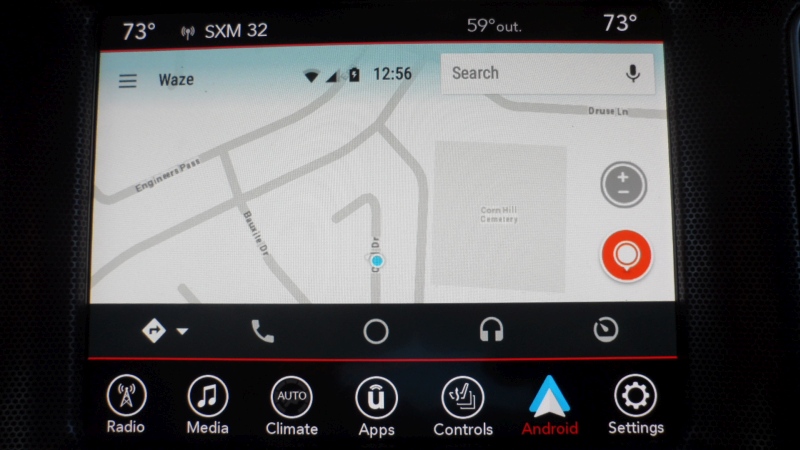
windshield or the driver-side widow. Of course, when the smartphone arrived on the scene I jumped on Google Maps
and the Waze. This all worked until Android Auto came out (2015). If you have an iPhone you will use
CarPlay (2014). It wasn t until about 2017 that both systems were generally available on most car's audio systems.
The current Android Auto does require a USB connection to the phone. A WiFi connection is in the works.
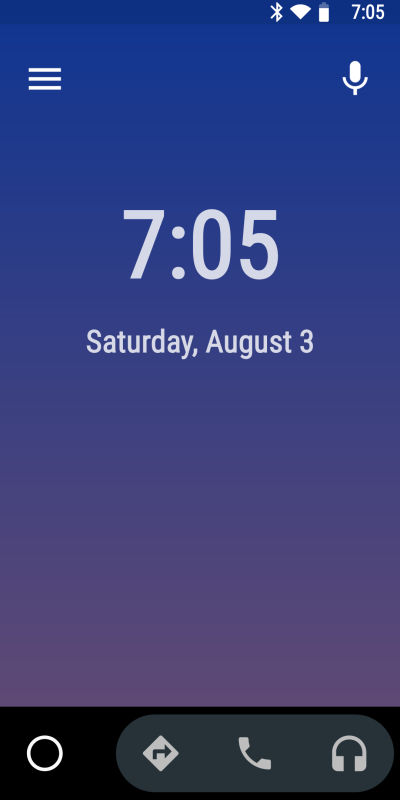
Before Android Auto
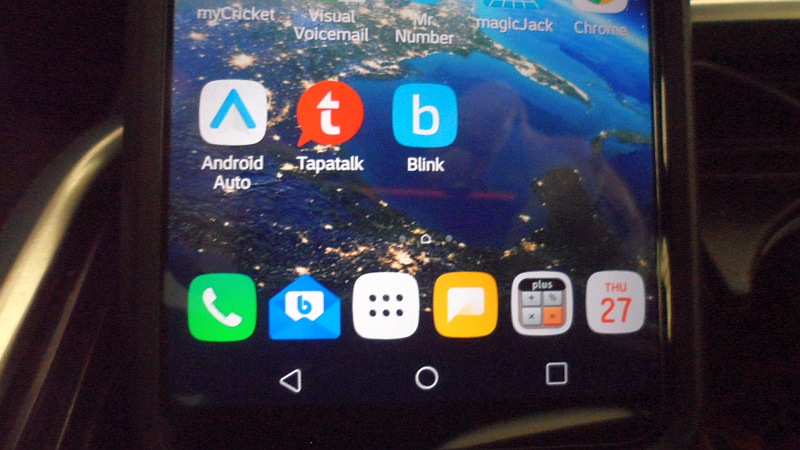

Android Auto - Part 2
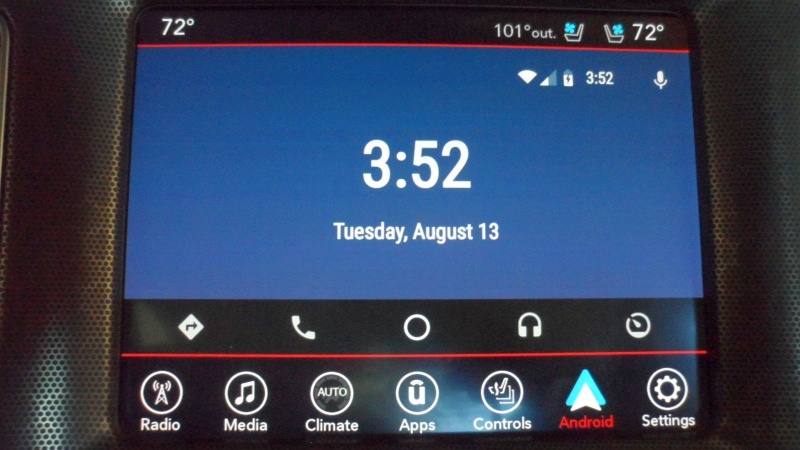
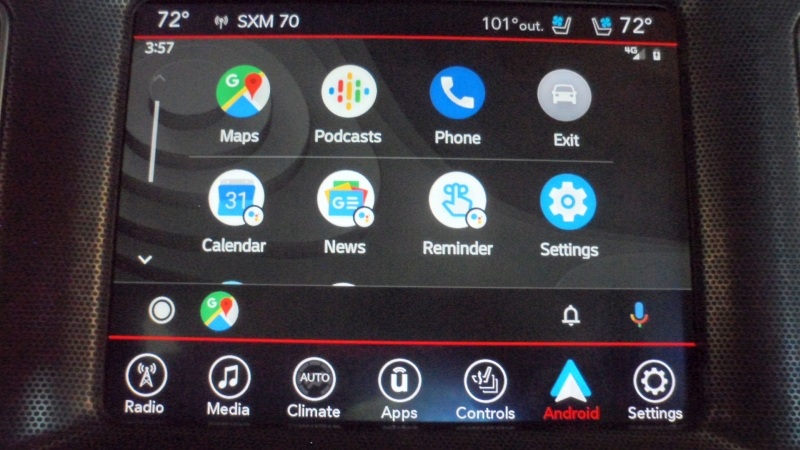
New Android Auto Interface
Google is rolling out a new interface to Android Auto. Instead of a home screen, you will have a
Menu-driven display with icons for Google Maps, Waze, Phone, Calendar, Podcasts, News, Reminder, Wheather,
other installed Android Auto Apps, Settings, and Exit.
Android Auto - Part 3
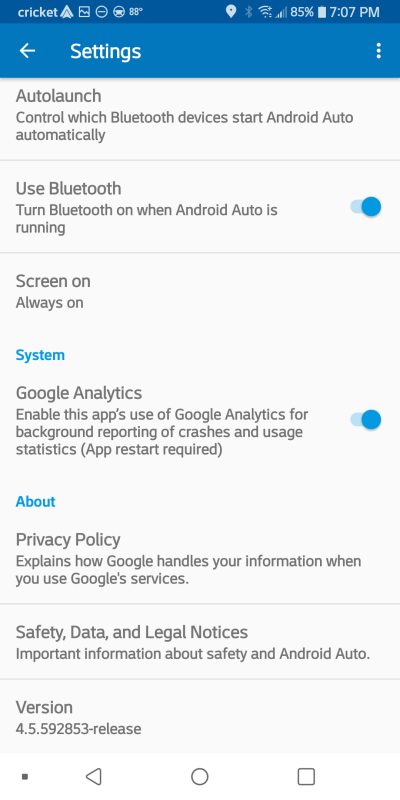
Settings - Configuration
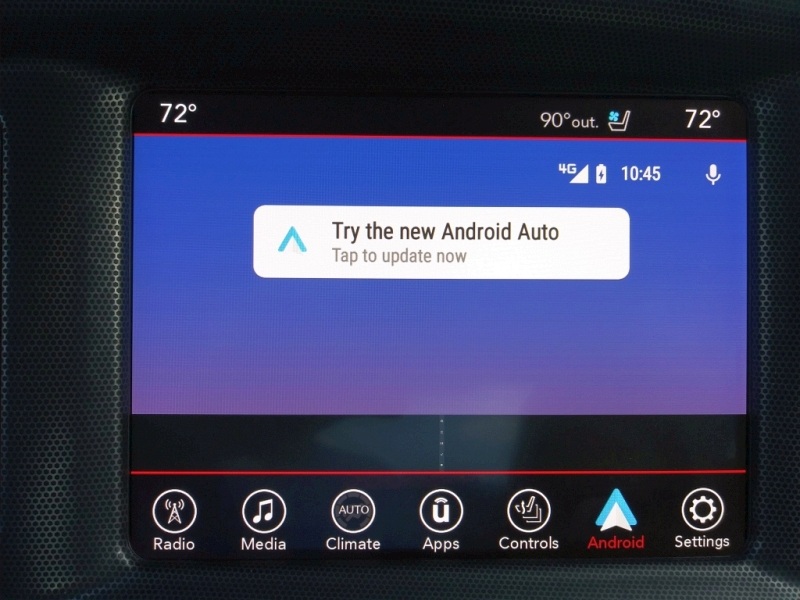
There are a couple of configuration changes that you need to do for Android Auto to connect to your car's
audio system. This should be done BEFORE you attach the USB cable. Start Android Auto and
click on the 3 bars at the top left corner once the app opens.
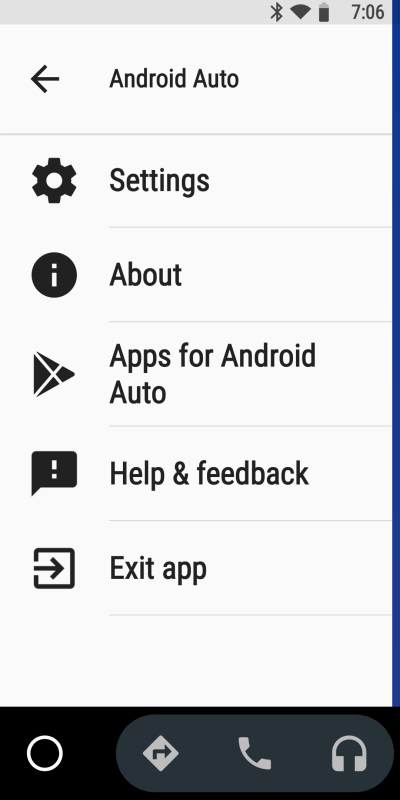
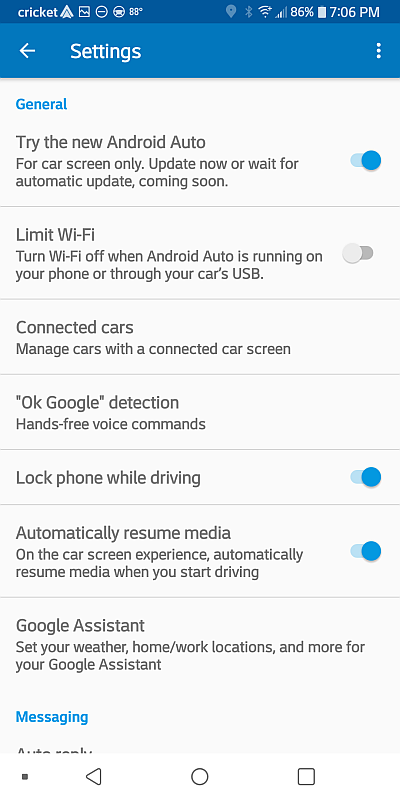
Now click on Settings. Options to look at:
- Try the new Android Auto -? Your Choice
- Limit Wi-Fi - On
- Lock phone while driving -? Your Choice
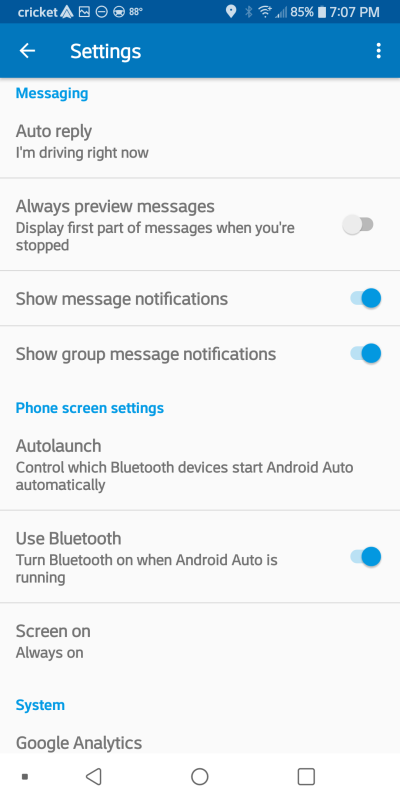
- Always preview messages - On
- Autolauch - Off. Why? It will start Android Auto even when the USB is NOT plugged in.
- Use Bluetooth - On
More Options
- Google Analytics - Off
- Version
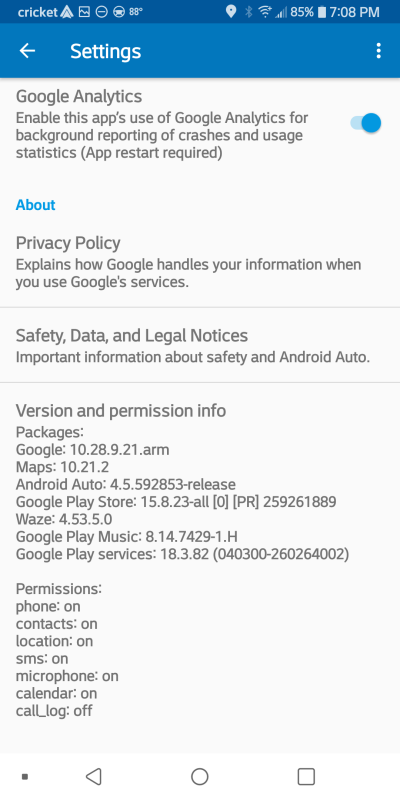
Devloper Mode
If you plan to add any Android Auto apps you will have to turn on allow install from Unkown Sources.
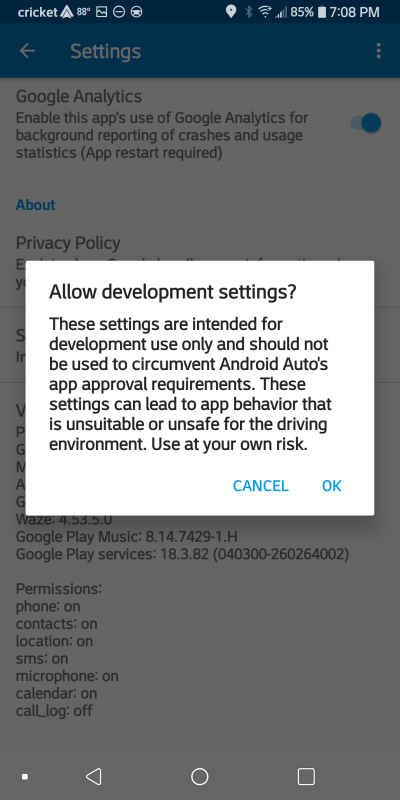
Allow installation from Unknown Sources is a Developer Option. To get into Developer Mode tap the
Version section 10 times. This will bring up a screen to Allow Developer Settings. Click OK and
now you can turn on allow install from Unknown Sources. Now click Developer Settings to make any changes.
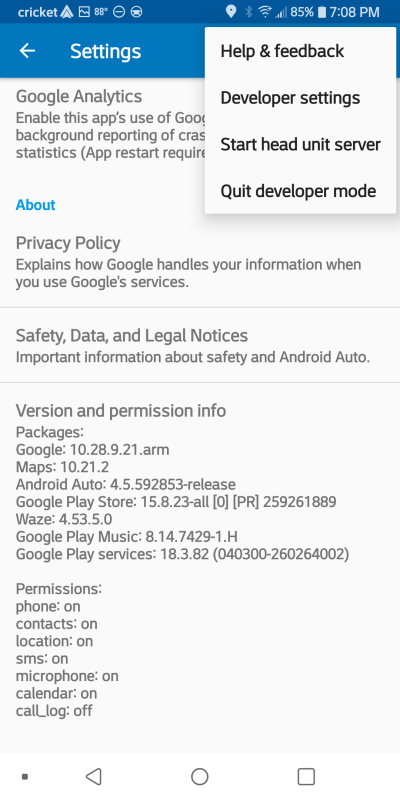
Developer Settings

