Scat Pack Mods - Engine Bay
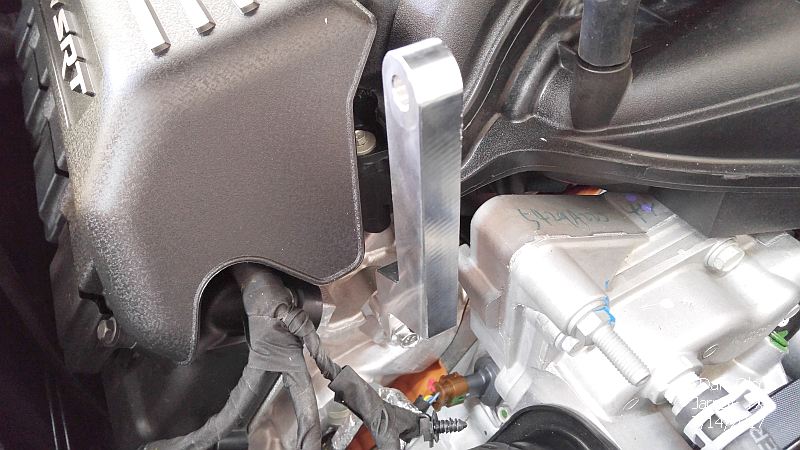
Catch Can Install
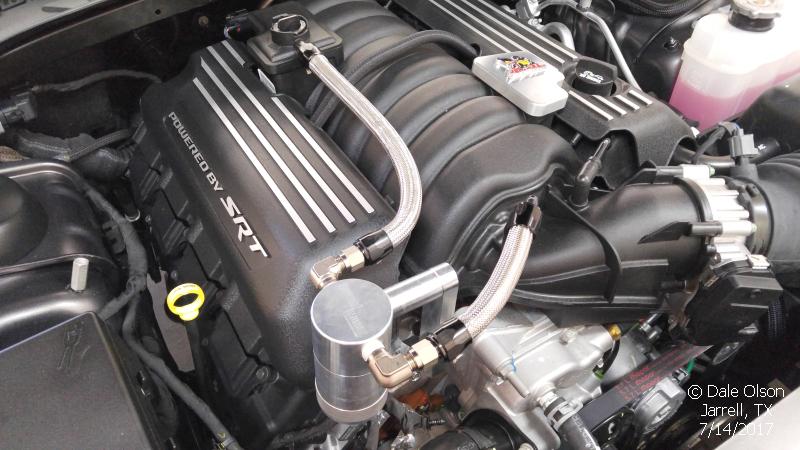
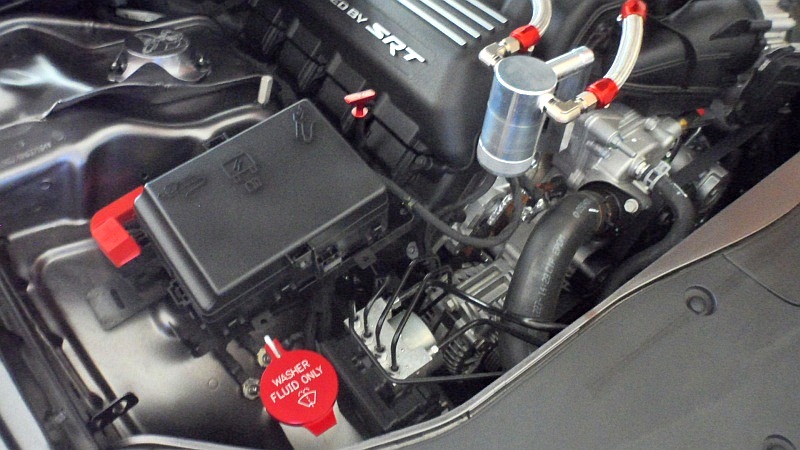
Just about every modern car with direct port injection needs a Catch Can. Dodge is no exception. Most catch cans are mounted between the PCV valve and the intake.
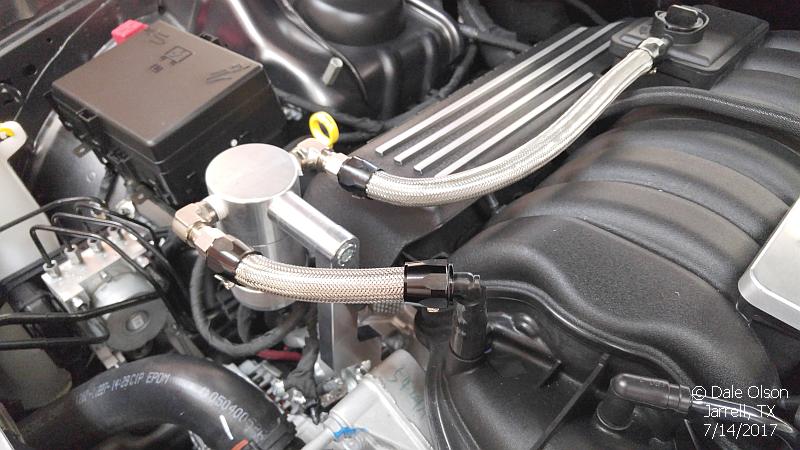
I removed the catch can from my Challenge & got an S bracket mount to install it on my Scat Pack. I also installed 2 -6AN adapters on the catch can instead of using barbed connectors. I also added some stainless steel braiding and finished off with block hose end fittings.
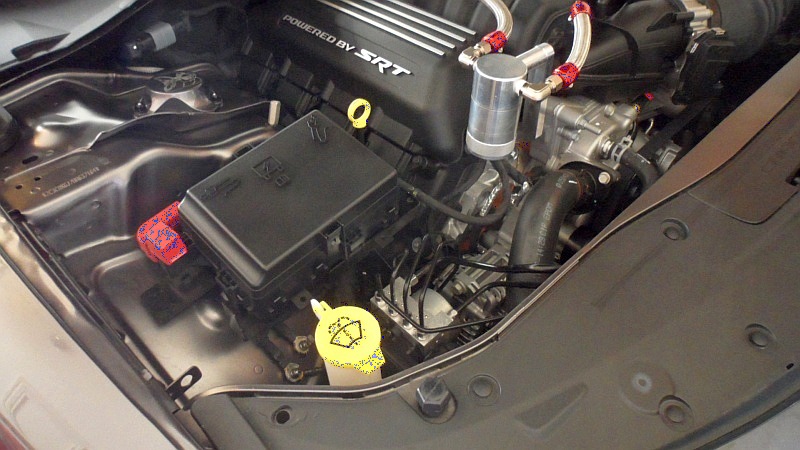
Before
Mount & -6AN Fittings
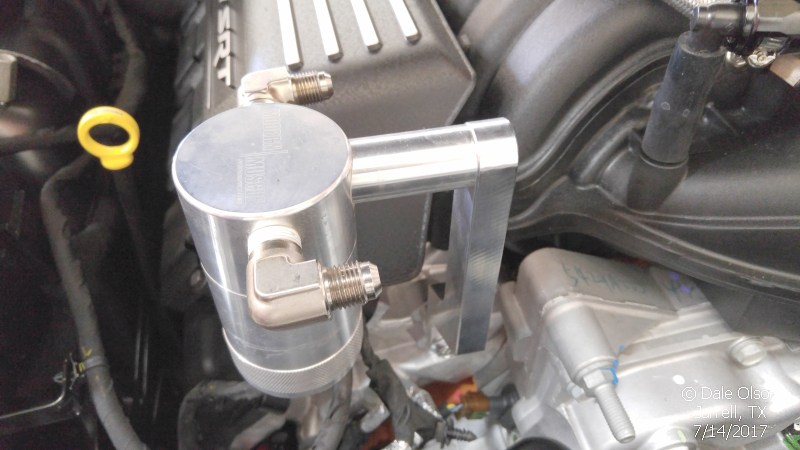
After
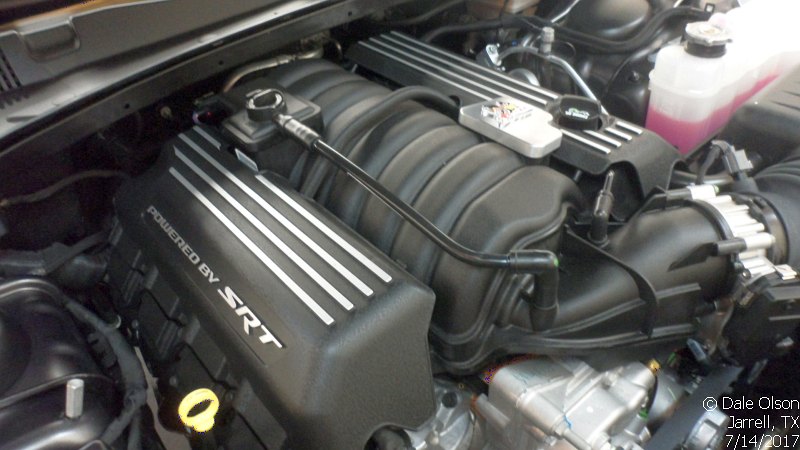
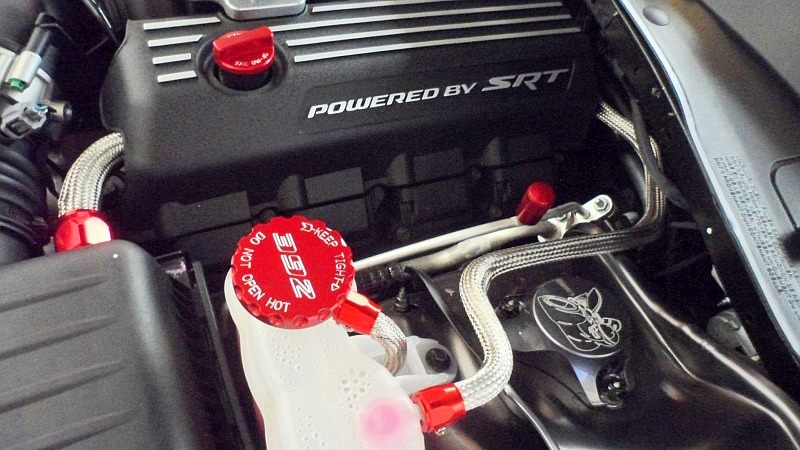
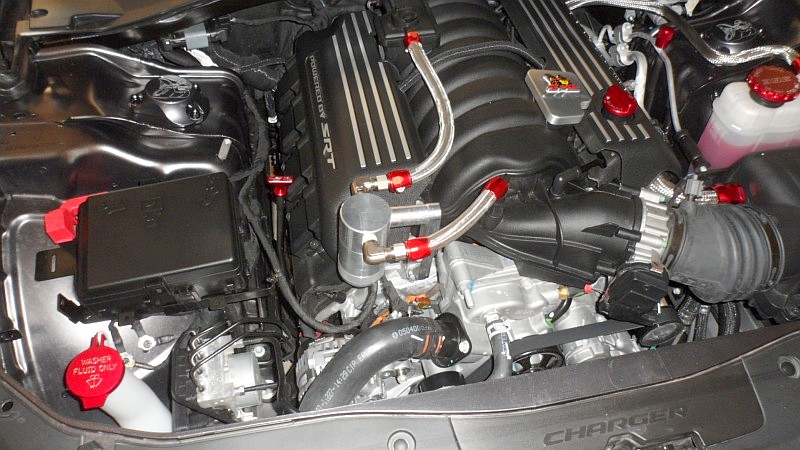
Billet Tech Engine Bling
I am not a real fan of those bright yellow caps & covers Dodge puts on the car. For the average user, they are great as they are easy to ID. So, I ordered an engine dress-up kit from Billet Tech. There can be a long wait depending on what you order. This kit in Red only took about 4 weeks.
Before
After
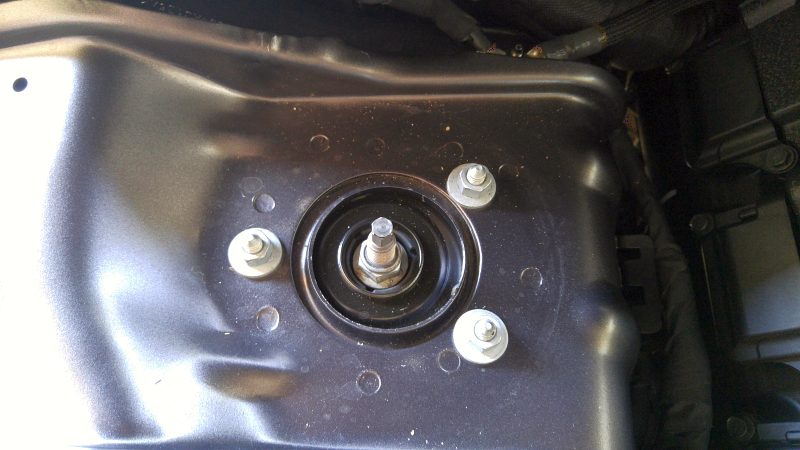
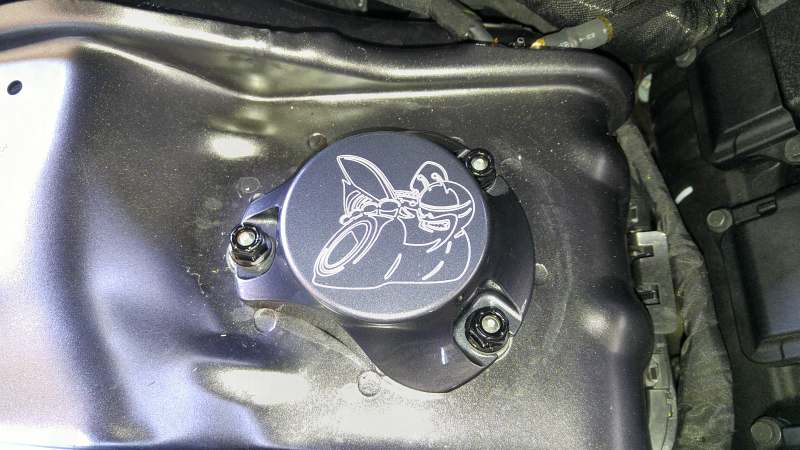
Billet Strut Covers
The factory strut cover is just that, a strut cover. So, a nice set of billet Scat Pack logo Covers were in order.
American Brother Designs provides all the necessary parts to do the installation. It takes all of 5 minutes per side. Just pop off the factory cover, use a 13mm socket to remove the factory nuts, install the provided metal washers, install the cover, install the protective fiber washers, and lastly install the nylon locking nuts. I painted mine black.
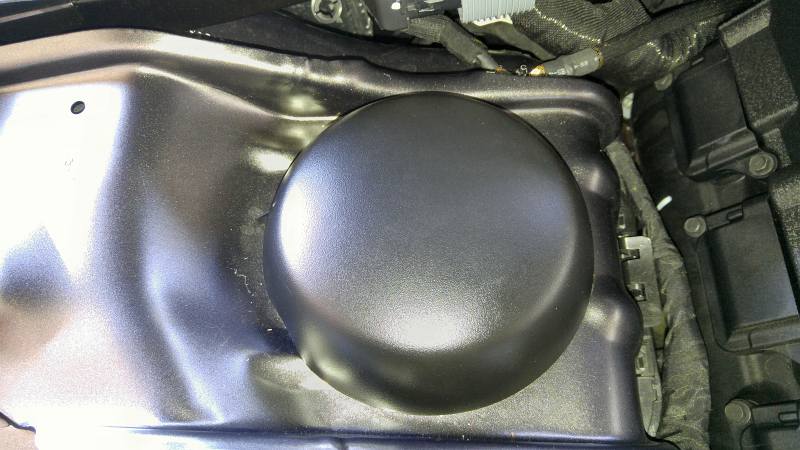
ABS Cover
Not sure where I snagged this part #... as I usually like to credit the person that found it or at least the thread that I found it in.
Part # 68272122AA (Might be a Hellcat part)
eBay - Original Autoparts Express 2 - $36.39 Shipped
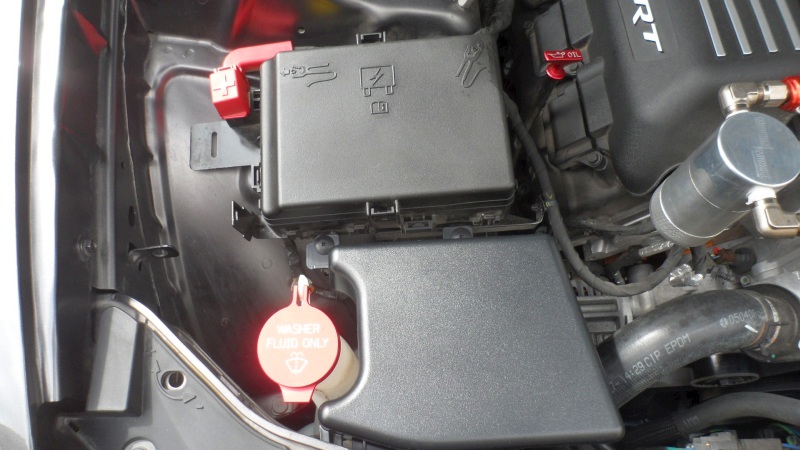

Remove the Fuse box cover and flip over the Windshield washer cover for better access. Next slide the ABS Cover tabs into the slots in the grill support and mate up the 2 mounting holes on the fuse box. I use 2 plastic screw-type scrivets to hold don the ABS Cover.
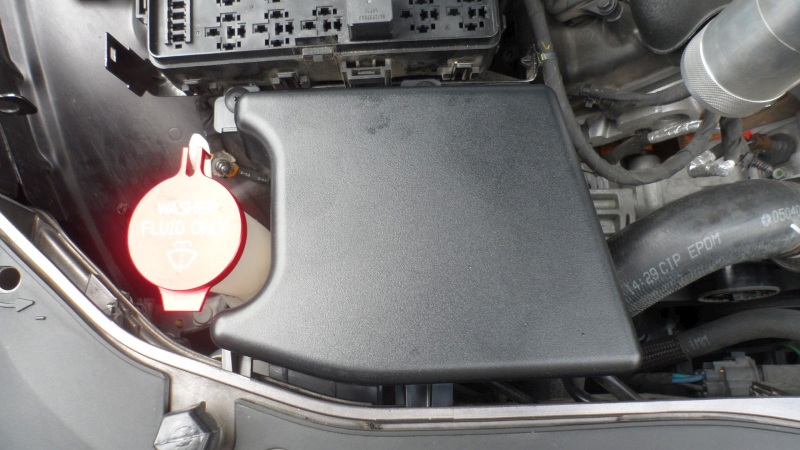
Now re-install the Fuse Box cover and you're done.
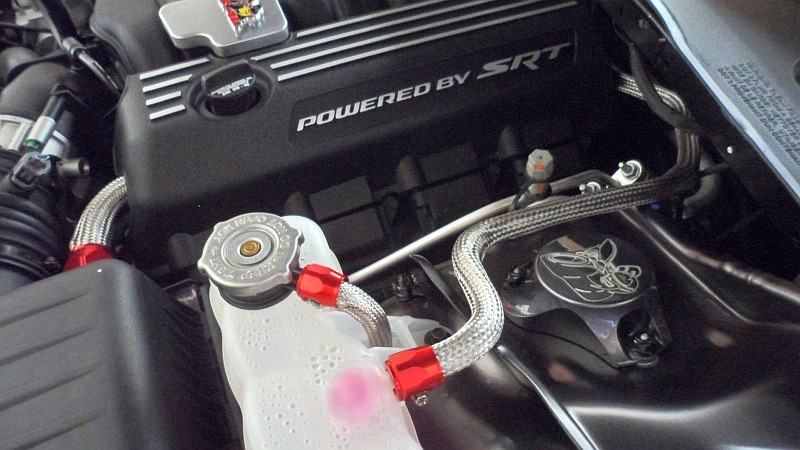
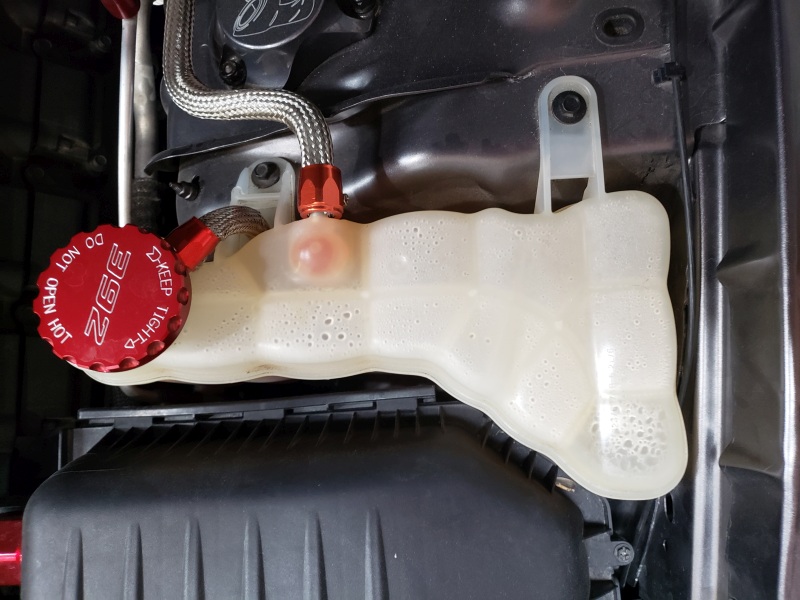
Coolant Tank Cover
Dodge has used the same coolant tank design for probably 10 years and it has not improved in looks in those 10 years. There are some after-market replacements but they are high $$$. I found a cover from JLT Performance that looks pretty good and doesn't break the bank.
JLT Part # - JLTCTC-DCC11
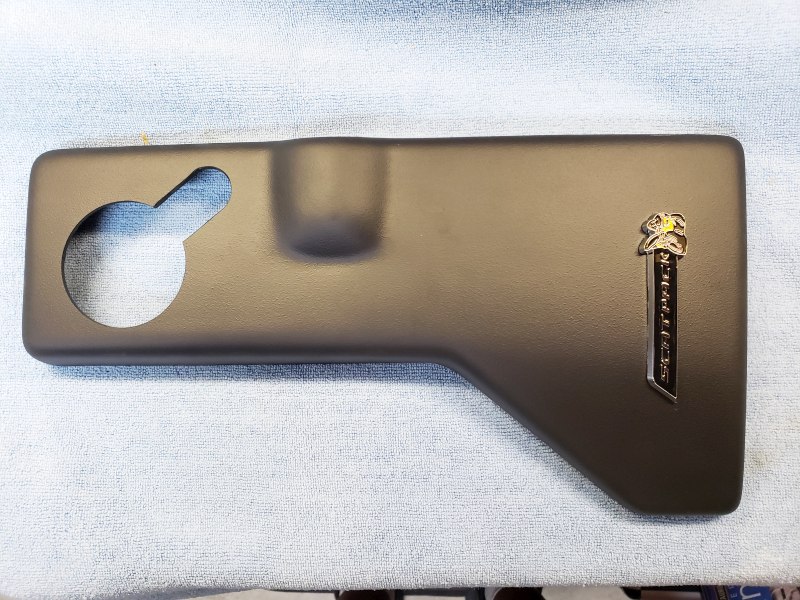
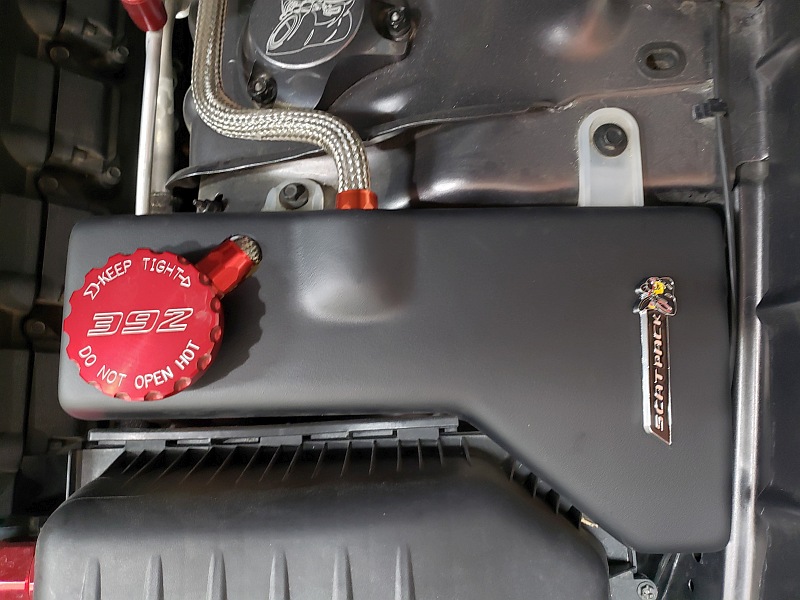
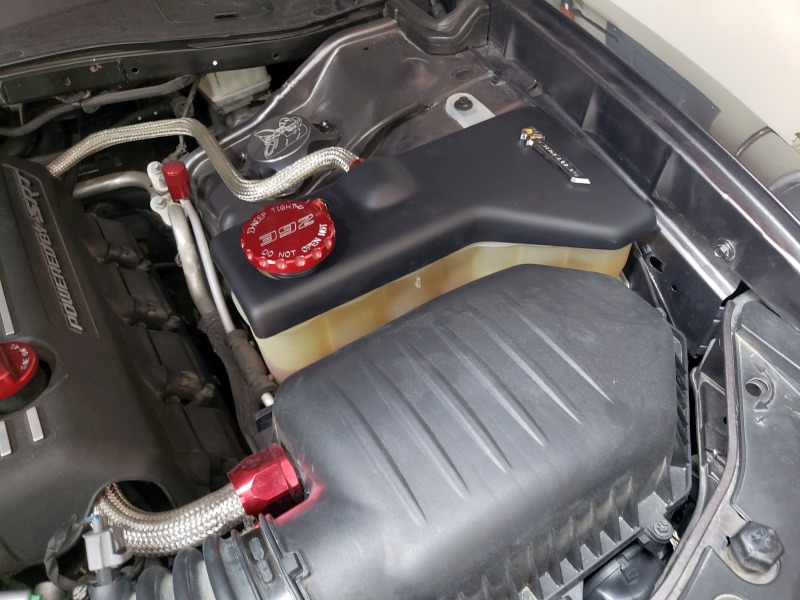
NOTE - I added the Scat Pack Badge
Install
This is the easy part. You just remove the backing tape from the preinstalled Velcro tape.
Before
After
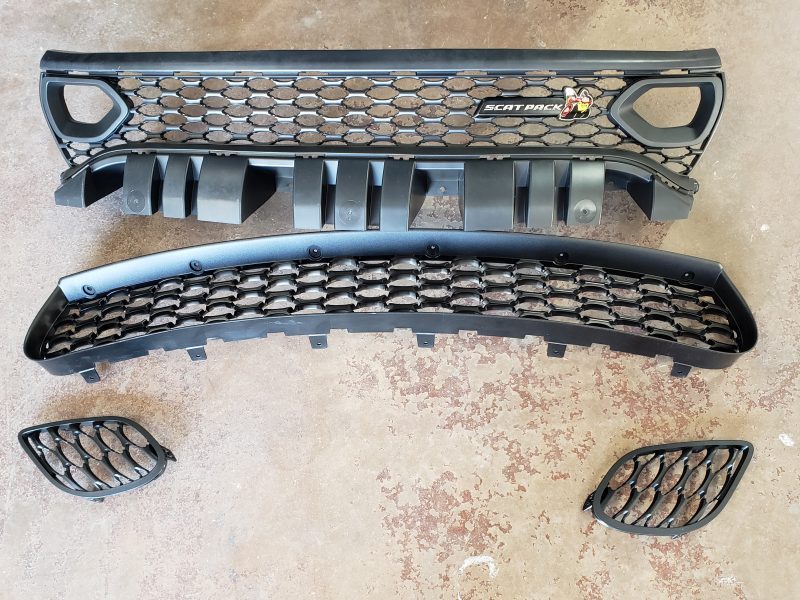
Hellcat Grill
I would normally put this in the external section but it is really for the Hellcat lower air box mod.
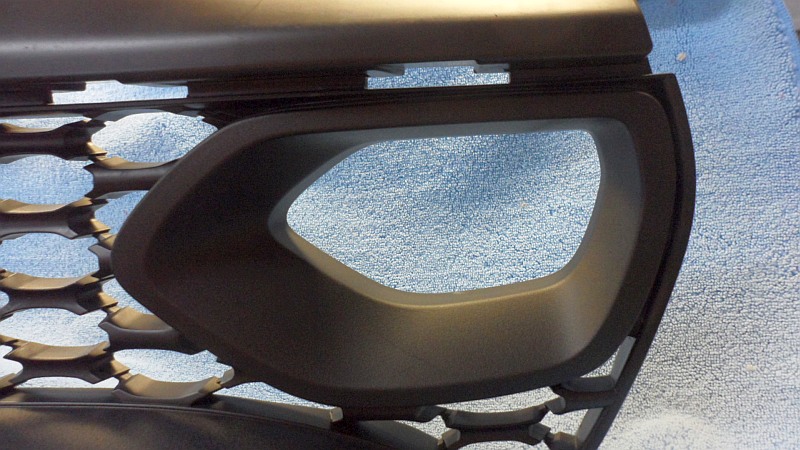
In 2019 Dodge put a new grill in the Charger Hellcat with 2 air intakes, 1 on either side inboard of each headlight. Of course, the driver's side matches up with the Hellcat lower airbox air intake tube. This grill can be retrofitted to 2015 and up Chargers. But, there is a catch. The honeycomb pattern is larger and slightly different. So, this means you need to replace the lower grill section and the fog light covers if you have installed those.
Parts
- 68417502AA - Grille Upper
- 68394592AA - Grille Lower
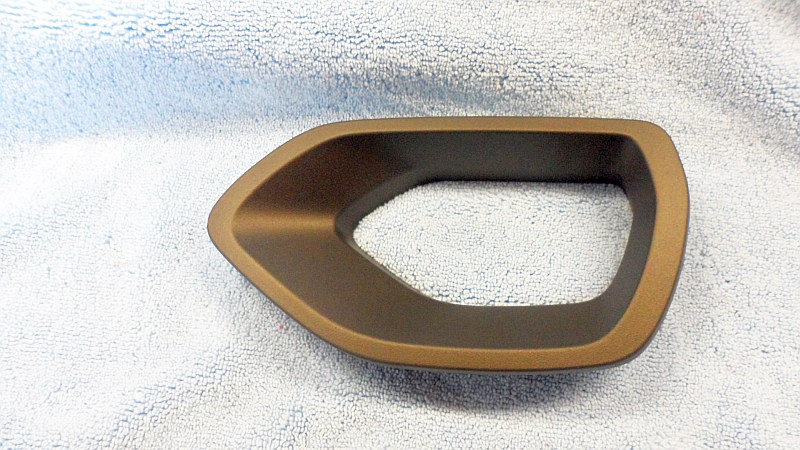
- 68417504AB - Bezel
- 68417505AB - Bezel
- 68394595AA - Bezel Seal Driver Side
- 68424623AA - Air Duct
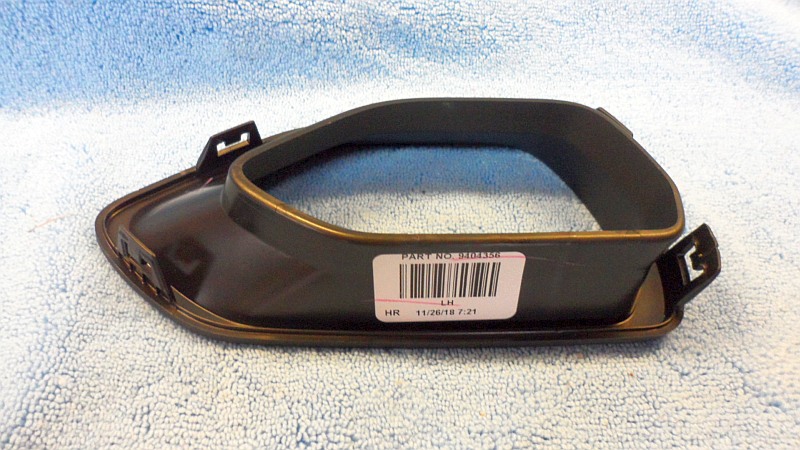
- 68417499AA - Cover Lamp Opening Right-side
- 68417498AA - Cover Lamp Opening Left-side
- 68463715AA - 2019 SRT Hellcat Grille Badge
- 68463714AA - 2019 Scat Pack Grille Badge
- 68420463AB - Daytona Grille Badge
Note - Steve White Auto has these parts in a kit, minus the grill badge, for abut $140 on eBay
Before
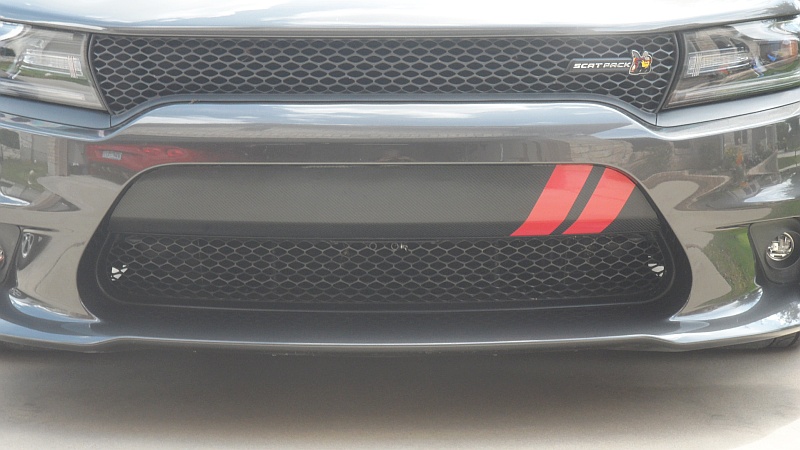
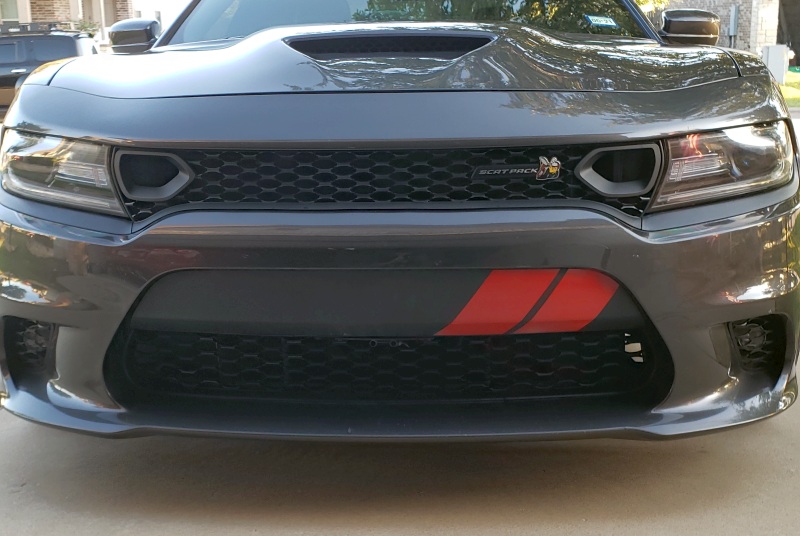
After
Install
- Remove the front fascia/bumper. Lots of How-to videos on YouTube.
- R&R the upper grill, lower grill and Fog light covers. Just some clips and bolts.
- Replace the fascia/Bumper.
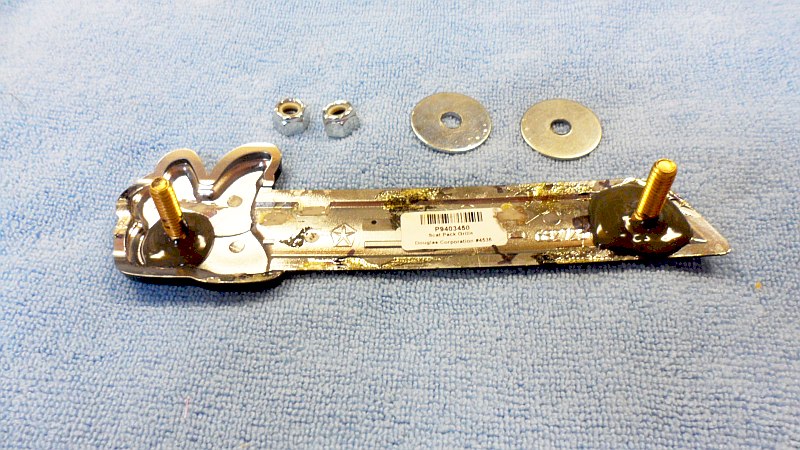
Some Assembly Required
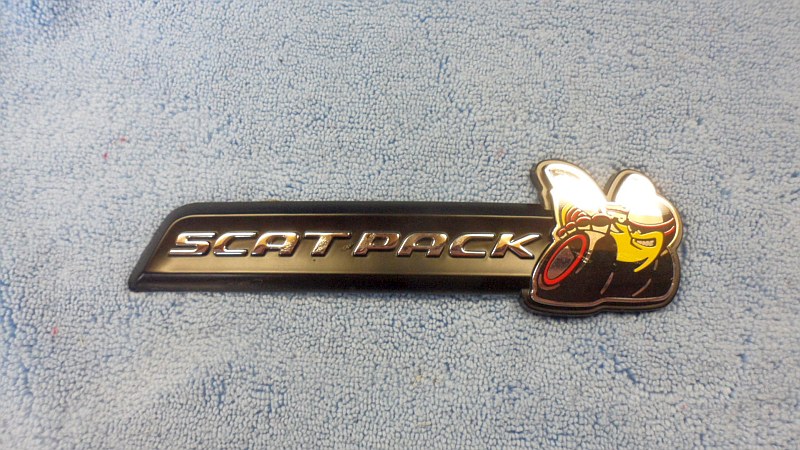
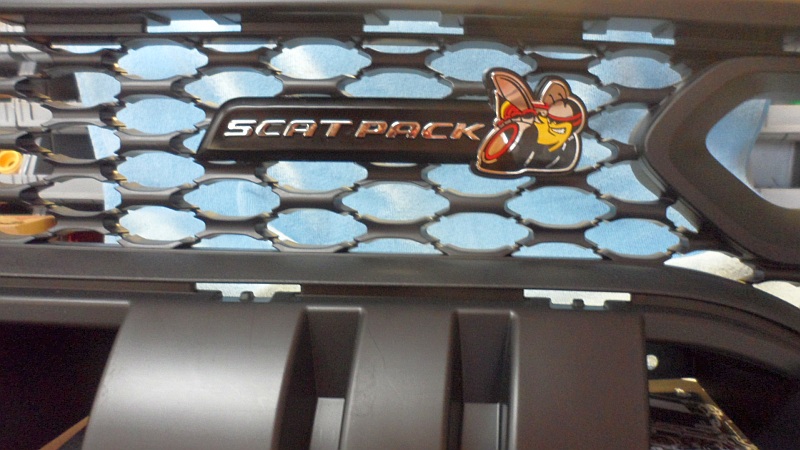
Scat Pack Grill Badge
The OEM Scat Pack badge is listed at $190. So, I picked one up off eBay. But, I had to mod it to make it work. A couple of bolts, some JB Weld, a couple of washers, and a couple of nylock nuts.
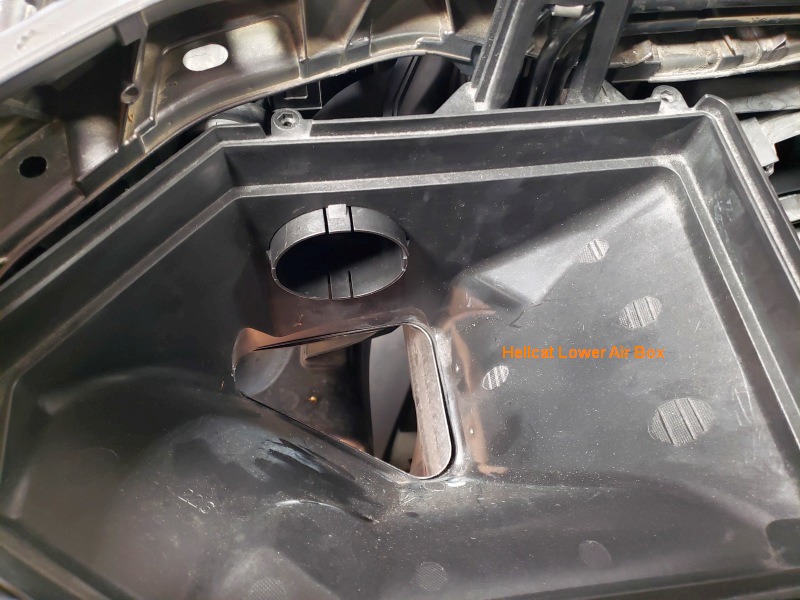
Hellcat Airbox
I got these parts from another forum member and finally got around to putting them on.
Part Numbers
- Hellcat Lower Airbox - 68175164AC
- Air Intake Tube - 68228902AB
- Air Intake Shield - 68240171AA
Tools
- Flat blade screwdriver & Philips head screwdriver
- 8mm socket, long extension & ratchet
- HD scissors and utility knife
- Panel tool
- Some pushpins
- Drill and bits

Installation
- Remove the front bumper. There are several YouTube videos on how to do this. But, according to my body man, you need to remove the wheels and the complete fender liner for better access.
- Remove the Headlight. It is held with 5 8mm bolts.
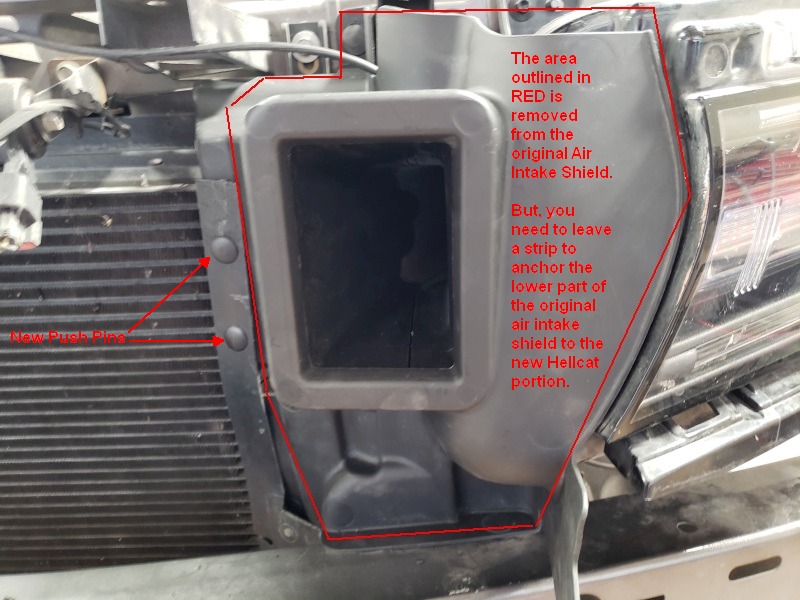
- Remove the original Air Intake Shield. It is held on with 3 pushpins.
- Remove the Original Air Box. You will need to transfer the hold-down bushing and the rubber
fender bumper from the original airbox to the Hellcat airbox. Now install the Hellcat airbox.
- Install the Air tube and secure it with a New pushpin.

- Install the Hellcat Air intake shield and the modified original lower portion of the Air Intake Shield.
- Reinstall the headlight.
NOTE - Be sure to check the routing of the hood release cable!
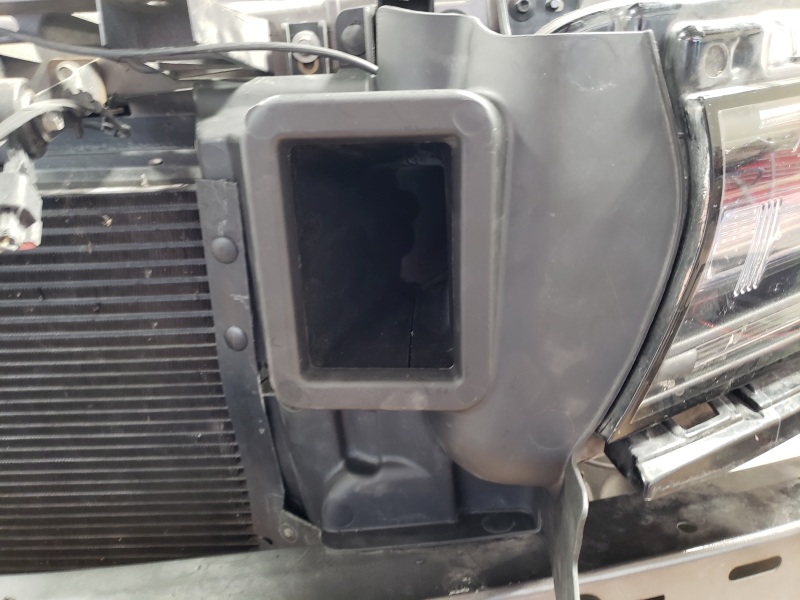
You're Done
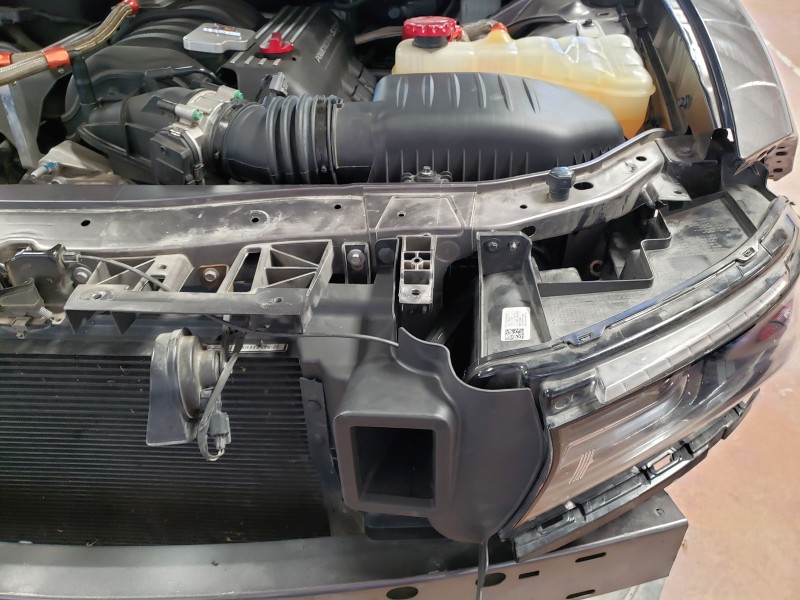
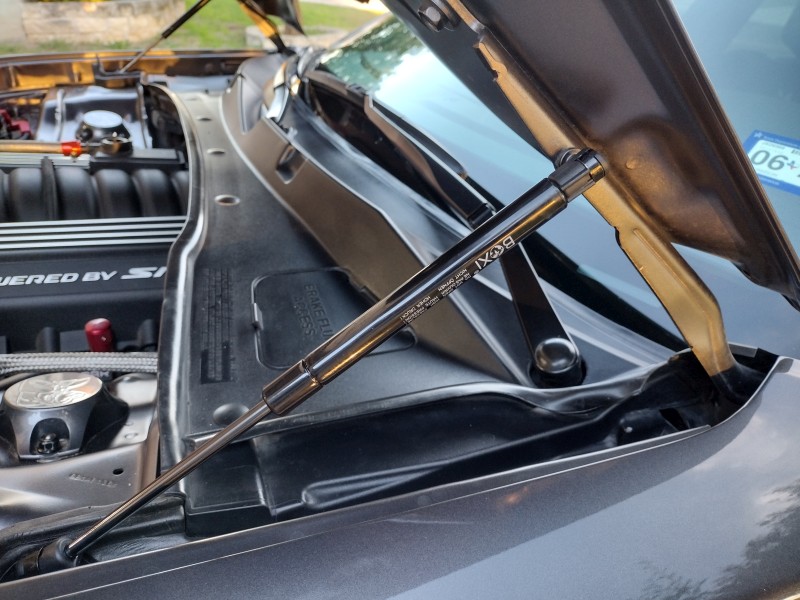
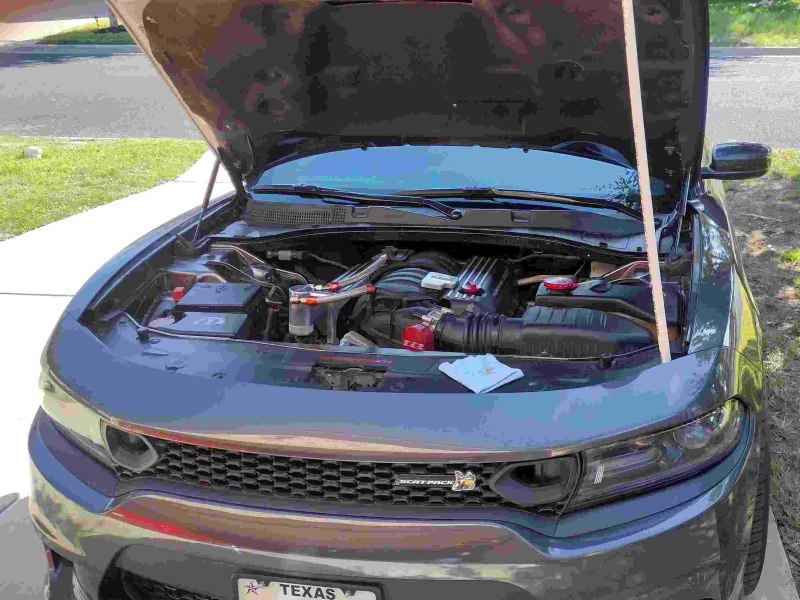
Hood Struts
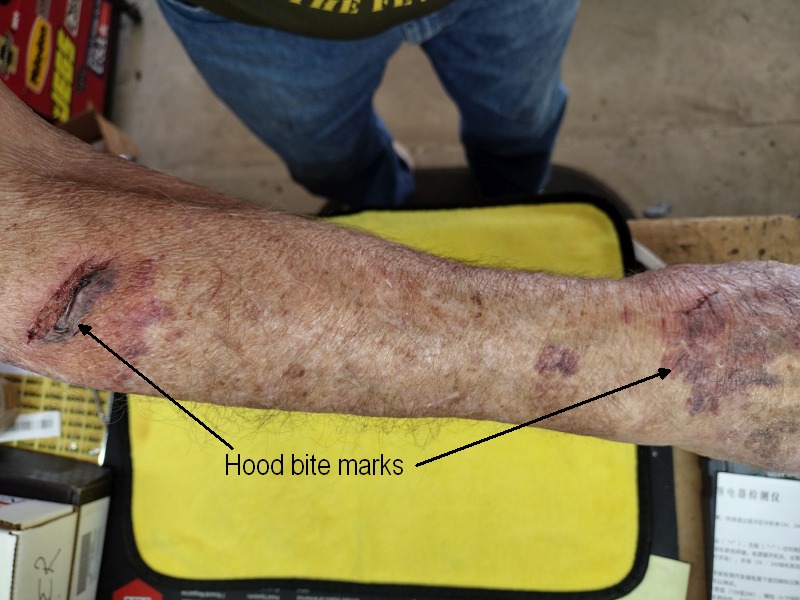
I had hood struts failed, the hood fell and bit me big time. But, when you're 81, your skin is as thin as tissue paper.
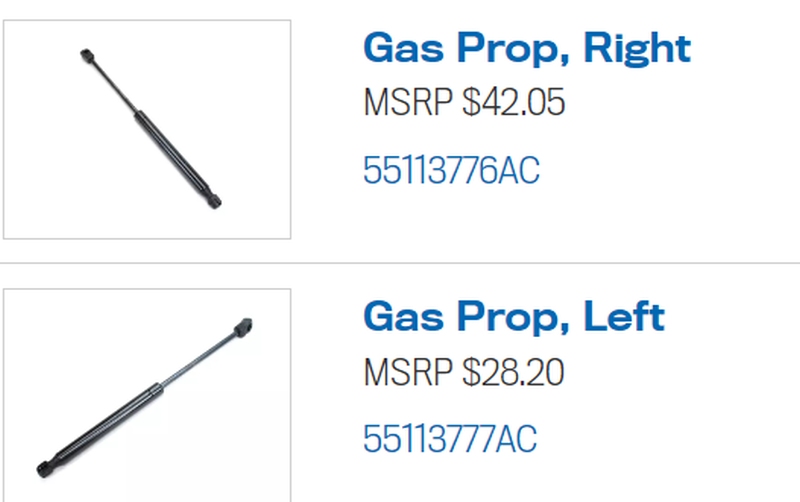
So, I put on some bandaids and ordered some replacements. Mother MOPAR wanted $$$ for 2 different part numbers even though they are the same physical part.
But, I picked up a pair off eBay for $17 and shipped it to my door. Install is easy peasy. A small screwdriver to remove the holding clips, and a dab of grease for the new struts. You will need a prop rod to hold the hood until you get the first strut replaced.
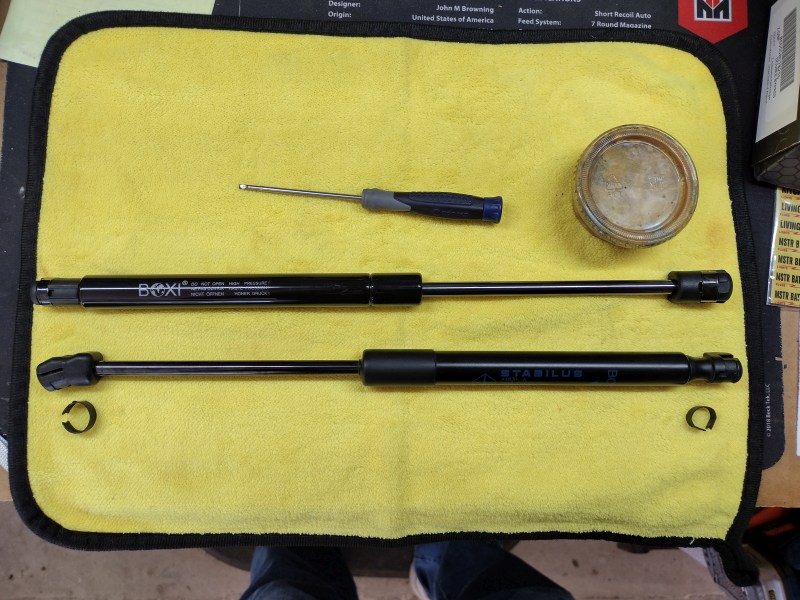
OLD
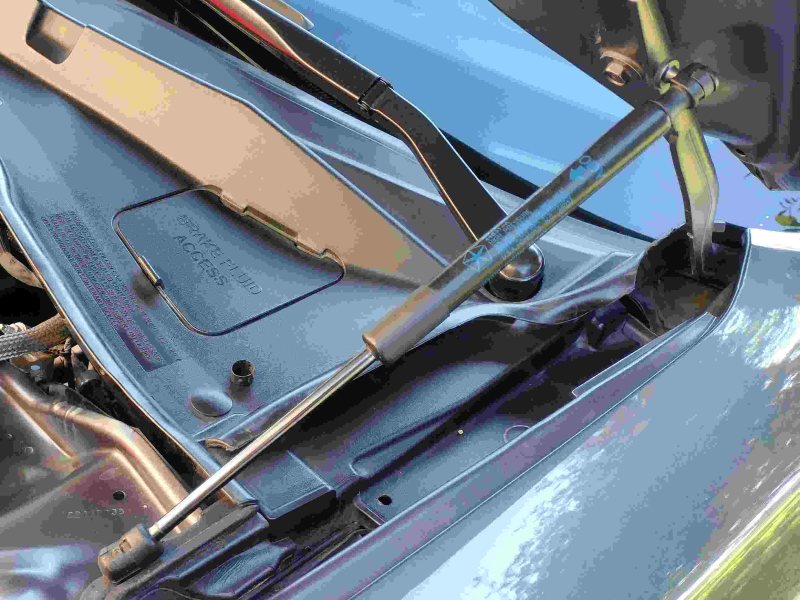
NEW