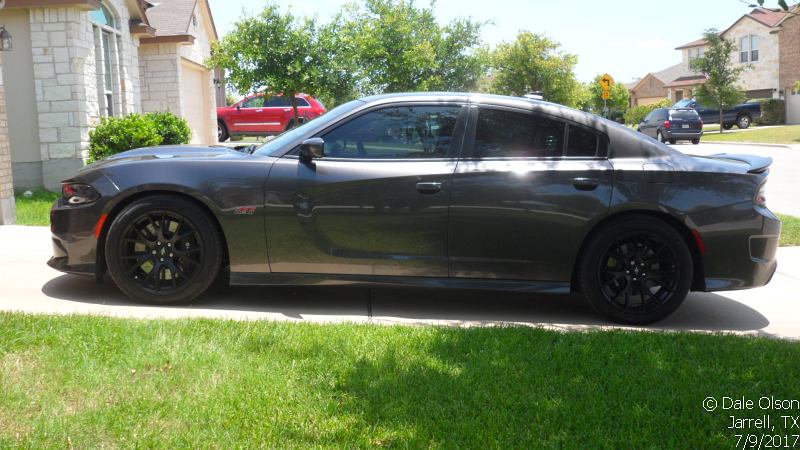
Scat Pack Mods - Interior
Window Tint
Tinting your windows is almost a no-brainer. It looks nice, saves on A/C
& fading of your interior. Is this a DIY project? Yes & No, as it depends on
your skill level. On my cars, I leave it to the pros as they have the best tint &
most important the SKILLS.
Before you go & put "Limo Tint" on think about what it will cost you if you get
a ticket.
- Cost of the ticket
- Cost to remove the tint
- Cost to install the new tint
- Your time
Most states have a min &/or max light levels on the tint depending on which window you look at. I have been stopped & actually had them take out a light meter to check the tint. In Texas, the yearly state inspection is supposed to check the tint level on your car.
Being that I live in central Texas & the summers can really get hot, over a 100 , tinting your windows is almost a must. I put "legal" tint on the driver & passenger side glass, 1 shade darker for the quarter glass & rear window. The tint I installed removes 95% of the UV & reduces the heat by about 50%. I had mine done by Made In The Shade is a local company that does tinting onsite. Gabe, the owner, has been doing tinting for 28 years & is a real pro. Could I have done it myself? Yes, but the cost savings would have been small & I would have no warranty.


Badge Overlays
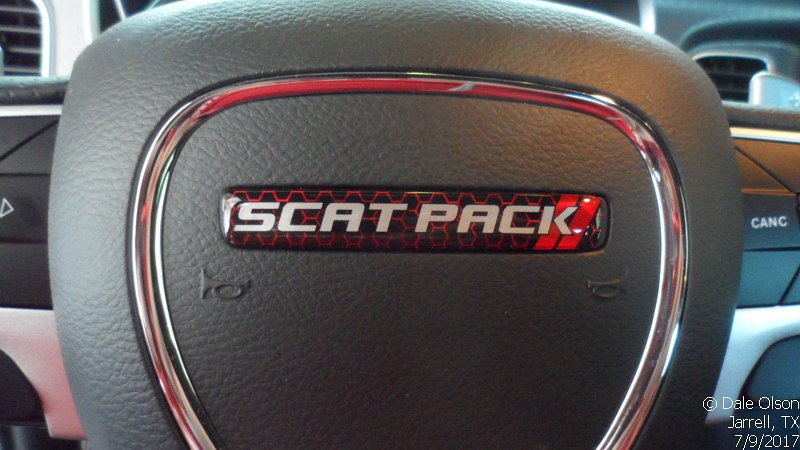
The Dodge Logo badge on the steering wheel along with the Start Button & the Charger logo above the glove box door needed an update. I was able to pick up some very nice stick-on overlays the fit the bill.
The steering wheel went from Dodge with hash marks to Scatpack with hash marks
Before
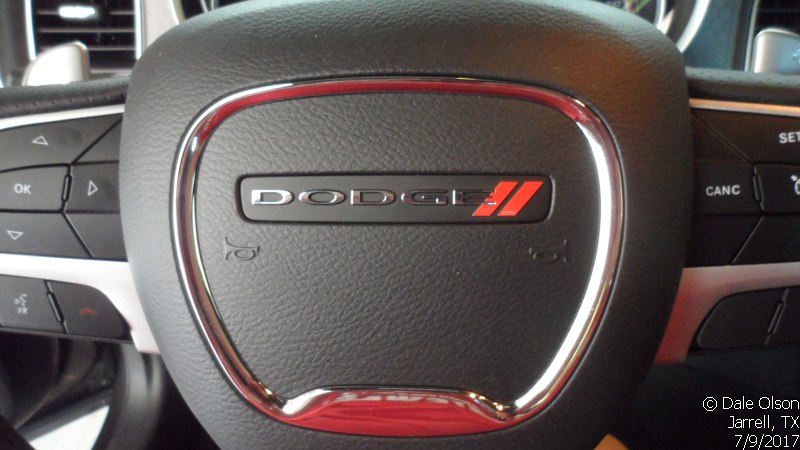
After
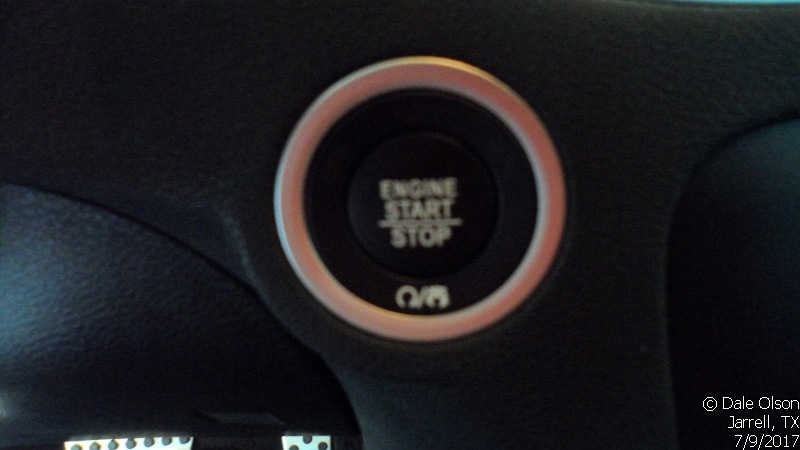
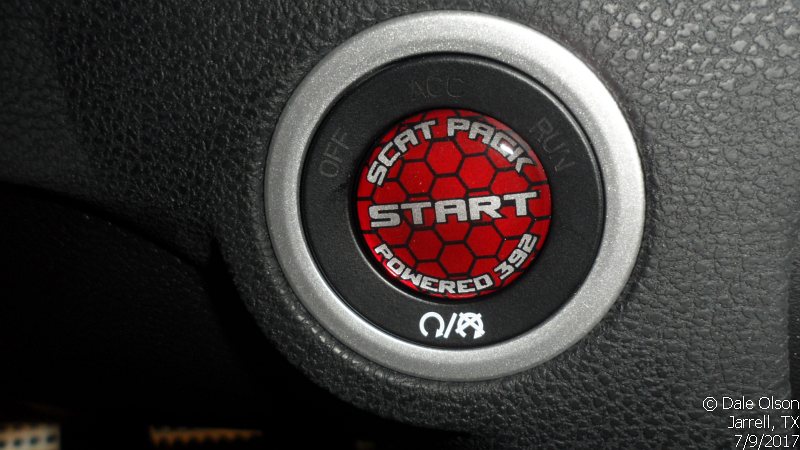
The Start Button went from plain old start/stop to Scatpack Start
Before
After
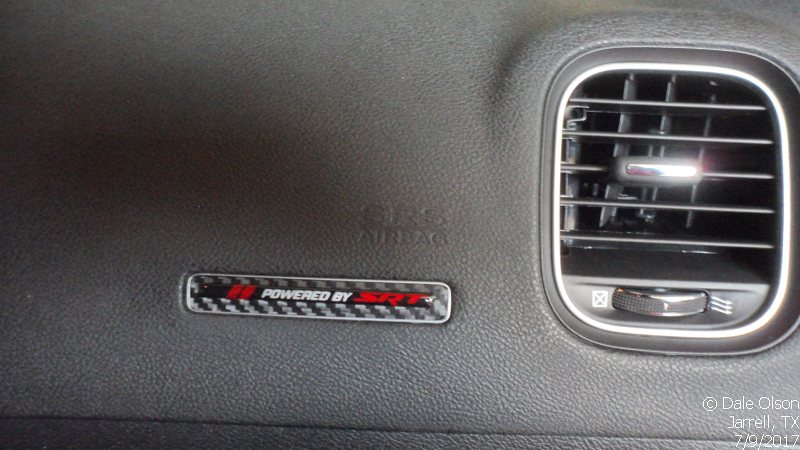
Now the Charger logo required a little work as the overlay was for a Challenger & didn't quite cover the Charger letters. So, I cut a piece of carbon fiber vinyl to cover the letters & added the Power by SRT.
Before
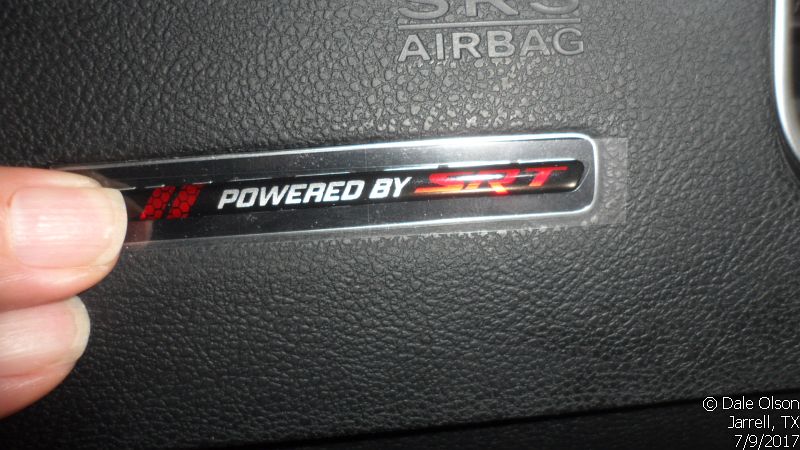
After
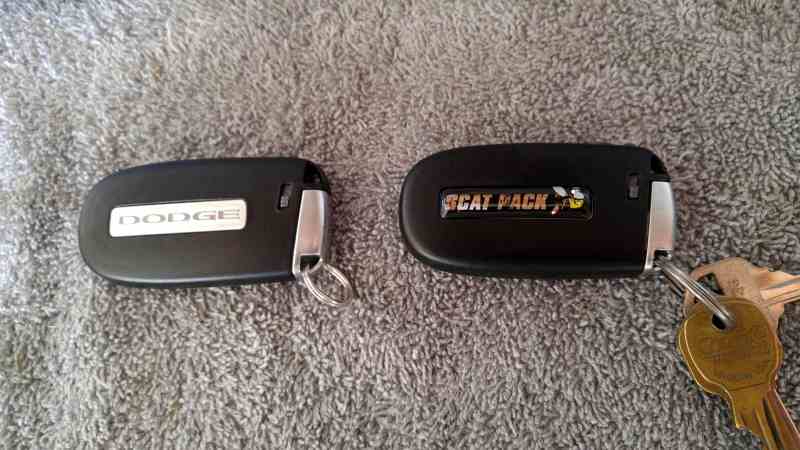
Key FOB Overlay
I also found a small ScatPack overlay for the back of the key fob that covers the Dodge logo.
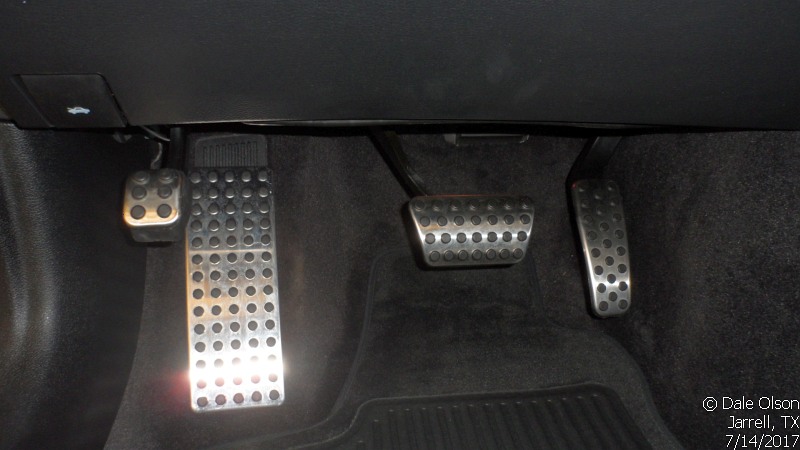
Sport Pedals
When I picked up my car the dealer did NOT install the factory sport pedal cover for the gas pedal & the brake pedal. I said I would do the installation. It took all of 15 mins. But, it looked incomplete with the Dead pedal & E brake bare. So, I found a Dead pedal cover on eBay & got a Mercedes E brake cover, also on eBay. The Dead pedal was peel & stick. But, the E brake didn't fit as they changed it to use a different style of rubber cover. But, I just trimmed the rubber cover, mixed up some JB Weld & glued it on. Just let it set for 24 hrs & your good to go.
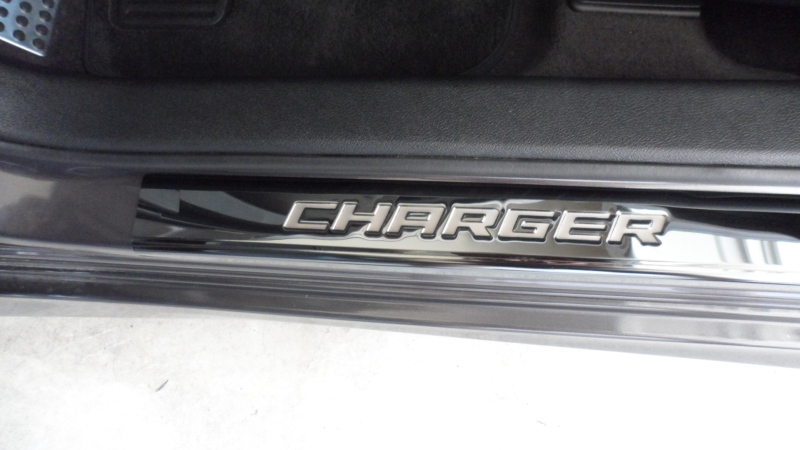
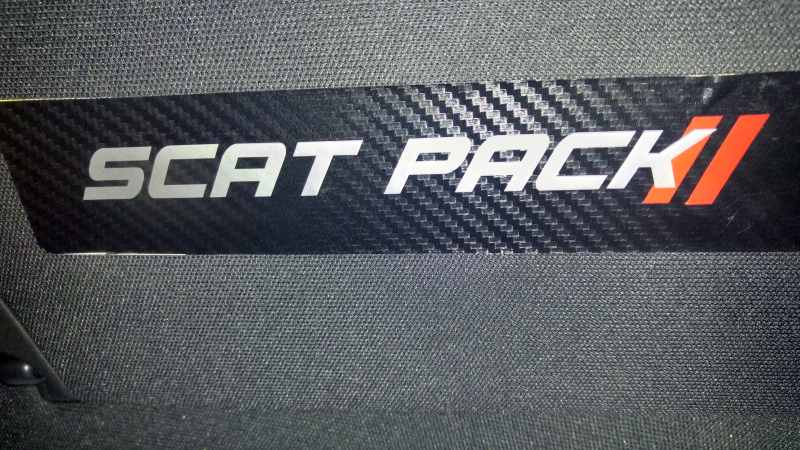
Door Sill Covers
The doorsills needed a little bling. So, I found a set of 4 (2 front & 2 rear) black anodized covers on eBay (shipped from China). Good fit & finish. Plus they are a piece of cake to install, just peel & stick. Be warned, you only get one shot as the tape is pretty much permanent.
Before
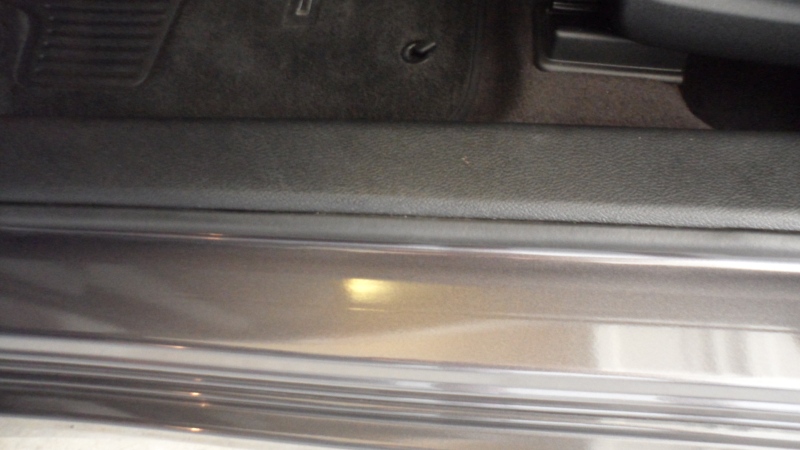
After
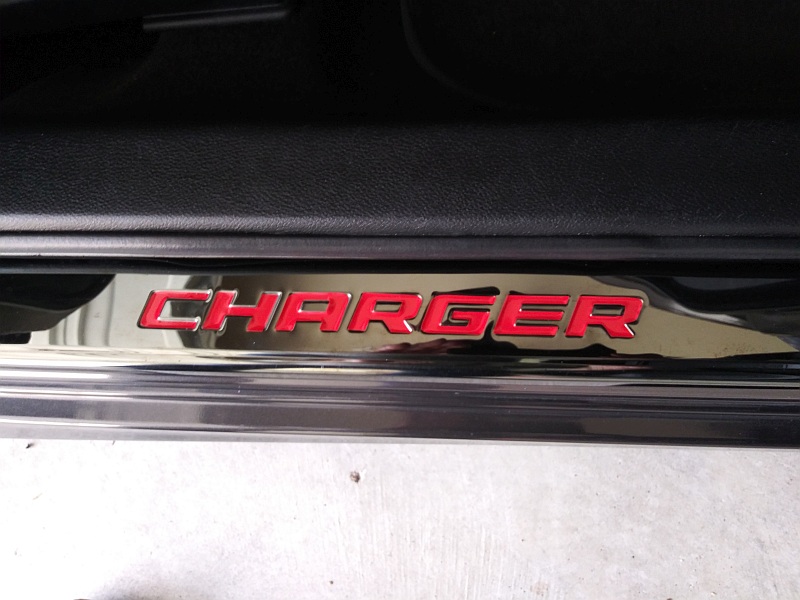
Update - Door Sill Letter Fill In
I asked a buddy of mine to see if could cut some vinyl to fill in the letters of the door sill covers. I sent him
a tracing &amo; this is what he came up with. Perfect? No, but pretty dam close for the first go around.
Tracing

Before
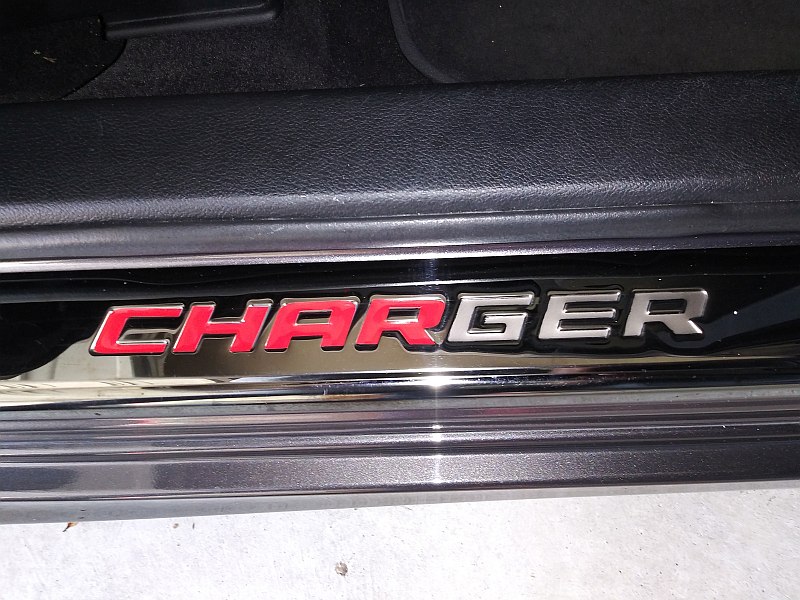
After
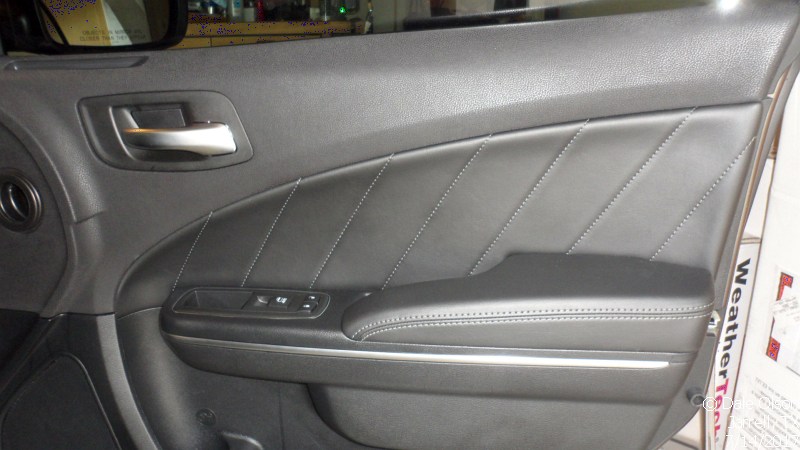
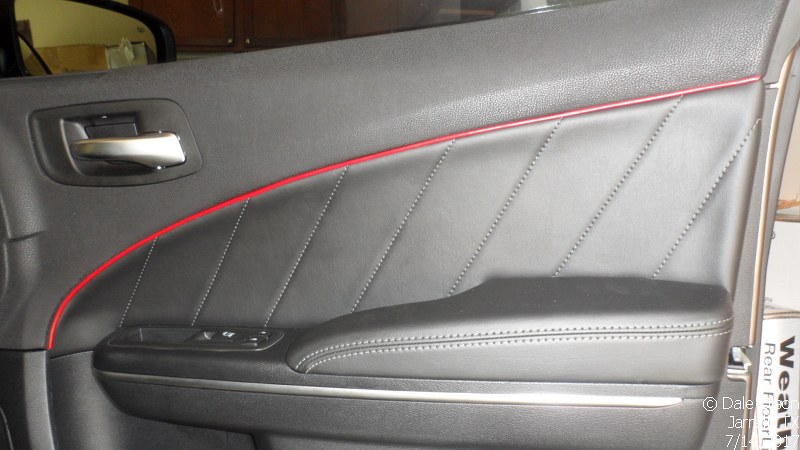
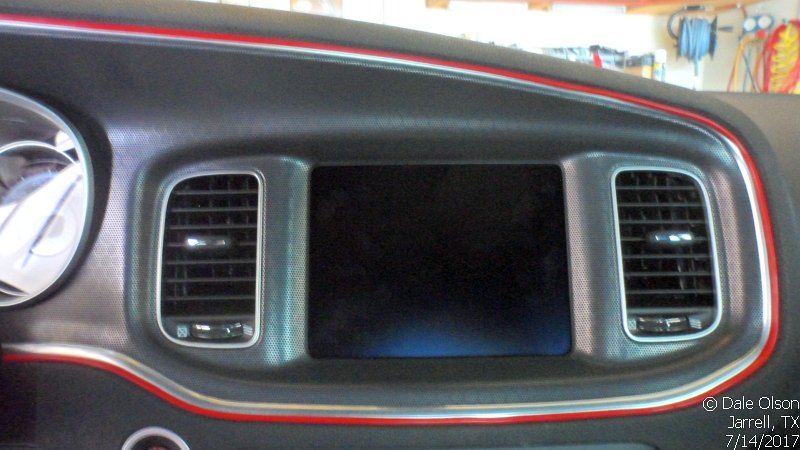
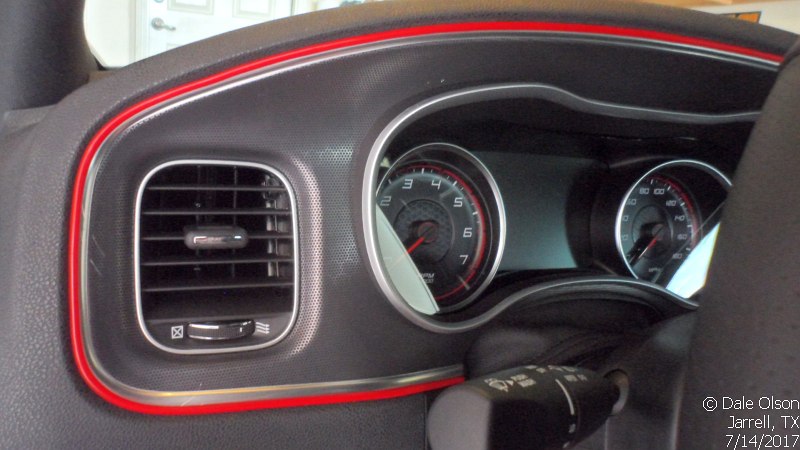
Vinyl Piping
With an all-black interior you need something to break the "all-black look". On my Challenger I added some Hemi Orange piping/welting to break up the all-black look. On the Charger I decided to go with Red to add a different look to the interior. I added to the doors & to the dash. The nice part of this is you can remove it as it just pressed in.
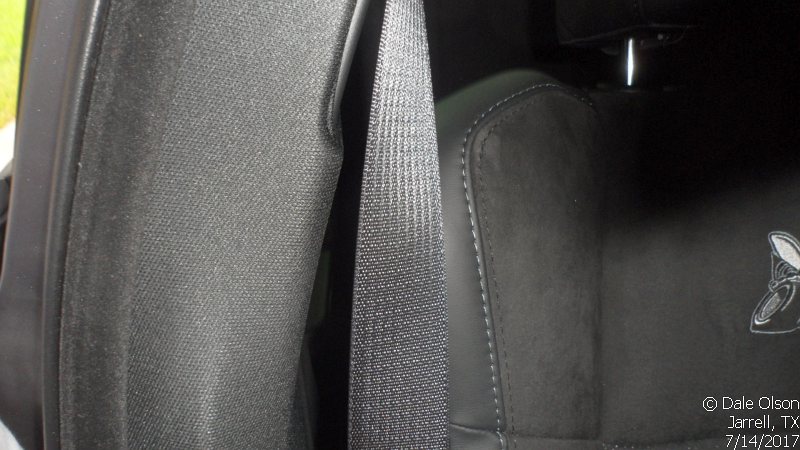
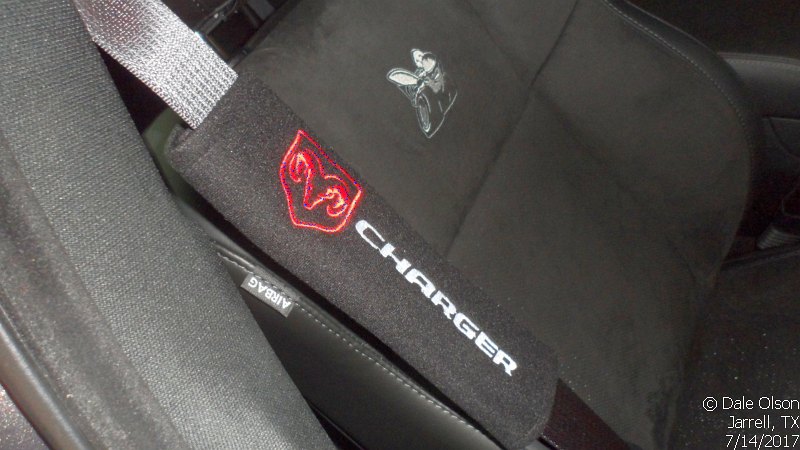
Shoulder Belt Pads
This isn't much of a mod as it is comfortable & bling. My wife requested that I put her sheepskin shoulder belt pad on so the belt was more comfortable on long trips. Buzz, wrong answer. So, I found some Dodge Charger logo ones on eBay, yup shipped from China.
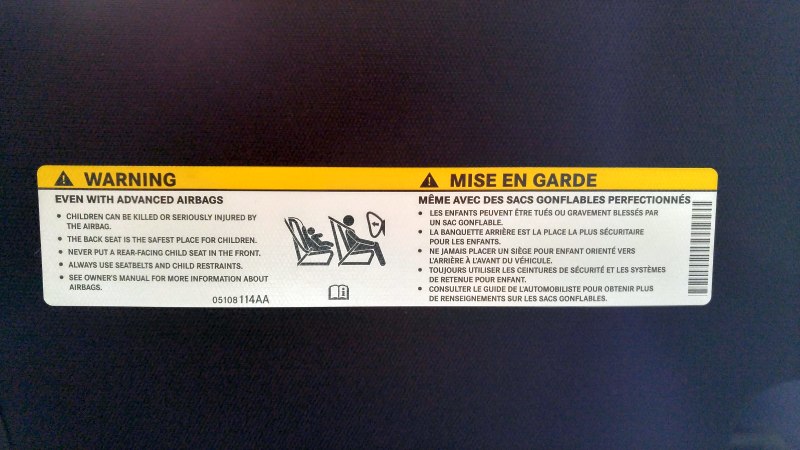
Sun Visor Overlays
I really dislike the Warning Labels on the sun visors. So, I decided to cover them up with
something more to my liking.
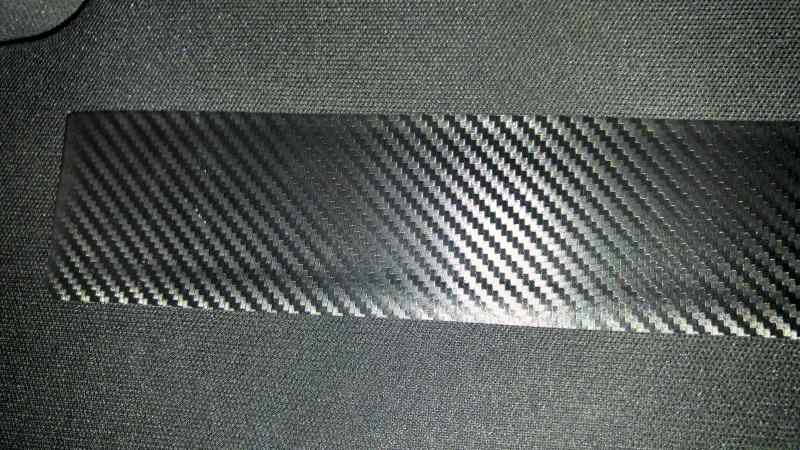
First I cut some leftover carbon fiber vinyl to fit over the Warning Labels. Next, I had a friend
of mine cut me some Charger &. Scat Pack script with the Dodge stripes.
Warning Labels
Carbon Fiber cover
Drivers Visor
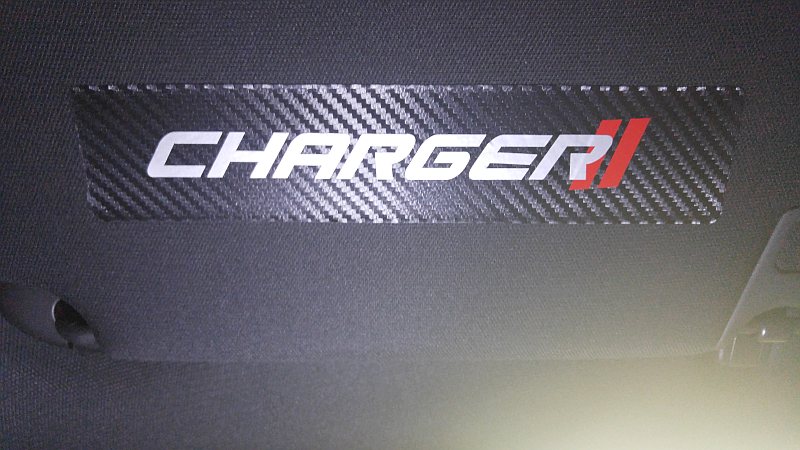
Passengers Visor
Interior Led Upgrade
This should really be one of the first mods or upgrades after you buy the car. Led lighting is cheap, easy to install and provides more light than incandescent bulbs.
There are any number of vendors that provide kits or you can opt to get the led lighting off the internet. Generally you will not have any problems doing the swap other than the bulb orientation. If they fail to light just swap them 180 . One other thing is CAN Bus support. Get CAN bus leds if at all possible.
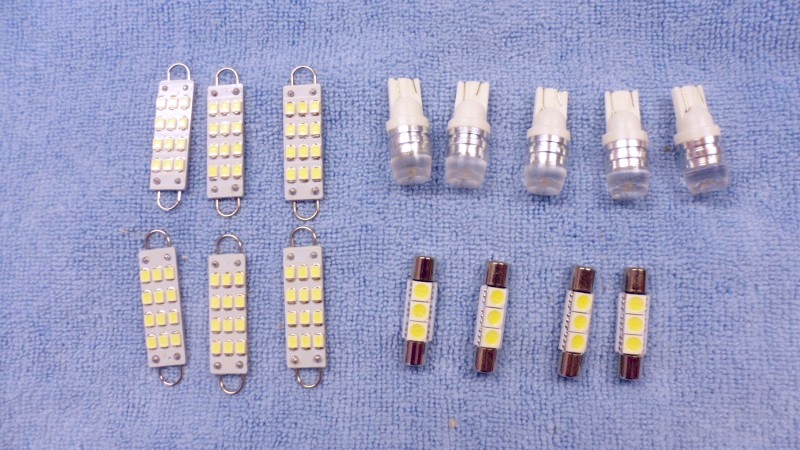
PARTS
This is what I ordered.
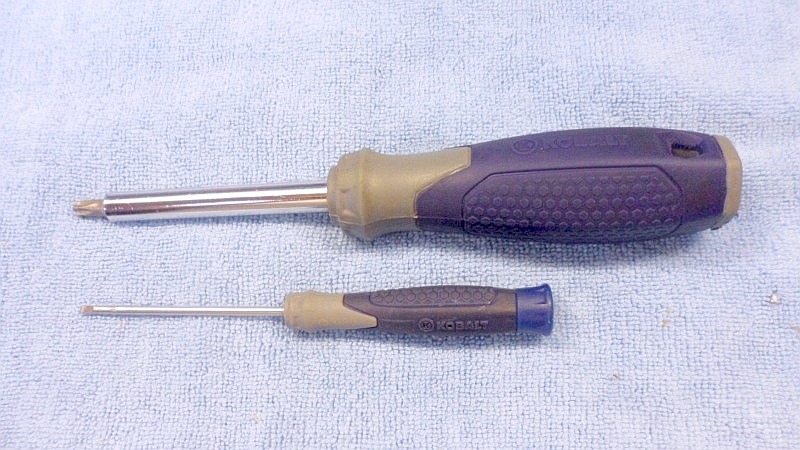
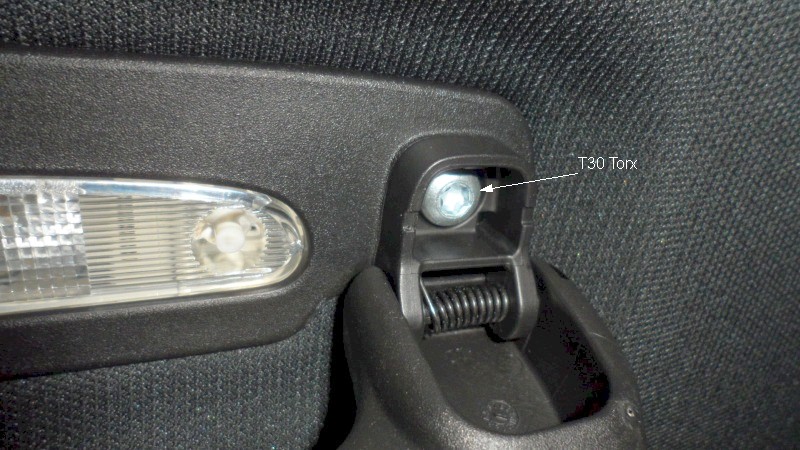
TOOLS
I got by with a small screw driver & a T30 Torx bit.
INSTALL
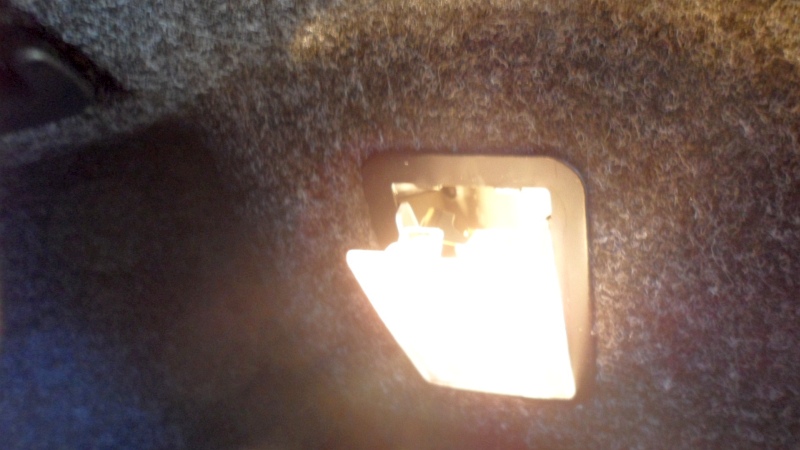
I started in the trunk as the light holders provide easy access.
WARNING - Incandescent blubs are HOT so I suggest you disconnect the holder from the harness before trying to remove the bulb.
First remove the bulb holder.
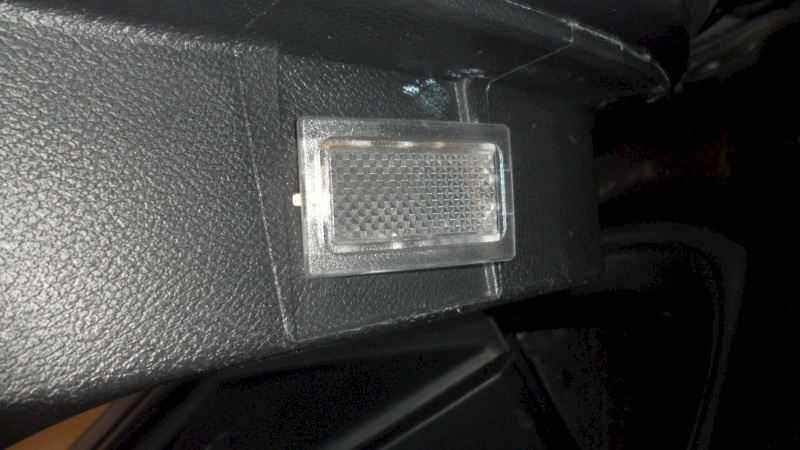
DOOR PUDDLE LIGHTS
This just a repeat of the trunk install.
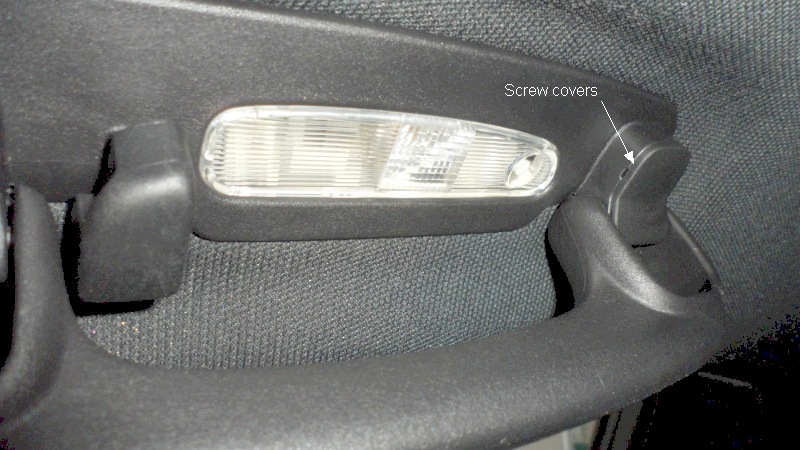
I started with the rear map lights as they take the most time. You have to do some dis-assembly well holding down the spring-loaded grab handle.
TIP - Let the lights go off before you start the removal process. By the time you get to the bulb, it should be cool to the touch.
Remove the trim cover caps to access the 2 Torx head screws & remove the 2 screws to release the handle.
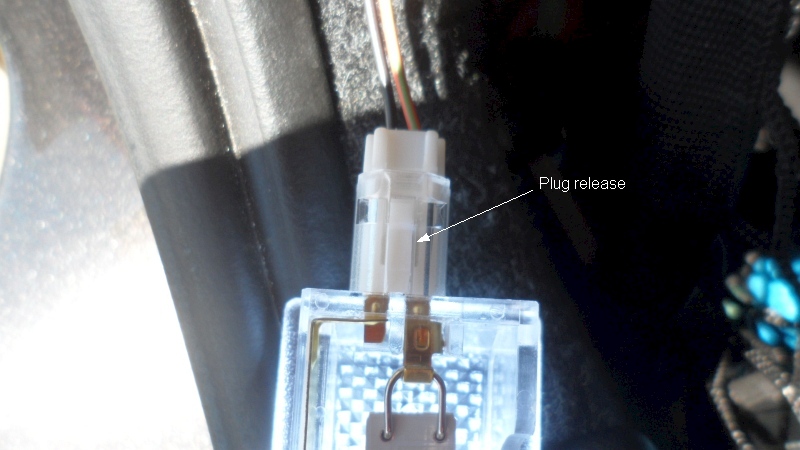
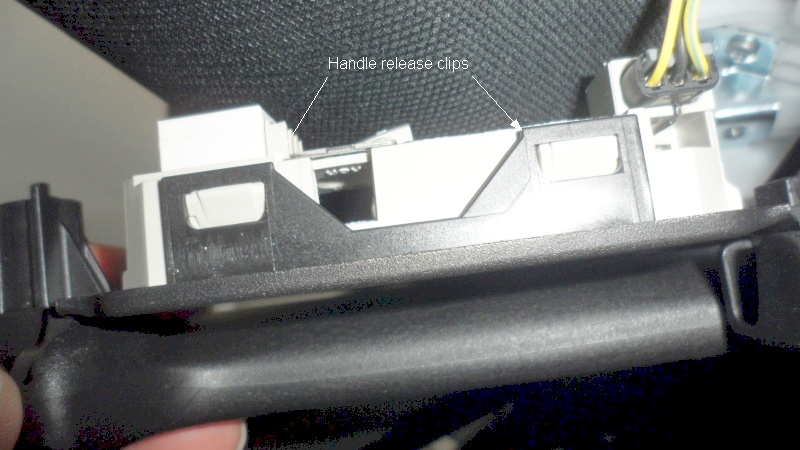
Next remove the handle from the light via the release clips.
Lastly remove the lens to get access to the bulb.

The front map lights are a real PITA as the bulbs are almost impossible to get out. NOTE - Some users remove the whole map light assembly. This was my Plan B.

The glove box light is another PITA as you have to tape down the switch, let the light cool & get the dam thing out. You're working blind & can't get a good grip on the bulb. Once outputting new in is just a pain as you're working blind again, you will probably get it in & it won't light up. So, you have to remove it, turn 180 & re-install it. LMAO
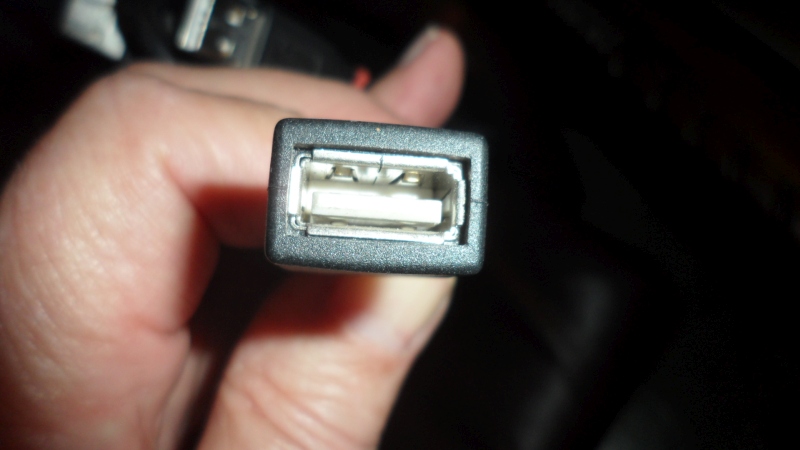
USB Upgrade
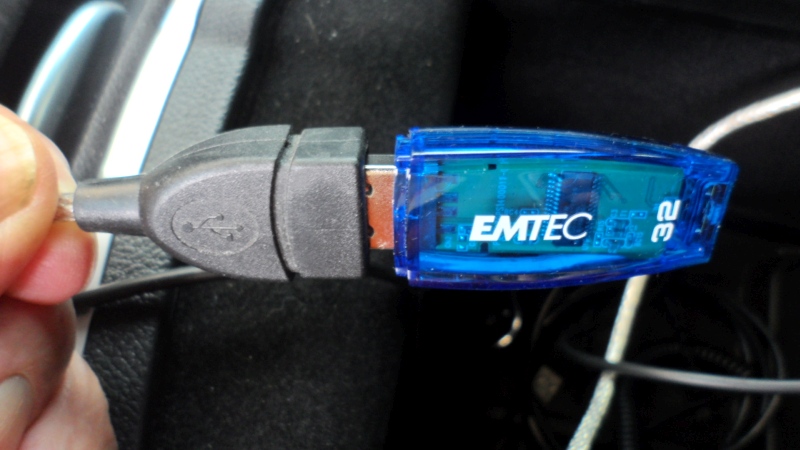
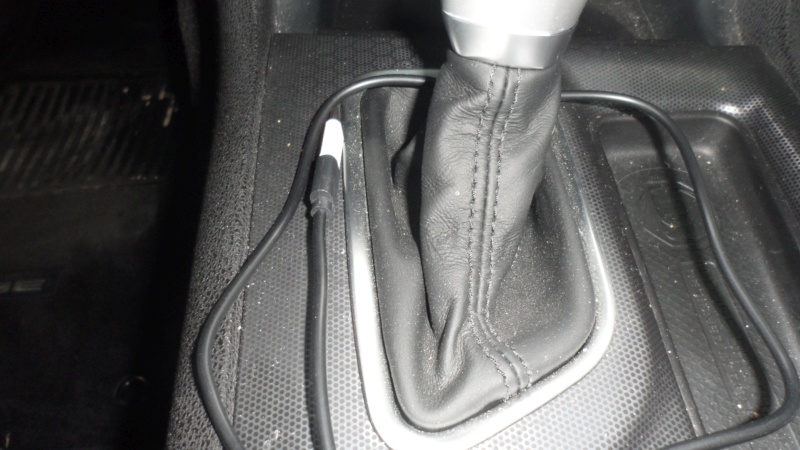
I spent about 2 months ripping and editing my old vinyl record collection, about 150 records, and about 80 CDs. I thought it would be kinda neat to have them accessible on the Scat via a 32 gig thumb drive. But, I found out that it is a real PITA swapping the thumb drive in/out of the USB ports in the console during my testing. To that end, I found a really simple solution. Get a short USB extension cable.
9-4-2019 Update
My 32-gig thumb drive took a dump. Hey, I only paid $5 for it a $5 below. LMAO So, I formatted a good 64 gig thumb
drive NTFS instead of Fat32. I reloaded the 16 gig backup file and the file transfer on a USB 3 port was FAST. I tested
the thumb drive in the car and so far no issues.
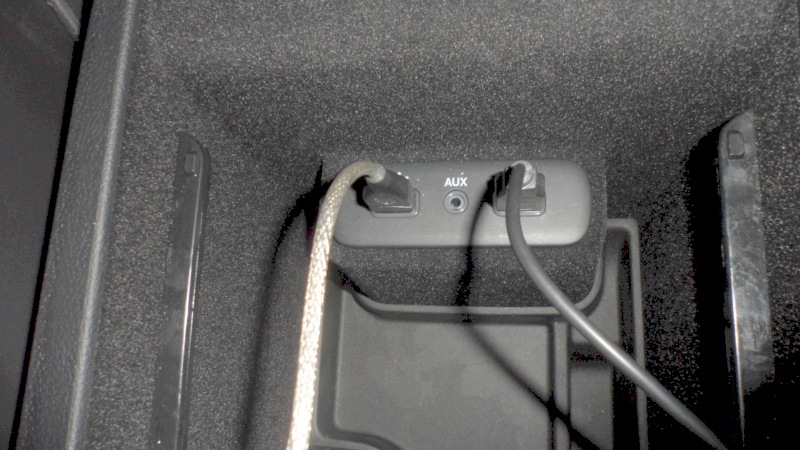
So Now I have access to both ports in just a few seconds. I have my music on 1 port and Andriod Auto on the other port. Now if I want to test a 2nd Thumb drive I just pop open the console and swap out the Andriod Auto cable. I leave the Music one alone unless I update it with new CDs.
I have about 16 gigs of music on the Thumb drive. One thing I found out was to keep the number of folder levels to a minimum. You also need to update the MP3 tags so the correct info is displayed on the Uconnect screen.
USB Ports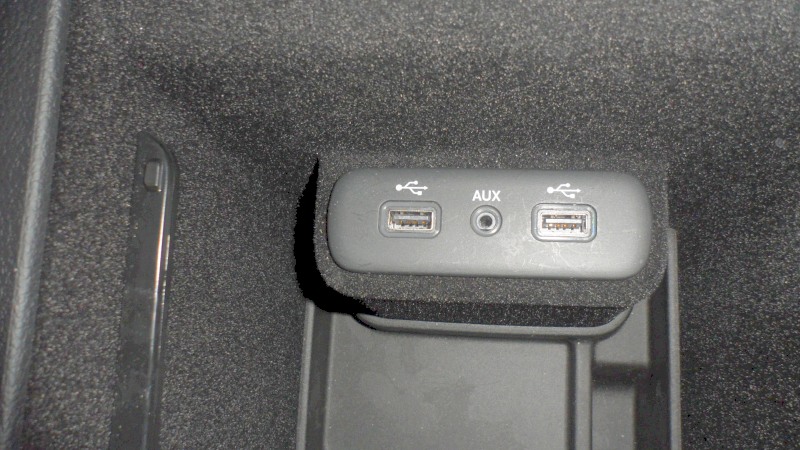
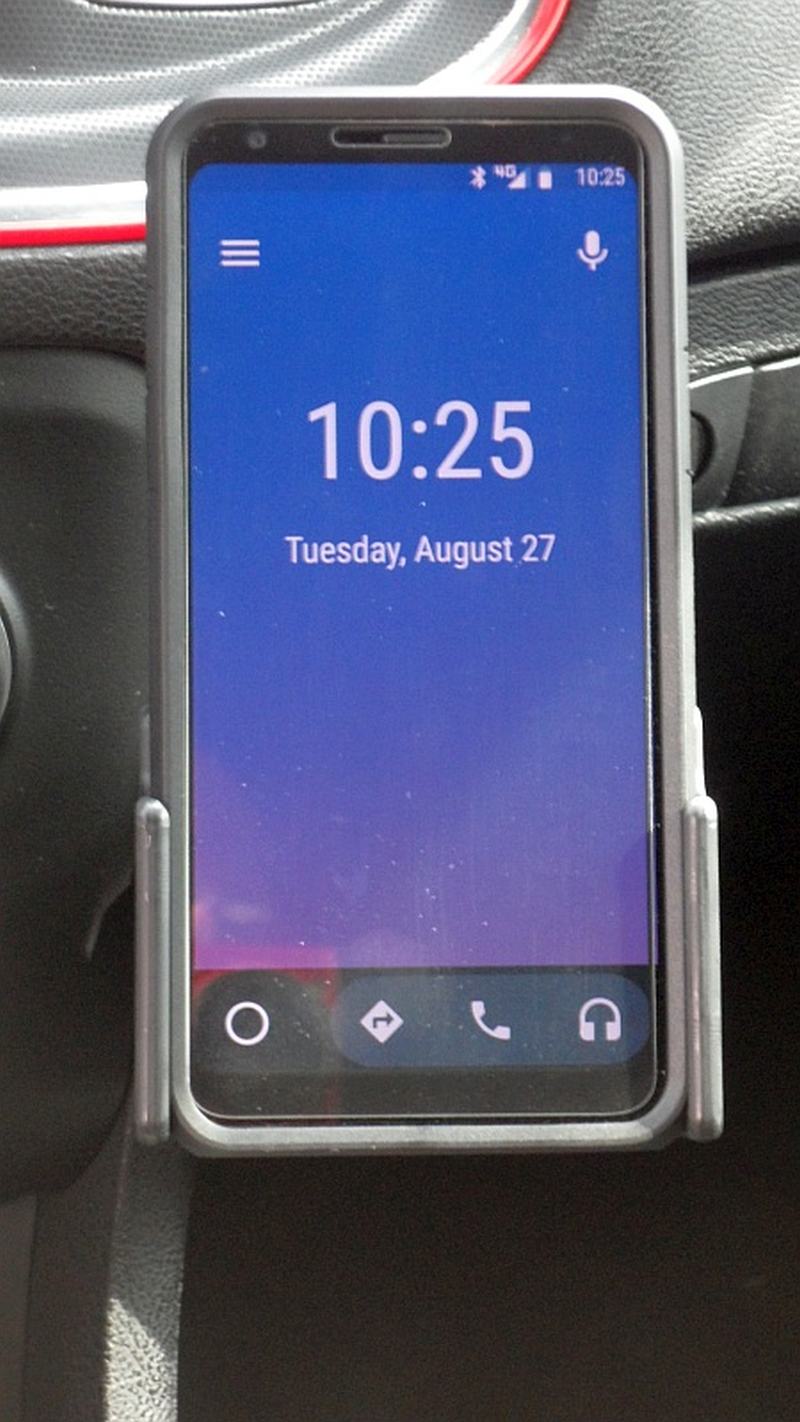
ProClip Cell Phone Holder
Old Vent Magnet Mount - New Proclip Dash Mount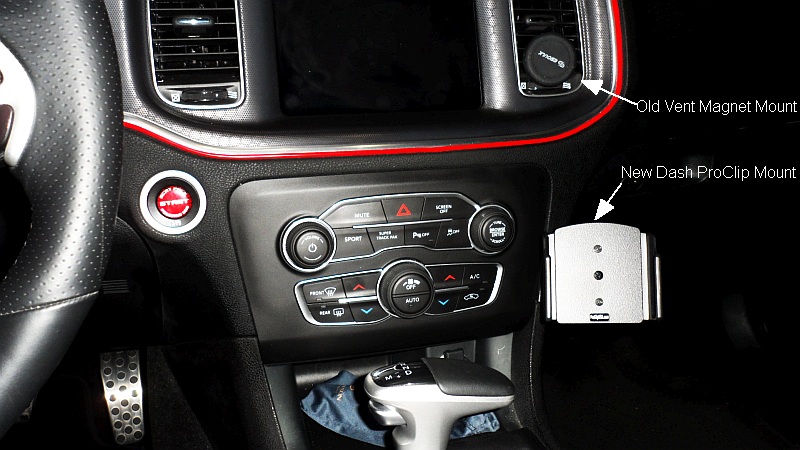
I looked at various phone mount solutions and ProClip came out the winner, at least for me. It consists of 2 pieces, the car mount & the phone mount. The phone mount can be phone model-specific or a more generic one.
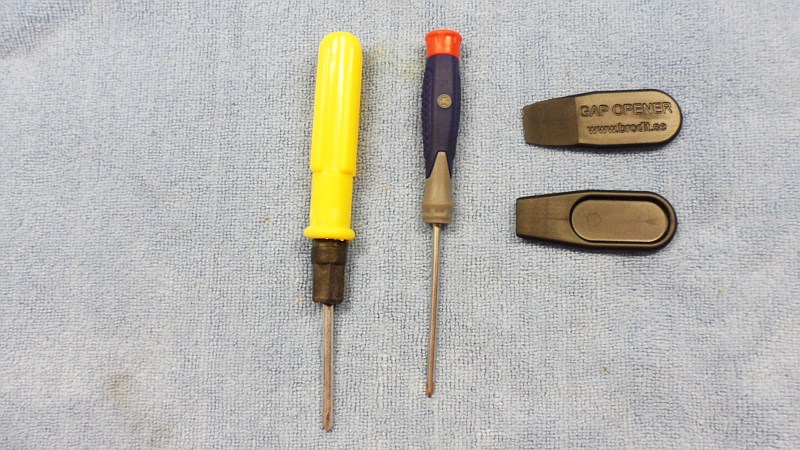
Tools
You will need a small Phillips screwdriver, a really small Phillips screwdriver & the provided panel Gap Openers.
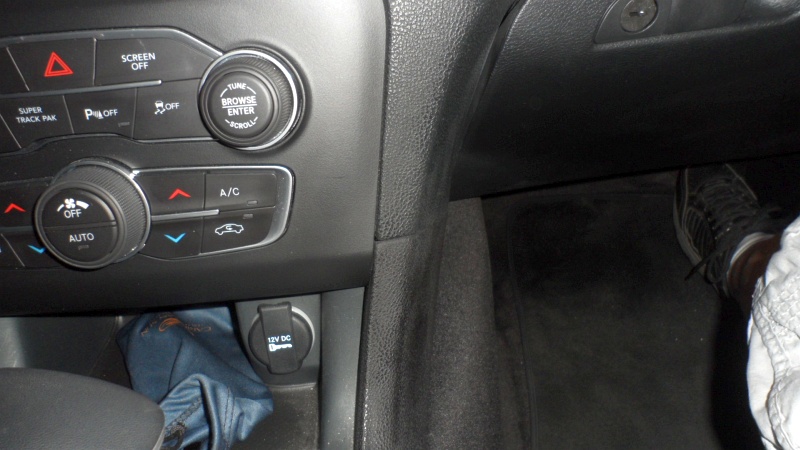
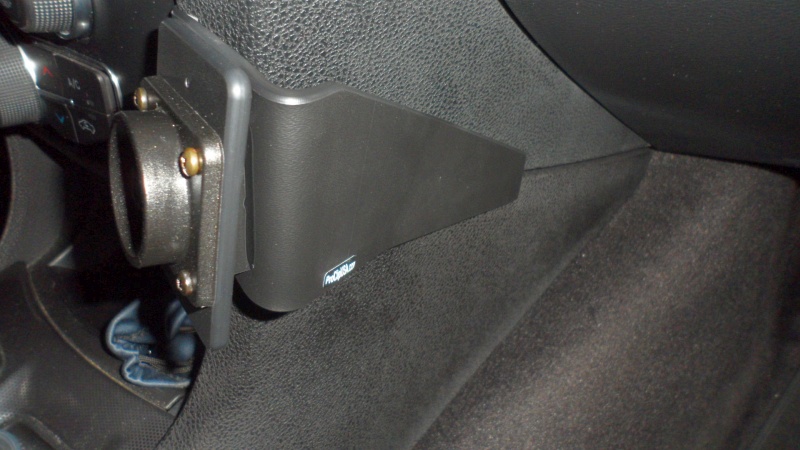
Dash Mount
The dash mount is held on with some adhesive double-faced tape & clips that are wedged between
the dash panels.
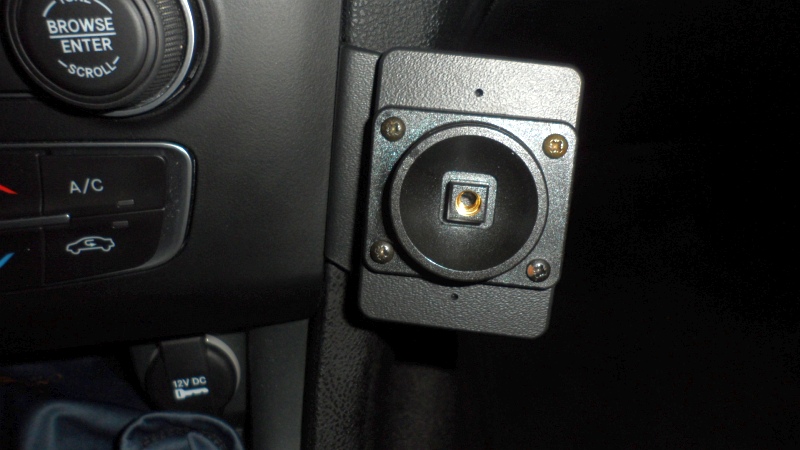
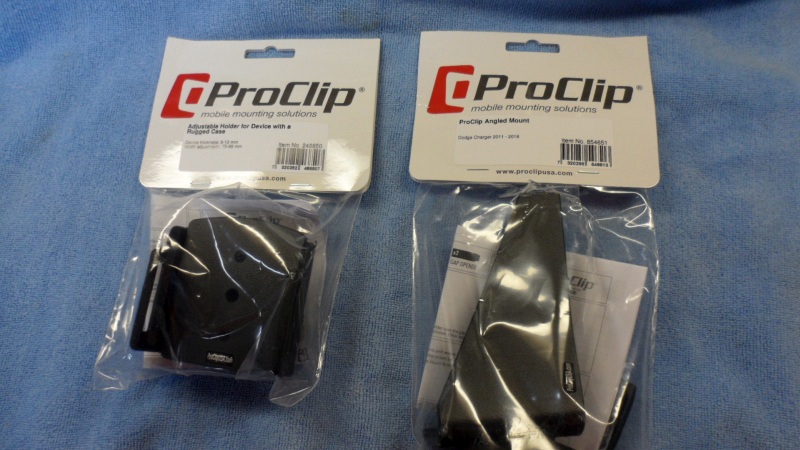
Phone Mount
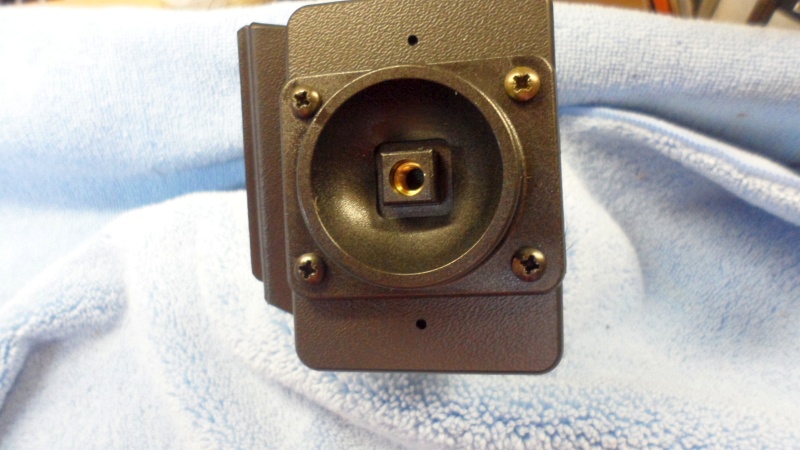
The phone mount is installed by removing the center screw of the phone holder & attaching the
base to the ProClip car mount with the 4 supplied mounting screws.
NOTE - The ProClip mount is plastic so don't get crazy tightening the screws!
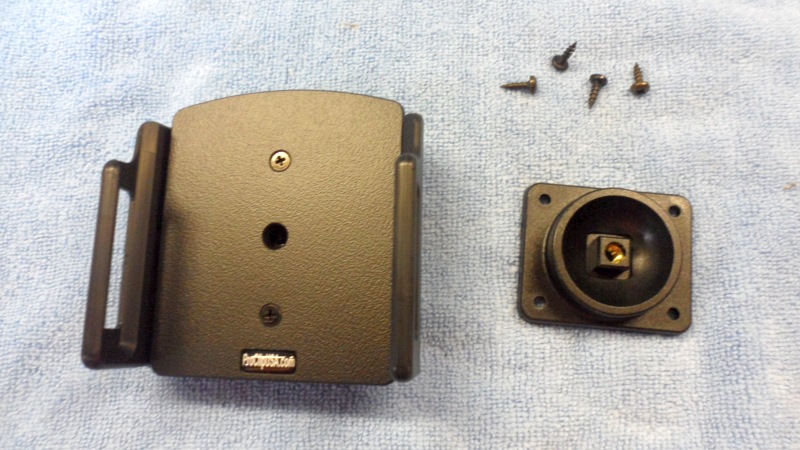
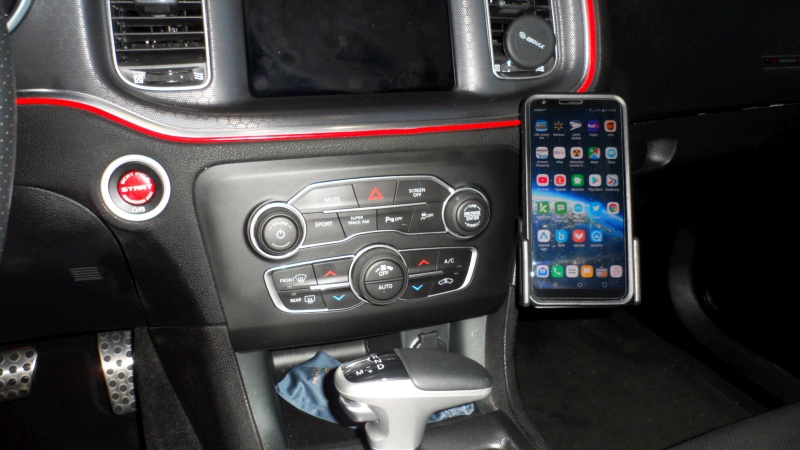
Now adjust the phone holder by loosening the 2 small screws, install the phone, pinch the sides of the holder to adjust the holder to the phone, remove the phone & tighten the 2 screws.
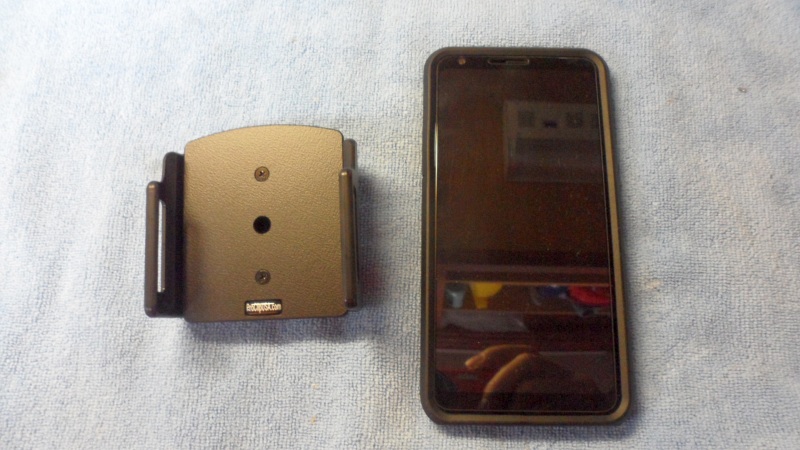
Now, reinstall the phone holder with the center screw & tighten enough to allow adjustment for the best viewing position.

This mount will hold phones that are:
- Adjustable fit for your phone with case Includes Tilt-Swivel to angle holder 15 degrees any direction.
- Device thickness: 11-14 mm (0.43-0.55 inches)
- Width adjustment: 75-89 mm (2.95-3.50 inches)
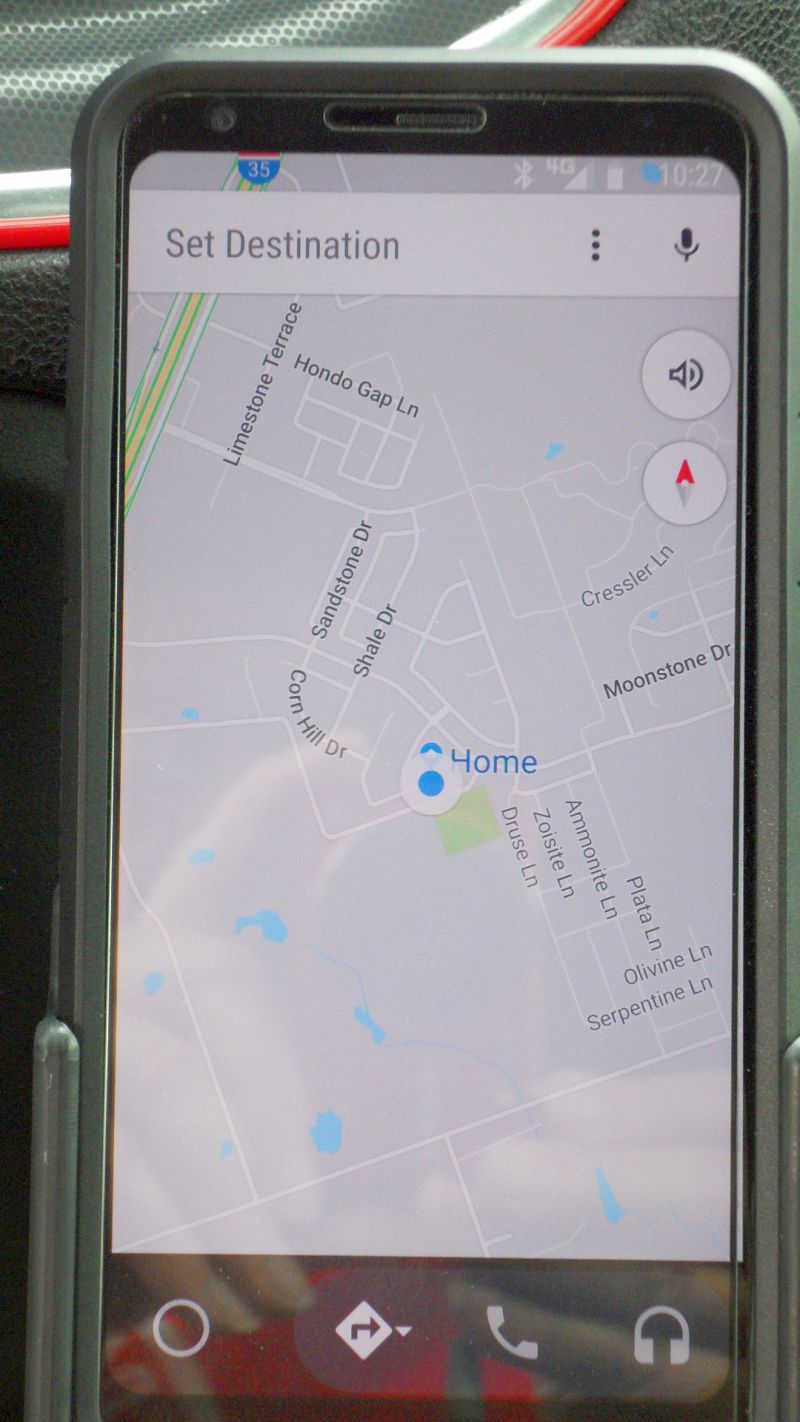
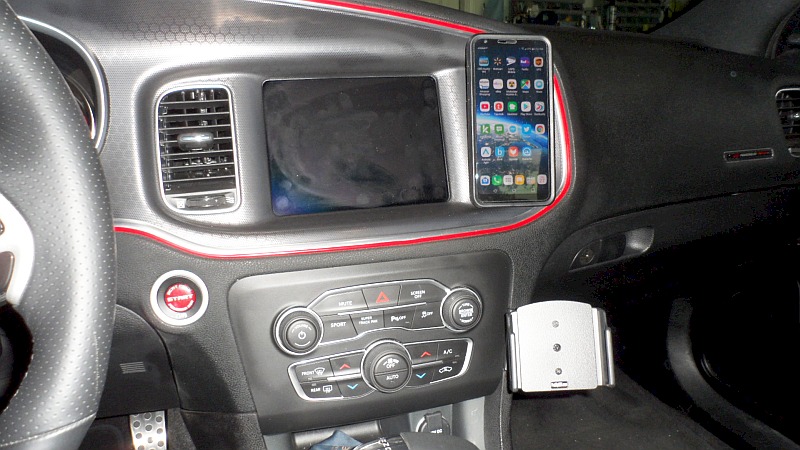
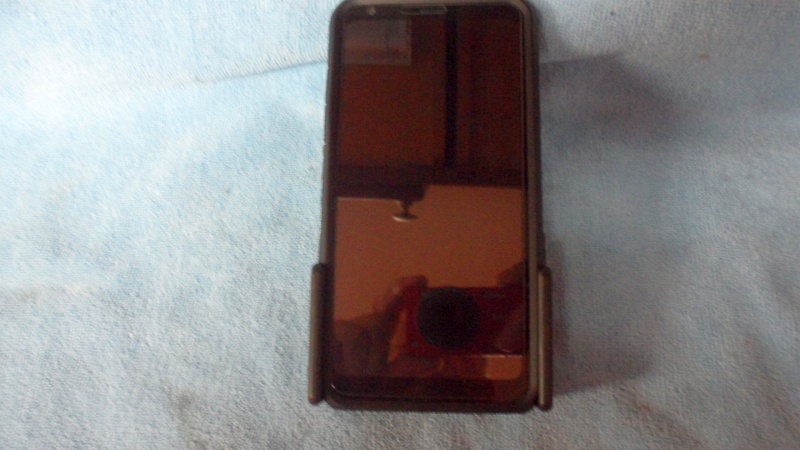
Finished - Android Auto